PANTHERLINK
44
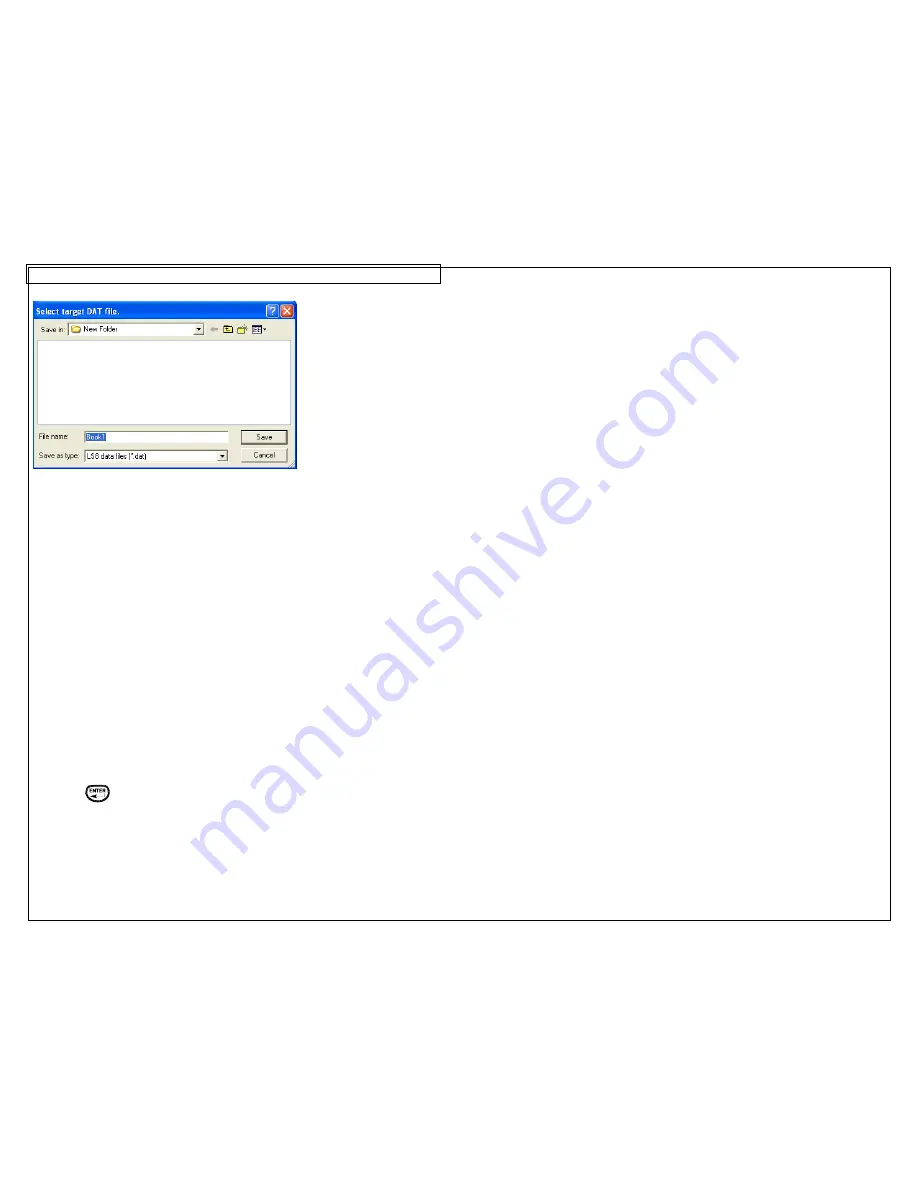
Transfer .DAT File to LS8EQ Printer
1. Power LS8EQ printer on
2. Press the SETUP button. Select PC Interface. Select Files/Printing.
3. The LS8EQ printer is now ready to send or receive files.
4. Open PanTherLink software on your computer.
5. Select Send a data file to the LS8EQ printer from the toolbar. The icon shows
“DAT” with an arrow pointing away from a computer.
6. Browse to locate your .DAT file on your computer. Highlight the file and click
Open.
7. Select the file storage location on the printer to send the .DAT file to.
8. Click
OK.
9. The file transfer progress bar will appear.
10. Once the Data file transfer successful message appears on your computer,
click OK.
11. The file menu tree on the left side of the PanTherLink screen will update
automatically.
12. Press DEL twice on the LS8EQ printer to end the PanTherLink session and
return to the SETUP menu.
13. Press SETUP to return to the home screen.
14. To insert the data file into a label, press INSERT and select DATA.
15. Scroll right to select the file to insert.
16. Scroll down to Save and Exit.
17. Press
.
18. The Data tool icon will appear on the LS8EQ home screen.
19.
You are now ready to print your data list created in Microsoft Excel.
Содержание PanTher LS8EQ
Страница 3: ...3 SECTION 1 GETTING STARTED...
Страница 12: ...12 SECTION 2 WORKING WITH THE PANTHER LS8EQ...
Страница 21: ...CREATING SYMBOLS 21 64 65 66 67 68 69 70 71 72 73 74 75 76 77 78 79 80 81 82...
Страница 35: ...PANTHERLINK 35 Click Next Click Next...
Страница 45: ...PANTHERLINK 45 DAT File Transfer Screens...
Страница 47: ...PANTHERLINK 47 Downloadable Symbols BMP File Transfer Screens...
Страница 48: ...PANTHERLINK 48...


