


15
Note
: Scanning the same original in different orientations may
produce scanned images that look slightly different in color
tones and brightness. This is not a malfunction.
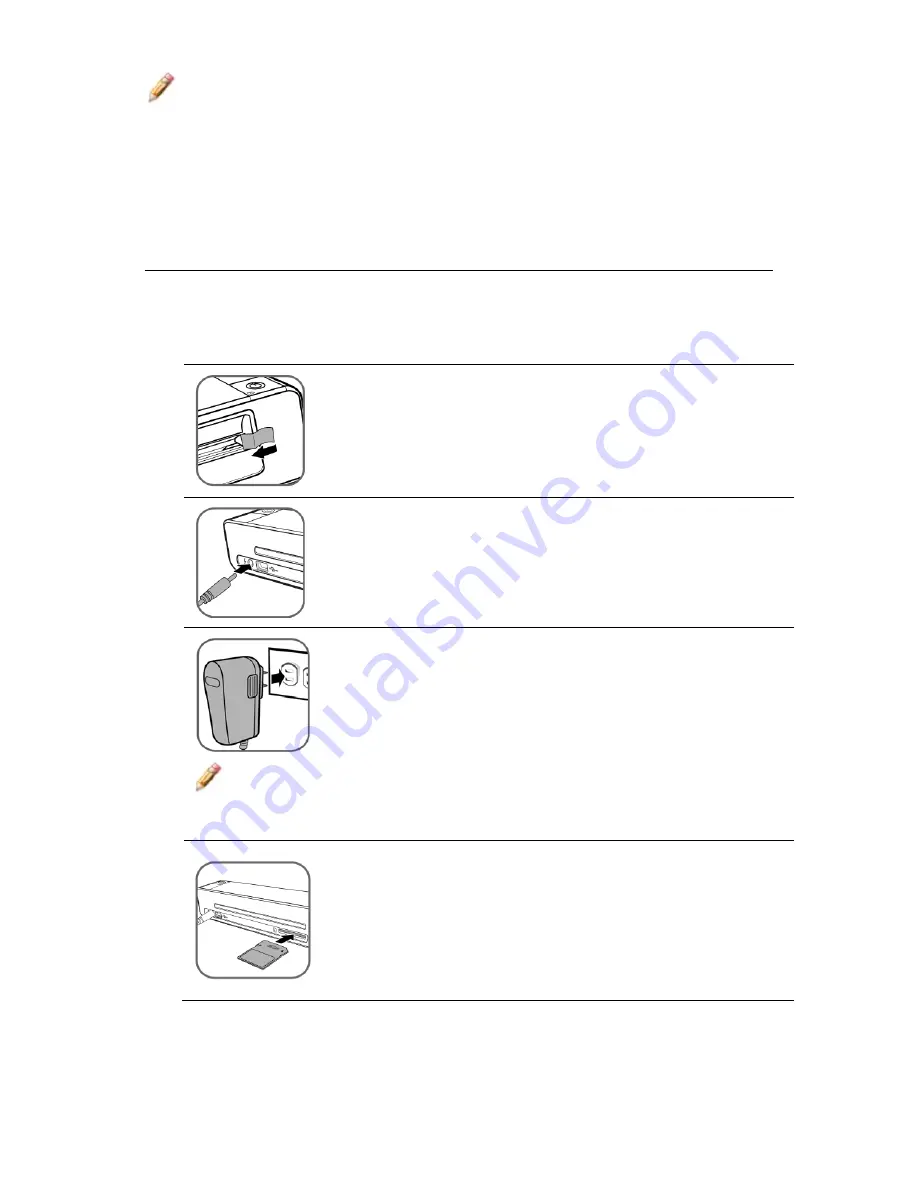
Operating the Photo Converter
Preparation and Initial Setup
1. Peel off the tape that secures the guide lever
(first time only)
.
2. Connect the plug on the power adapter to the
power connector on the Photo Converter.
3. Plug the power adapter into a power outlet.
Note
: The type of power plug and socket illustrated may differ
from that of your region.
4. Insert the supplied SD memory card, or any
supported unlocked (writable) memory card,
into the memory card slot.
Содержание PANSCN05
Страница 1: ...User Guide PANSCN05 ...


