


12
Turn on the power of the extension unit
Before operation, check the connections between monitors
and external devices (cameras, digital disk recorders, etc.).
(
☞
page 21)
z
Press the power button.
→
The monitor will be powered on, and the power indi-
cator will light up in green.
x
Press the INPUT SELECT button. Every pressing this
button can change input signals as follows:
→
The signal name will be displayed on the upper right
corner of screen for 3 seconds.
On-screen indication
Input signal type
VIDEO
VIDEO input
HDMI
HDMI input
PC
PC input
When no input signal is supplied to the monitor, "NO SIG-
NAL" will be displayed on the screen.
Note:
• The ECO mode (backlight off) (
☞
page 14) is automati-
cally activated after no input signal is provided for 10
seconds or more.
• If an input signal is provided in the ECO mode, the
backlight automatically lights and the regular mode is
activated.
• When the screen display is not proper with the PC input
selected, refer to the table in page 11 to perform the out-
put setting of the connected PC.
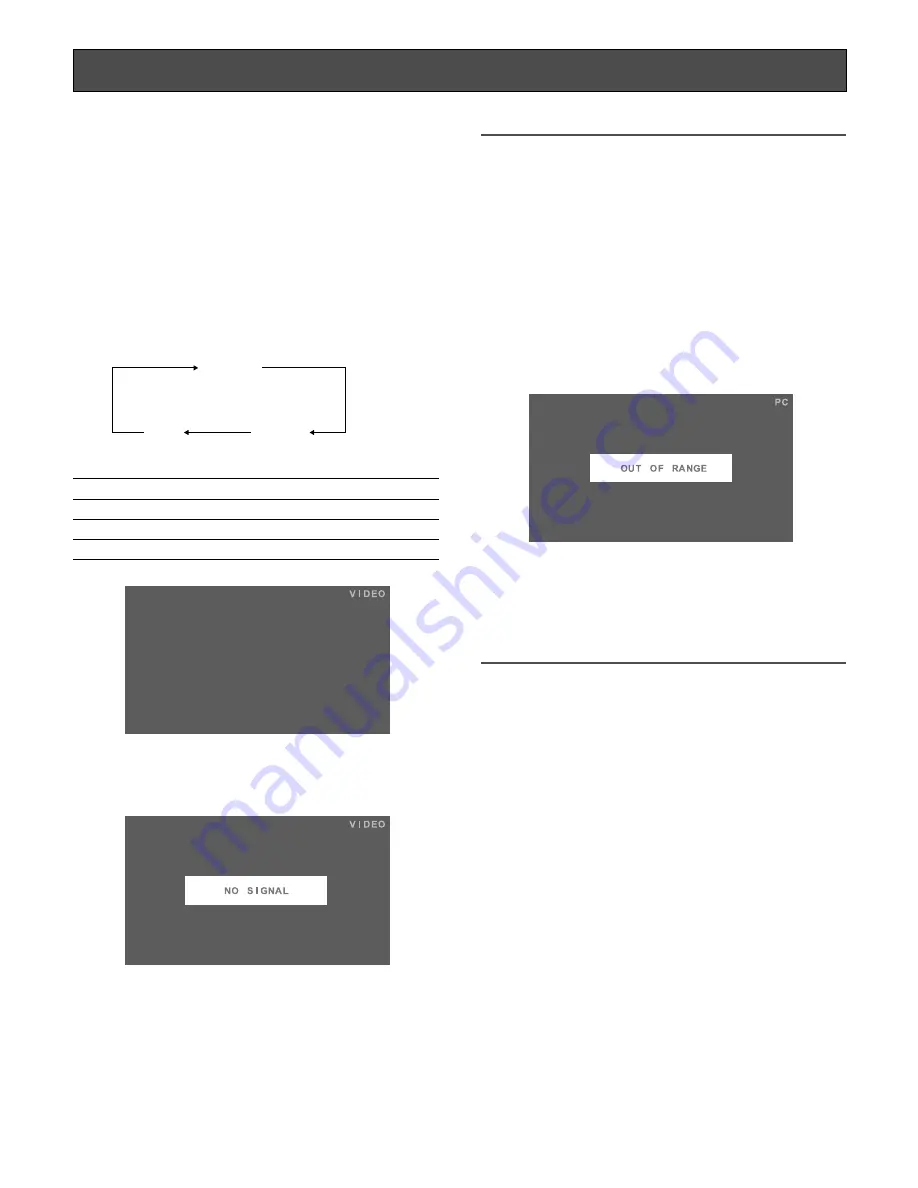
• If an input signal does not meet the standards (dot clock
frequency, horizontal frequency, and vertical frequency),
"OUT OF RANGE" will appear on the screen.
• This monitor can be operated on a plug-and-play basis,
however, some settings are configurable on a PC but
not displayable on this monitor owing to the restrictions
regarding specifications. After ensuring that settings are
viewable on this monitor, complete the settings on a PC.
VIDEO
HDMI
PC
Содержание WV-LW1900
Страница 27: ...27 ...


