5
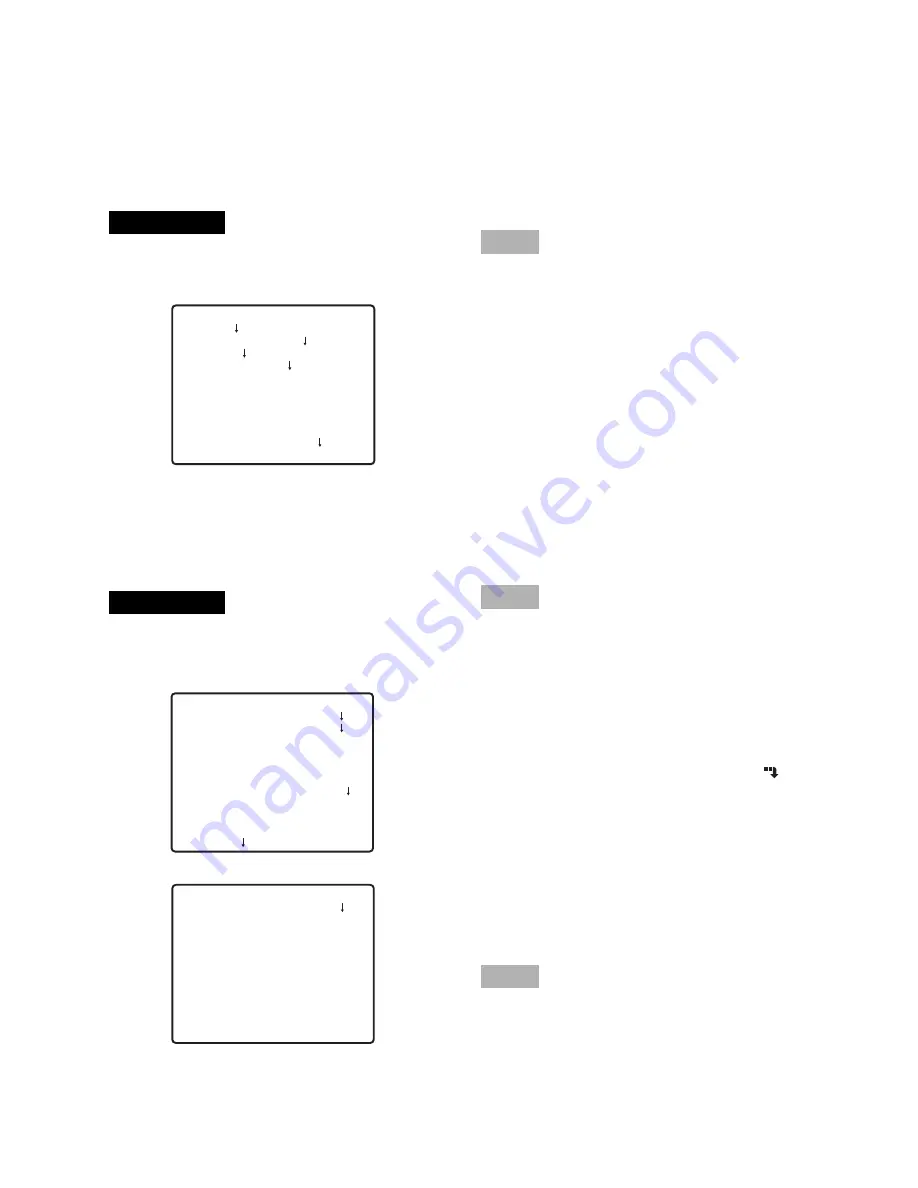
Move the cursor to the item to be set, and
press the setting button.
Perform the settings for each item.
●
Selection of setting item:
Press the UP button or DOWN button to
move the cursor.
●
Change of settings:
Press the RIGHT button or LEFT button.
●
Display of advanced setup screen:
Press the setting button when "
" is
attached to the target setting item.
●
Return to previous setup screen:
Move the cursor to "RET" and press the set-
ting button.
●
Return to top screen:
Move the cursor to "TOP" and press the set-
ting button.
To return to the camera image screen, move
the cursor to "END" and press the setting but-
ton.
Step 3
Step 2
Step 1
Basic operation
The description below explains how to operate the setup menu basically.
The operations in the setup menu are performed with the operation buttons after calling up the setup
menu on the connected video monitor. Refer to the installation guide for further information about
the operation buttons. The operations in the setup menu can also be performed through the system
controller (option).
Hold down the setting button for approx. 2 sec-
onds to call up the top screen of the setup menu.
Screenshot 1
The selected setup screen in the setup menu
appears on the screen.
Screenshot 2
** WV-CZ362 SETUP **
CAMERA
PRESET POSITION
SPECIAL
COMMUNICATION
PASSWORD LOCK OFF
END
** CAMERA SETUP ** 1/2
CAMERA ID OFF
ALC/MANUAL ALC
SHUTTER AUTO
AGC ON(MID)
SENS UP OFF
SYNC INT
WHITE BAL ATW1
MOTION DET OFF
DNR LOW2
RESOLUTION NORMAL
BW MODE
** CAMERA SETUP ** 2/2
PRIVACY ZONE OFF
AF MODE STOP AF
ZOOM LIMIT X 22
UPSIDE-DOWN OFF
MIRROR OFF
RET TOP END


