67
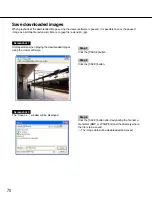
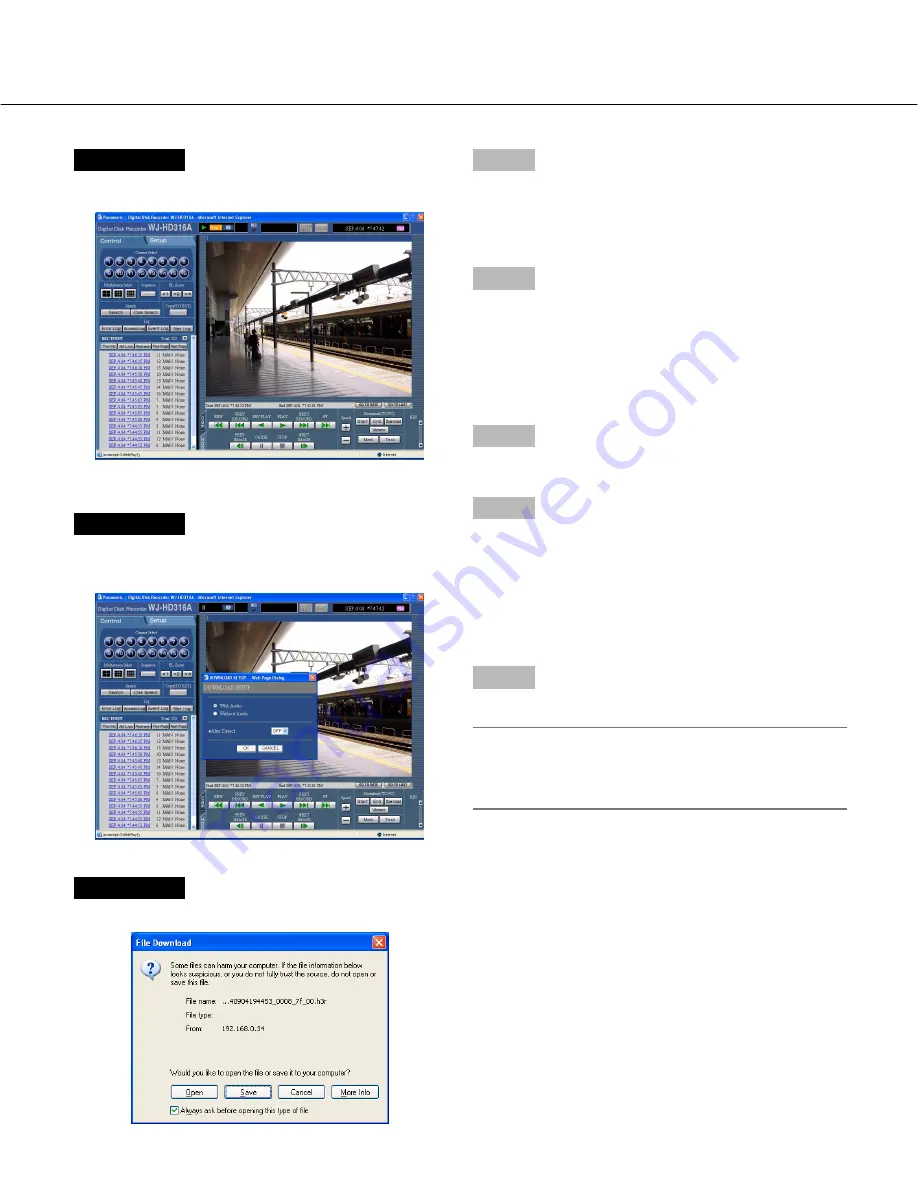
Screenshot 2
The [HDD] page will be displayed.
Screenshot 3
The "DOWNLOAD SETUP" pop-up window will be dis-
played.
Step 2
Click the [Start] button in the [Download (TO PC)] box at
the desired point of the image to be downloaded.
→
The time and date of the start point will be displayed
in the playback position display area.
Step 3
Click the [End] button in the [Download (TO PC)] box at
the desired point of the image to be downloaded.
→
The time and date of the end point will be displayed
in the playback position display area.
It is possible to designate up to 30 minutes of the
time range per download.
Step 4
Click the [Download] button.
Step 5
Click the OK button after checking "With Audio" or
"Without Audio" to download recorded images whether
with or without audio and selecting "ON" or OFF" for
"Alter Detect" to determine whether or not to attach an
alteration detection code to recorded images to be
downloaded.
Step 6
Click the [Save] button.
Note:
When "With Audio" is checked in step 5, the down-
load window will be displayed again after download-
ing of the image data files has been completed.
Screenshot 4
The download window will be displayed.


