29
Operation Using the Buttons on the Front Panel
The following are the available functions using the buttons on the front panel and the LCD.
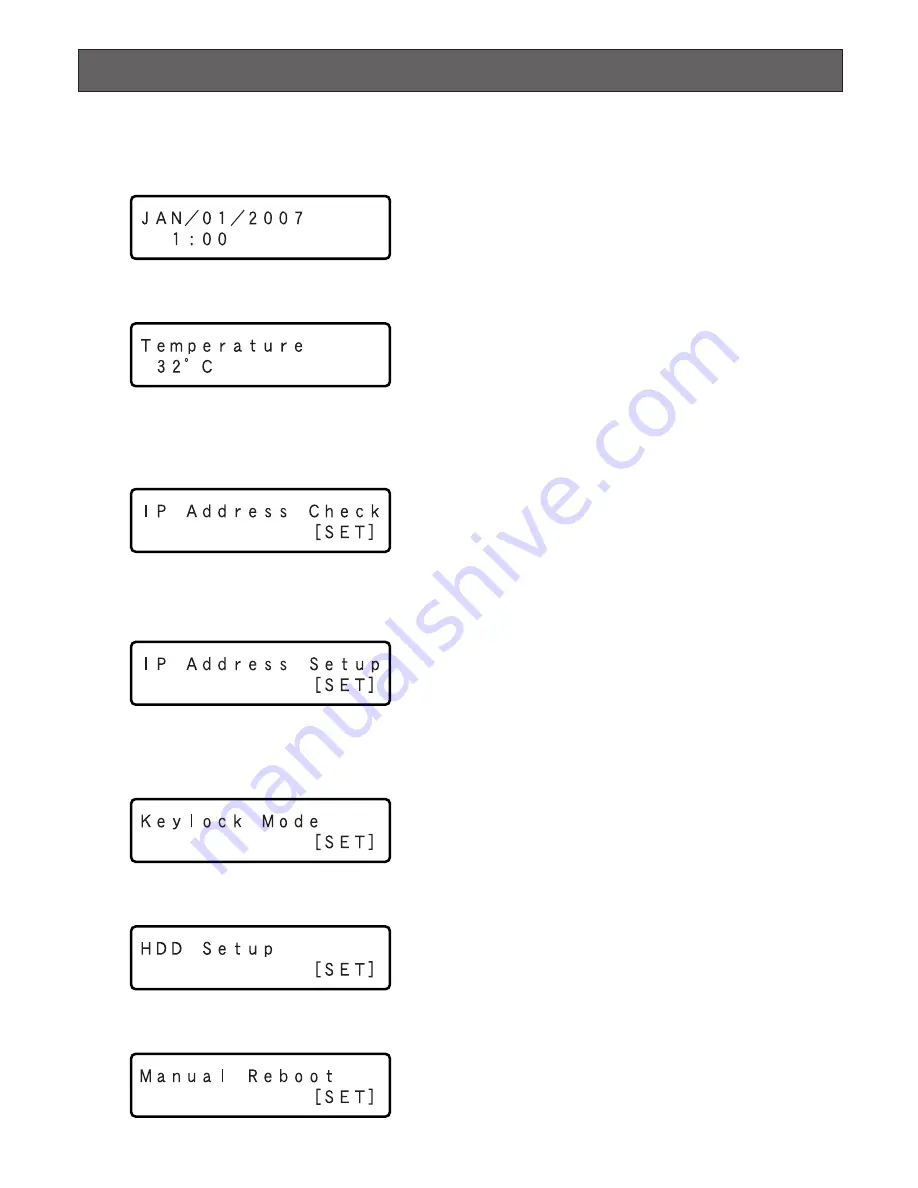
The display on the LCD will shift as follows by pressing the arrows button (
C
or
D
).
Time and date display (Standby display)
The current time will be displayed.
Refer to the Setup Instructions (PDF) for descriptions of
how to change the time format and adjust the time and
date.
Temperature display
The current internal temperature of the unit will be dis-
played.
When exceeding the specified temperature, the "WARN-
ING" indication will be displayed.
IP address check display
The network settings can be checked with this display.
Press the [SET] button on the front panel while displaying
this display.
It is possible to check each network setting such as the IP
address or the subnet mask.
Refer to page 30 for details.
IP address setup display
The network settings can be set with this display.
Press the [SET] button on the front panel while displaying
this display.
It is possible to set each network setting such as the IP
address or the subnet mask.
Refer to page 31 for details.
Key lock mode display
It is possible to lock the buttons on the front panel to make
them unusable.
Refer to page 32 for details.
HDD setup display
It is possible to carry out each maintenance function after
activating the HDD safety mode using this display.
Refer to page 33 for details.
Manual reboot display
It is possible to reboot the unit using this display.
Refer to page 35 for details
C
Arrows buttons
D
C
Arrows buttons
D
C
Arrows buttons
D
C
Arrows buttons
D
C
Arrows buttons
D
C
Arrows buttons
D
(Temperature will be displayed in Fahrenheit
for NTSC model, e.g. "90 °F".)


