Auto Setup
Quick Start Guide
16
5
1
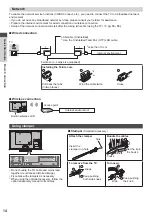
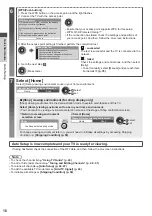
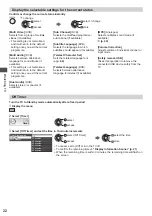
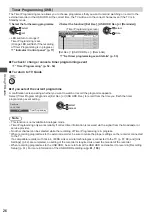
[DVB-C Network Settings]
●
Depending on the country you select, select your cable provider beforehand by following the on-screen
instructions.
Frequency
Auto
Network ID
Start Auto Setup
Auto
DVB-C Network Settings
select [Start Auto Setup]
access
Normally set [Frequency] and [Network ID] to [Auto].
If [Auto] is not displayed or if necessary, enter [Frequency] and [Network ID] specified by your cable provider
with numeric buttons.
2
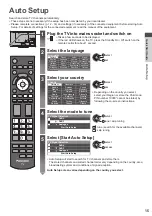
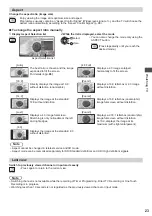
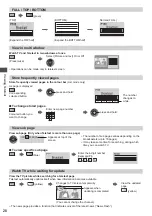
[DVB-C Auto Setup]
3
[DVB-T Auto Setup]
0%
100%
1
2
3
100
100
CBBC Channel
BBC Radio Wales
E4
100
Searching
DVB-C Auto Setup
Progress
This will take about 3 minutes.
No.
Channel Name
Type
Free TV
Free TV
Free TV
Quality
Free TV: 3
Pay TV: 0
Radio: 0
CH 5
69
62
62
62
100
100
CBBC Channel
BBC Radio Wales
E4
100
62
100
Cartoon Nwk
Searching
CH
Channel Name
Type
Free TV
Free TV
Free TV
Free TV
Quality
Free TV: 4
Pay TV: 0
Radio: 0
DVB-T Auto Setup
Progress
This will take about 3 minutes.
●
Depending on the country you select, the channel selection screen
will be displayed after DVB-T Auto Setup if multiple channels have
the same logical channel number. Select your preferred channel or
exit the screen for automatic selections.
4
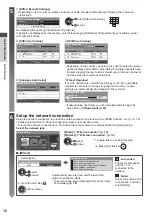
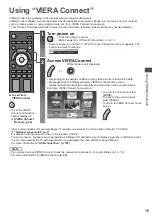
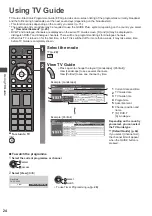
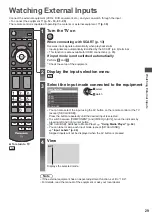
[Analogue Auto Setup]
5
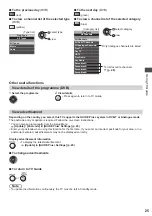
Preset Download
If Q-Link, VIERA Link or similar technology (p. 87, 88) compatible
recorder is connected, channel, language and country / region
settings are automatically downloaded to the recorder.
0%
100%
Sending Preset Data
Please wait!
Remote control unavailable
●
If downloading has failed, you can download later through the
Setup Menu.
[Download] (p. 43)
CH 29
CH 33 BBC1
CH 2
78
41
CC 1
Searching
CH
Channel Name
Analogue: 2
Analogue Auto Setup
Scan
This will take about 3 minutes.
6
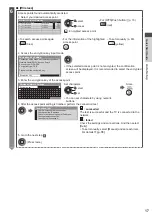
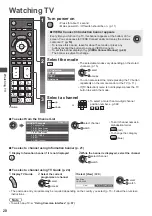
Setup the network connection
Setup the network connection to enable the network service functions such as VIERA Connect, etc. (p. 19, 75).
●
Please note that this TV does not support wireless public access points.
●
Ensure the network connections (p. 14) and network environment are completed before starting setup.
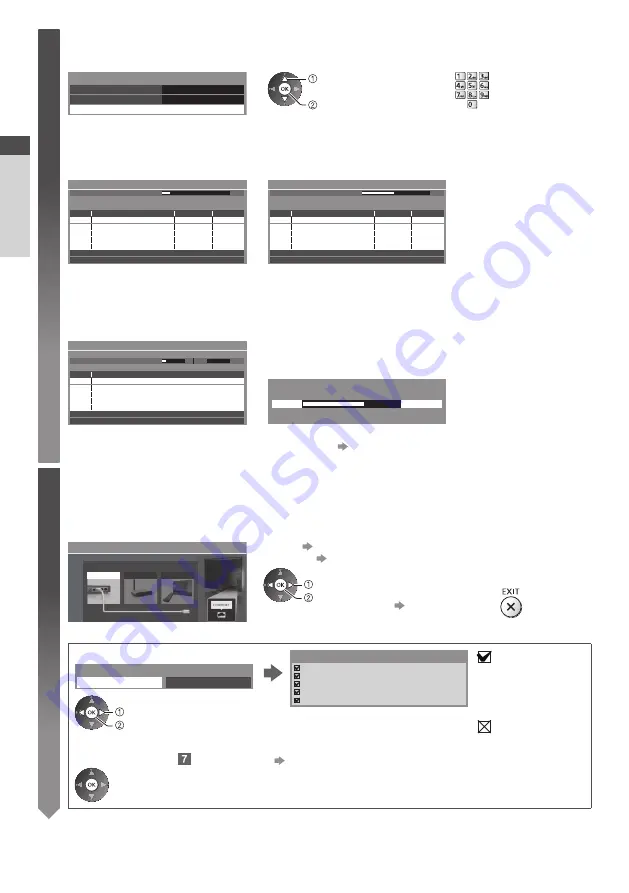
Select the network type
Network Setup
Select Wired or Wireless
Wired
Wireless
Set later
[Wired] “Wired connection” (p. 14)
[Wireless] “Wireless connection” (p. 14)
select
access
●
To setup later on or skip this step
Select [Set later] or
■
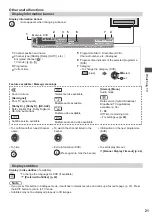
[Wired]
1. Select [Auto]
Check network cable connection.
Check acquired IP address.
Check for devices using same IP address.
Check gateway connection.
Check server connection.
Connection Test
: succeeded
The test is successful
and the TV is
connected to the
network.
: failed
Check the settings and
connections. And then
select [Retry].
Acquire IP Address
Auto
Manual
select
access
Automatically setup is done and the test of the
network connection starts.
●
To set manually, select [Manual] and set each item.
For details
(p. 78)
2. Go to the next step
(Press twice)

