– 77 –
Chapter 9 Other Useful Functions — Setting the time data
Setting the time data
The camera provides time codes, user bits, and date and time (real time) data as time data, and they are recorded in the frame in sync with video. They
are also recorded as data for clip metadata files.
Definition of time data
r
Time code
You can switch to [REC RUN] and [FREE RUN] with the control panel.
f
[FREE RUN]:
The time code always advances even when the power is turned off, and it can be handled in the same way as time. It can also be
recorded slaved to the time code input to the <TC IN/OUT> terminal.
f
[REC RUN]:
Can be regenerated and recorded into the time code of clips recorded to P2 cards as a continuous value.
@
@
NOTE
t
In the following case, the values are not continuous.
-
When deleting recorded clips
-
When switching to 24PN and 30PN (25PN)
-
When recording is interrupted due to a malfunction of [REC WARNING], etc. during recording.
r
User bits
Two types of user bits are built in.
f
LTC UB: Recorded as LTC and output from the <TC IN/OUT> terminal. It is also output as LTC of the SDI signal.
f
VITC UB: Recorded as VITC. It is also output as VITC of the SDI signal.
LTC UB can select and record user set values, time, year/month/day, the same value as time codes, camera frame rate information, and input value of
external signals from the <TC IN/OUT> terminal, etc.
VITC UB records the camera frame rate information.
The LTC UB value of the recording start time can be recorded on the user bits of the clip metadata.
r
Duration (clip length) counter
This counter counts from 0 each time recording starts.The duration of the recorded clip is displayed after recording.
r
Date/time (real time)
f
Based on the internal clock, year, month, day, and time can be displayed on the viewfinder/LCD monitor and on the image output from the <VF SDI>
terminal, etc.
f
The internal clock is used for measuring the free run time code while the power is off and as time and year/month/day data of the user bits. It is also
used as the reference for file generation times during clip recording, which determine the sorting order of thumbnails and the order of playback.
f
It is also used to generate clip metadata and UMID (Unique Material Identifier).
For details, refer to “Setting the date/time of the internal clock” (page 31).
User bits settings
Sets the user bits to be recorded in the sub code area with the control panel.
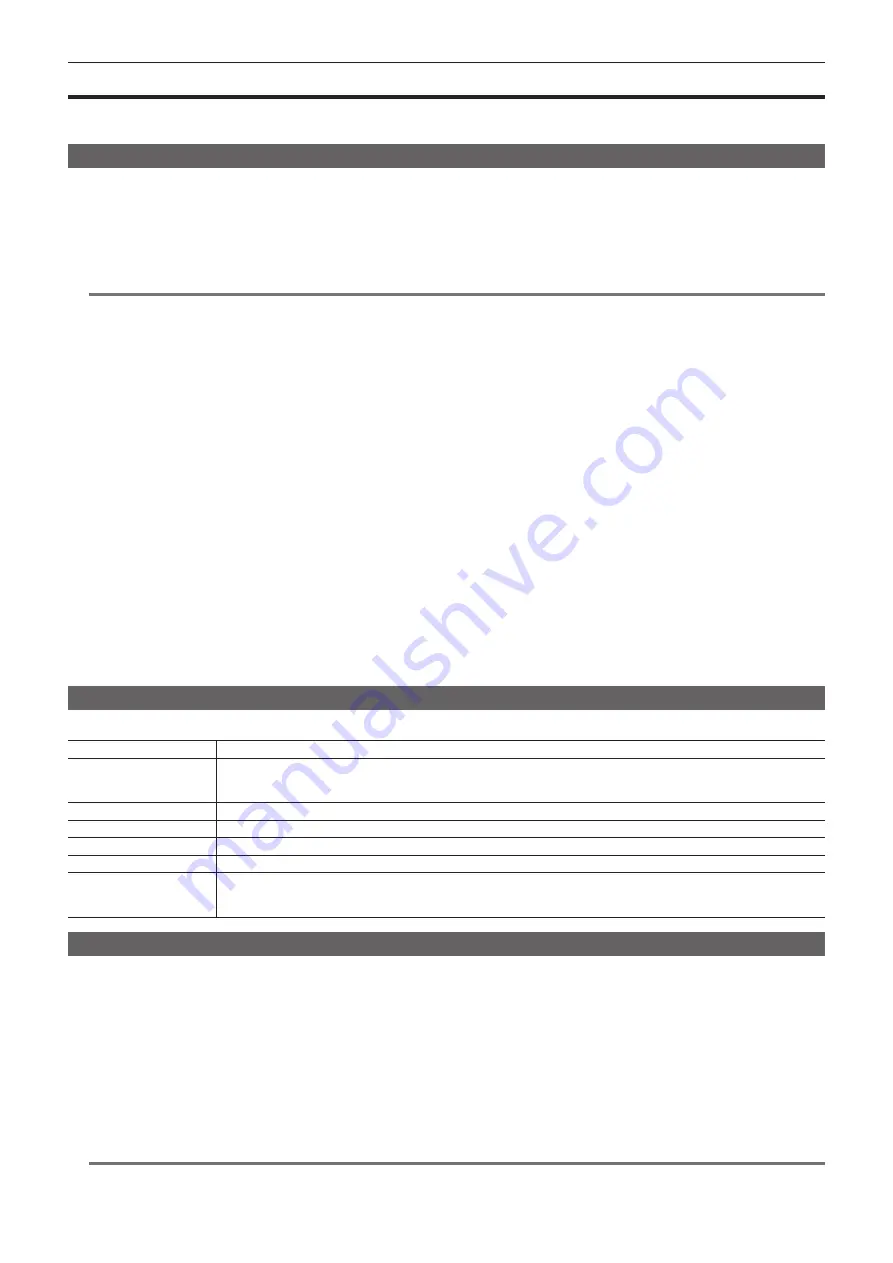
Item
Description
[USER]
Records internal user values. The user value can be set from [MENU]
→
[REC SETTINGS]
→
[TC]
→
[SET UB], the user value
can be set. Setting values are held even when the power is turned off.
For details, refer to “How to input user bits” (page 77).
[TIME]
Records the time measured by the internal clock.
[DATE]
Records the hour digit of year/month/day/date-time measured by the internal clock.
[EXT INPUT]
Records the user bits values currently entered to the <TC IN/OUT> terminal.
[TCG]
Records the time code value.
[FRAME RATE]
Records the camera photo frame rate information.
When playing back clips recorded in native format, the same frame rate information as VITC UB is output regardless of the
recorded value. Use at this setting when the editing device such as a computer uses the frame rate information of the user bits.
How to input user bits
By setting user bits, information such as memos (date, time) up to eight digits long (hexadecimal) can be recorded.
1
Press the <TC> button to display the TC screen.
2
From the user bits display, select [User] in [UB MODE].
3
Select [SET].
The [TC SET] screen is displayed.
4
Set the user bits using the jog dial button.
5
Press the jog dial button to confirm the user bits setting value.
@
@
NOTE
t
If you exit the user bits setting screen without pressing the jog dial button, the set values will be disabled.
Содержание Vericam 35
Страница 1: ...35 Operating Guide W1014HM0 YI VQT5K88A E ...
Страница 5: ...Before using the camera read this chapter Chapter 1 Overview ...
Страница 51: ... 51 Chapter 5 Control Panel VIEW screen VIEW screen Displays video For status display contents configure MENU ...
Страница 58: ...This chapter describes the viewfinder screen display and how to make adjustments Chapter 7 Viewfinder ...
Страница 65: ...This chapter describes video output Chapter 8 Output and Screen Display ...
Страница 73: ...This chapter describes other useful features such as function buttons etc Chapter 9 Other Useful Functions ...
Страница 113: ...This chapter describes the specifications of this product Chapter 12 Specification ...
Страница 118: ...Index 118 Z Zebra patterns 63 ...


