


32
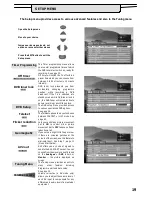
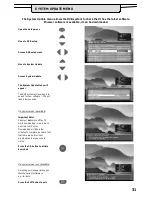
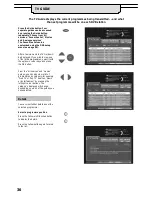
The PC Connection and Modem menus allow you to make adjustments to the communication
settings for the SERIAL and MODEM ports. You may wish to refer to the operating instruction books
for your external equiment before changing these settings.
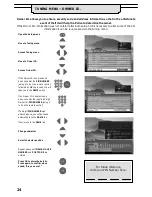
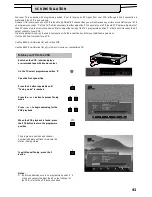
Open the Setup menu
Move to DVB setup
Access DVB setup menu
Move to PC Connection or
Modem
Access the chosen menu
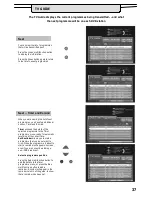
Make the required adjustments.
(
’OK’ - - Store
will be flashing)
Press the OK button to store the
settings
Press the EXIT button to exit
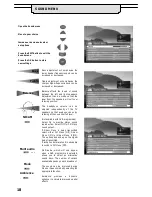
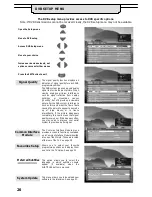
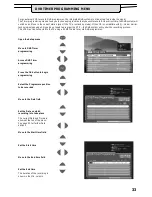
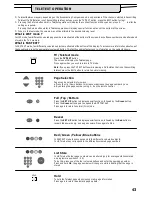
Sets the speed of transmission. Use the
highest speed allowed by the external
equipment.
Determines the number of consecutive
data bits to be sent. Select from either 7
or 8.
Determines the number of stop bits to
be used. Select from 1 or 2.
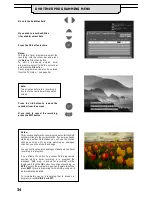
Determines whether a protocol should
be used. Select from None, Hardware or
Software.
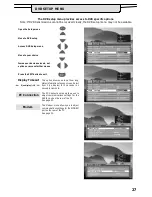
Determines whether parity checking
should be used. Select from None, Odd
or Even
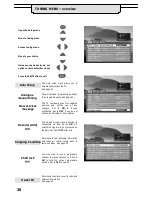
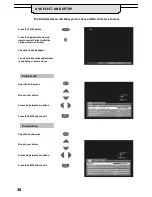
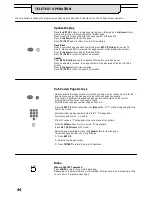
Modem only:
Select either DTMF (Tone) dialling or
Pulse dialling.
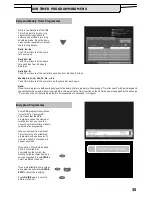
Many internal telephone networks
require you to dial a single digit before
dialling an “outside line”. If the Modem
is connected to such a system, use the
Prefix function to enter the initial digit, for
example
9
.
The Redial attempts function allows the
TV to automatically redial a number if a
connection cannot be made.
PC CONNECTION AND MODEM MENUS
Baud Rate (bit/sec)
Number of Data Bits
Stop Bits
Protocol
Parity
Dialling
Prefix
Redial attempts
None, 0~9
None ~ 9
Содержание TX-28DT30
Страница 51: ...51 NOTES...
Страница 52: ...52 NOTES...
Страница 53: ...53 02X Panasonic U K Ltd Willoughby Road Bracknell Berks RG12 8FP...


