29
English
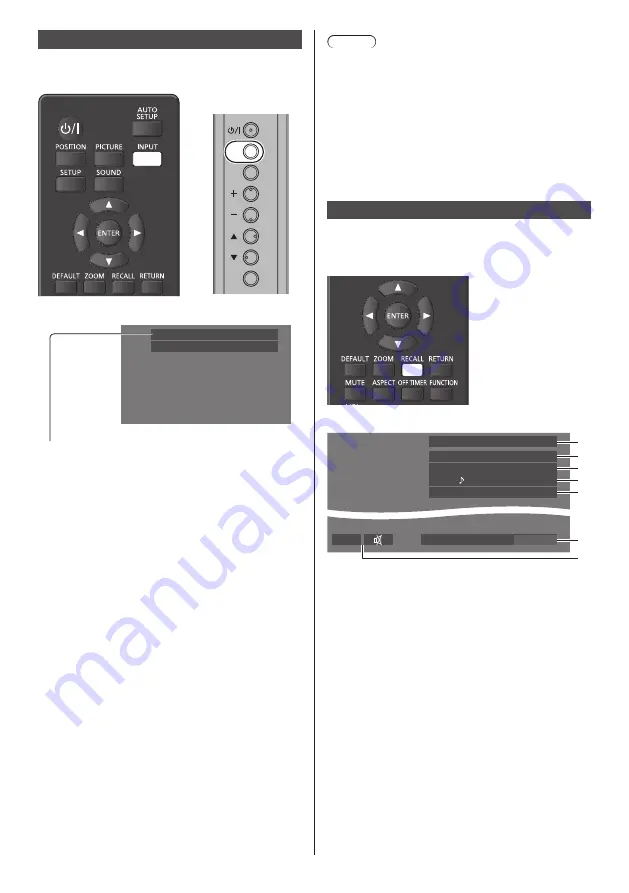
Selecting the input signal
Select the signals input to the unit.
Press <INPUT> or <INPUT (Unit)>.
INPUT
MENU
ENTER
Unit
Switches input every time the buttons are pressed.
PC
16:9
[
HDMI1]
→ [
HDMI2]
→ [
DIGITAL LINK]
*
1
→ [
DVI-D]
→
[
PC]
→ [
COMPONENT]
*
2
→ [
VIDEO]
→ [
USB]
[HDMI1]:
HDMI 1 terminal, HDMI input
[HDMI2]:
HDMI 2 terminal, HDMI input
[DIGITAL LINK]
*
1
:
DIGITAL LINK / LAN terminal, DIGITAL LINK input
[DVI-D]:
DVI-D IN terminal, DVI-D input
[PC]:
PC IN terminal, PC input
[COMPONENT]
*
2
:
COMPONENT/RGB IN terminal, Component input
[VIDEO]:
VIDEO terminal, composite video input
[USB]:
USB terminal, USB input
*
1: [DIGITAL LINK] is for LF80 series only.
*
2: [COMPONENT] may be displayed as [RGB]
depending on the settings of [Component/RGB-in
select]. (see page 46)
Note
●
Displays the signal name as set in [Input label]. (see
page 49)
●
Input will not be switched unless [Input lock] is set to
[Off]. (see page 66)
●
Image retention (image lag) may occur on the LCD
display panel when a still picture is kept on the panel
for an extended period. To prevent such a problem,
using the screensaver and wobbling is recommended.
(see page 48, 51)
RECALL
It is possible to check the setting status of input label,
picture mode, etc.
Press <RECALL>.
Current setting status will be displayed.
10:00
1
2
3
4
5
6
7
PC
16:9
Backup mode OK
AUDIO1 IN
Memory name: MEMORY2
Off timer
90 min
1
Input label
2
Aspect mode (see page 31)
3
Backup input change (see page 63, 65)
4
Audio input (see page 65)
5
Profile name (see page 43)
6
Off timer remaining time (see page 30)
7
Clock / Mute (see page 30)
●
When there is no signal to the selected input, [No
Signal] is displayed for about 30 seconds at the end.
●
To display the clock, set [Date and time], and then set
[Clock display] to [On]. (see page 53, 69)


