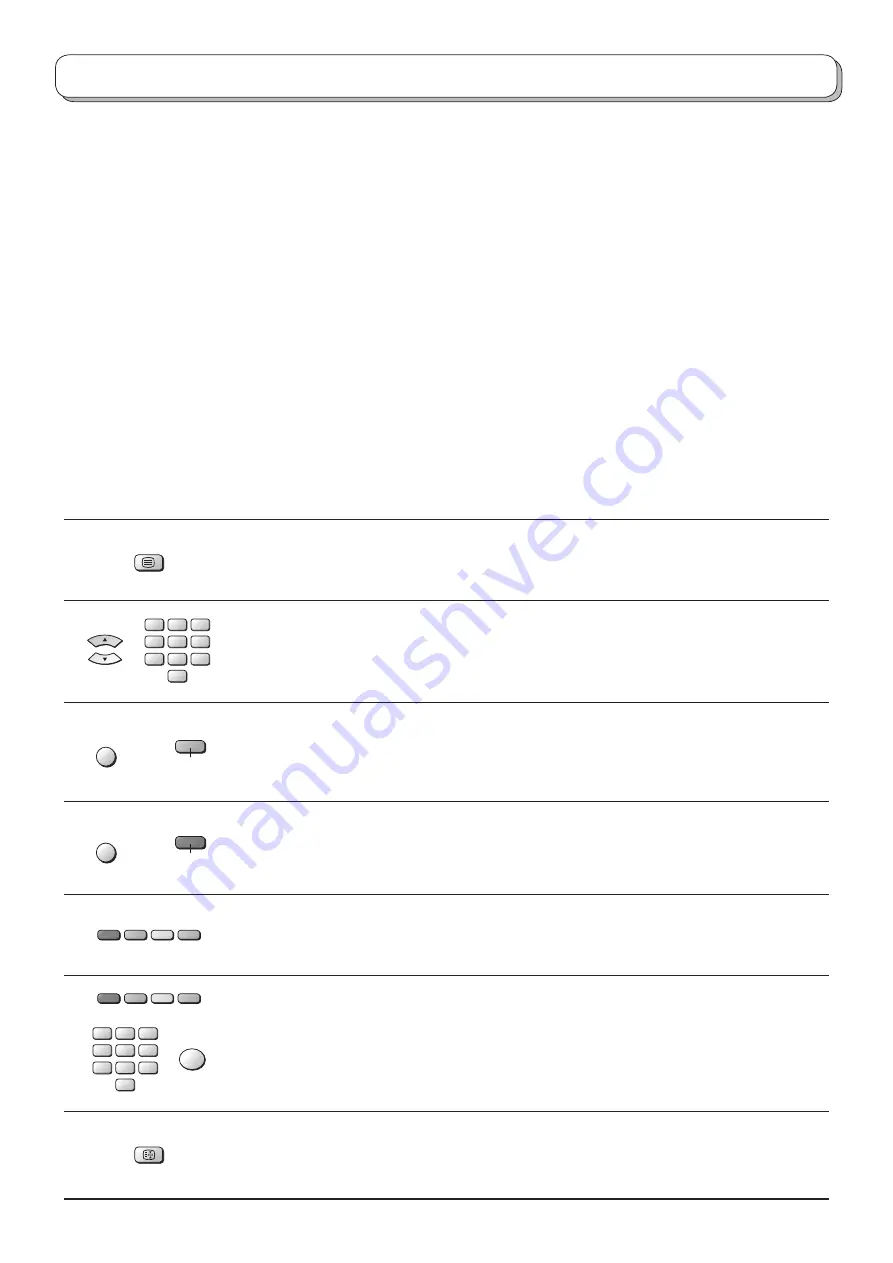
background image

24

Teletext operation

TEXT

TV 

/

 Teletext mode

Press the 

TEXT

 button to switch between the current programme and teletext.


VCR

1

2

3

4

5

6

7

8

9

0

Page Selection

Pages can be selected in two ways:
a. Press the Up / Down cursor buttons to increase or decrease the page number by one.
b. By entering the page number, using 0 - 9 on the remote control.

MENU


Green

Full 

/

 Top 

/

 Bottom

Press the 

MENU

 button to display special functions, followed by the 

Green

 button.

Press the 

Green

 button again to expand the BOTTOM half.

Press again to return to normal (FULL) size.

MENU


Red

Reveal

Press the 

MENU

 button to display special functions, followed by the 

Red

 button to reveal 

hidden words e.g., quiz page answers. Press again to hide.

Red

 / 

Green

 / 

Yellow

 / 

Blue buttons

In TOP/FASTEXT mode they correspond to the differently coloured subjects.
In List mode they correspond to the differently coloured page numbers.

VCR

1

2

3

4

5

6

7

8

9

0


OK

List Store

In List mode the four page numbers can be altered (programme positions 1 - 25 only).
To do this, press one of the four coloured buttons and enter the new page number.
Press and hold the 

OK

 button, the page numbers will change to white indicating that the 

page is stored.

HOLD

HOLD

To hold the Teletext page when viewing multi-page information.
Press again to return to automatic page update.

• Teletext features may vary depending on the Broadcasting Companies and is only available if the channel selected 

is transmitting Teletext.

• Pressing the 

MENU

 button whilst in Teletext operation will display the contrast function with a cyan bar, press the 

left and right cursor buttons to alter the setting as required.

• Pressing the 

MENU

 button whilst in Teletext operation will display special function options at the bottom of the 

screen.

• Pressing the 

Volume up

 / 

down

 button whilst in Teletext operation will display the volume function with a green bar, 

press the volume up / down button to alter the setting as required.

What is List mode ?

In List mode, four differently coloured page numbers are situated at the bottom of the screen. Each of these numbers 
can be altered and stored in the TV’s memory.

What is TOP/FASTEXT mode?

In TOP/FASTEXT mode, four differently coloured subjects are situated at the bottom of the display. To access more 
information about one of these subjects, press the appropriately coloured button. This facility enables fast access to 
information on the subjects shown.

Содержание TH-37PA50E

Страница 1: ...them for future reference TQB0E0167U 1 1 2 3 4 5 6 7 8 9 0 OK C TV N The illustration shown is an image Pedestal stand shown above is optional extra English TH 37PA50E TH 42PA50E TH 37PA40E TH 42PA40E...

Страница 2: ...e control 10 Using the On Screen Displays 11 Picture menu 12 Sound menu 13 Setup menu 14 Tuning menu overview 15 Tuning menu Programme edit 16 Adding deleting a programme channel 16 Moving a programme...

Страница 3: ...electromagnetic fields 2 If a static electricity discharge occurs inside the front cover the screen may momentarily flicker This is not a malfunction The screen will return to normality in a short whi...

Страница 4: ...r keep video equipment away from this product Keep unneeded small parts and other objects out of the reach of small children These objects can be accidentally swallowed Also be careful about packaging...

Страница 5: ...power cord plug the resultant humidity can damage the insulation which could result in fire Pull the power cord plug out from the wall outlet and wipe the mains lead with a dry cloth This Plasma TV ra...

Страница 6: ...d batteries with new batteries Remove old exhausted batteries immediately Do not mix different battery types i e Alkaline and Manganese or use rechargeable Ni Cad batteries Batteries packaging and old...

Страница 7: ...able clampers left and right fitted to the plasma television Bind all cables to the plasma television with the cable clamper For TH 42PA50E TH 42PA40E For TH 37PA50E TH 37PA40E Cable clamper Attach th...

Страница 8: ...ds RF cable Not supplied 1 2 OR Plug in aerial and connect ancillary equipment Connect the mains plug to the wall socket Press the switch on the TV set to turn the set on To switch the TV set to Stand...

Страница 9: ...uction book If Q Link is not operating correctly check the following The Scart cable is connected to the TV s Scart terminal AV2 or AV3 and correctly setup in the menu The Scart cable is connected to...

Страница 10: ...page 12 14 Press to confirm selections and choices Coloured buttons used for the selection navigation and operation of various functions Teletext button see page 24 26 Text F P button see page 25 Dir...

Страница 11: ...ange of options The OK button is used with a number of features to store settings after adjustments have been made or options have been set The EXIT button is used to exit the menu system and return t...

Страница 12: ...Viewing mode offers you up to a maximum of three separate settings for each signal source RF AV1 AV2 AV3 and Component Changes will be stored automatically By analysing and processing the incoming pi...

Страница 13: ...o service Music Off Bass Treble Balance MPX Mode Ambience Sound menu No service Music Off Bass Increase or decrease level to enhance or minimise lower deeper sound output Treble Increase or decrease l...

Страница 14: ...er save By reducing the brighness of picture power consumption can be lowered Tuning menu Provides access to many other features including Programme edit and Auto setup See page 15 19 OSD language Whe...

Страница 15: ...o setup Manual tuning Fine tuning Colour system Volume correc Decoder AV2 Tuning menu Auto Access Off Programme edit Access in order to customize your programme settings e g adding or deleting a progr...

Страница 16: ...e channel to the programme position or the Red button to delete one Press the same button again to confirm your decision Adding deleting a programme channel Confirm Cancel Programme edit Prog Chan Nam...

Страница 17: ...ion information Press the Blue button Programme data will now be sent to the recording device s This might take a few seconds depending on the number of stations stored If the message Feature not avai...

Страница 18: ...now stored on programme position 1 Press the EXIT button at any time to go back to watching TV please read the Notes in the above procedure Notes If you proceed with the next step all tuning data will...

Страница 19: ...ton to access Tuning mode Press the TV AV button to move between Change programme Search and Change TV system Press the or button to change programme position or start search When the desired station...

Страница 20: ...in Standby mode the TV will automatically switch on and select the correct AV input so that you can view the content Recording device Auto Power Standby When the TV is switched into Standby mode the r...

Страница 21: ...rol of your VCR requires adjustment your VCR instruction book will contain adjustment details The widescreen aspect ratios of different films and programmes can vary If these are wider than a standard...

Страница 22: ...the left and right sides of the picture The 4 3 picture will be stretched horizontally so that the image fills the screen this is done in such a way that the stretching is only obvious at the left and...

Страница 23: ...e DVD equipment or VCR Play Press to playback the tape or DVD Stop Press to stop the tape or DVD Skip Fast Forward Cue VCR Press to fast forward the tape In Play mode press to view the picture rapidly...

Страница 24: ...he OK button the page numbers will change to white indicating that the page is stored HOLD HOLD To hold the Teletext page when viewing multi page information Press again to return to automatic page up...

Страница 25: ...re As each sub page is found its number is displayed at the top of the page so that you may select it as more sub pages are picked up the display at the top of the page changes so that you are always...

Страница 26: ...the page Regardless of how many pages are found pressing the Yellow button will take you to the sub page which you requested Press the TEXT button to return to normal TV operation INDEX INDEX When in...

Страница 27: ...Video S Video Scart terminal Yellow button AV3 Video S Video Scart terminal Blue button Component terminals The on screen selector keys that appear clear after a few seconds If you want to select an...

Страница 28: ...not connect a computer with TTL output 5V to this set For Scart terminal wiring information see page 30 DVD PLAYER How to connect the Component Input terminals How to connect the Audio Output termina...

Страница 29: ...ck Some parts of the screen do not light up The plasma TV panel is manufactured using an extremely high level of precision technology however sometimes some parts of the screen may be missing picture...

Страница 30: ...endent on AV2 S VHS VIDEO switching Socket Earth CVBS out video CVBS earth S C in Earth Earth Earth Audio out L Audio out R CVBS in video Earth Earth Q Link data Status CVBS Audio in L Audio earth Aud...

Страница 31: ...CAM D K VHF R1 R2 VHF R3 R5 VHF R6 R12 UHF E21 E69 PAL 525 60 Playback of NTSC tape from some PAL Video recorders VCR M NTSC Playback from M NTSC Video recorders VCR NTSC AV input only Playback from N...

Страница 32: ...Customer s Record The model number and serial number of this product can be found on its rear panel You should note this serial number in the space provided below and retain this book plus your purch...

Отзывы: