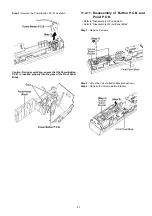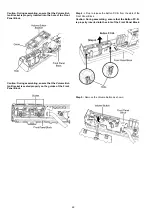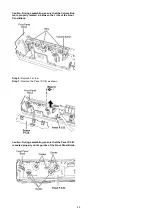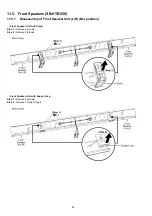
54
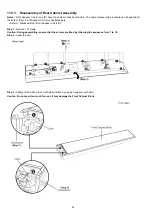
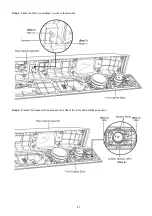
11.5.3. Disassembly of Rear Cabinet Assembly
Notes :
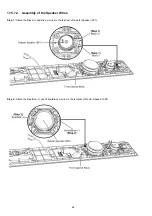
Front Speaker Unit (L) and (R) have the same mechanical structure. The same disassembly procedure can be applied for
the both of them. Front Speaker Unit (L) is illustrated here.
• Refer to “Disassembly of Front Speaker Unit (L/R)”.
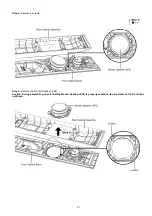
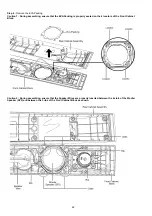
Step 1 :
Remove 12 screws.
Caution: During assembling, ensure that the screws are fixed by following the sequence from 1 to 12.
Step 2 :
Upset the unit.
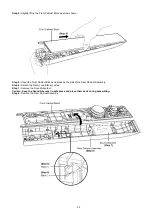
Step 3 :
Slightly tilt and lift up the Front Cabinet Block by using screwdriver with cloth.
Caution: Do not exert too much force as it may damage the Front Cabinet Block.
Содержание SU-HTB550GK
Страница 5: ...5 1 6 Caution for the AC Mains Lead For GS only ...
Страница 7: ...7 1 8 Safety Installation Instructions ...
Страница 12: ...12 5 General Introduction 5 1 About VIERA Link ...
Страница 26: ...26 ...
Страница 30: ...30 11 1 3 Active Subwoofer SB HWA520 ...
Страница 33: ...33 11 3 2 2 Standing Position 11 3 3 Active Subwoofer SB HWA520 ...
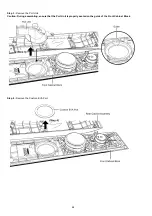
Страница 53: ...53 Step 5 Remove the Speaker Base Step 6 Remove 2 screws Step 7 Push up and remove the Front Ornament Assembly ...
Страница 84: ...84 ...
Страница 96: ...96 ...
Страница 98: ...98 ...
Страница 120: ...120 ...
Страница 135: ...135 99 W_SDO O Wireless control Serial Data Out 100 W_SCL O Wireless control Serial Clock Pin No Mark I O Function ...
Страница 136: ...136 ...
Страница 142: ...142 ...

