14
5.6.
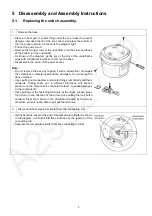
Replacing the thermal fuse.
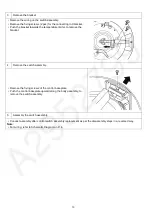
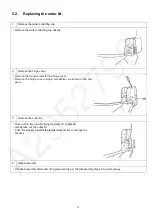
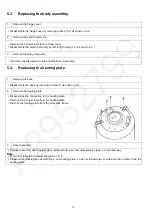
1
Remove the base, body assembly.
• Disassemble the base by referring to Step (1) as shown in 5.1.
• Refer to the method of replacing the body assembly to remove the body assembly.
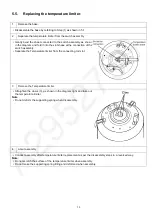
2
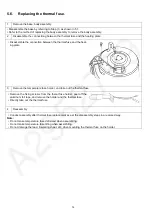
Disassemble the connectiong between the thermal fuse and the heating plate
• Disassemble the connection between the thermal fuse and the heat-
ing plate.
3
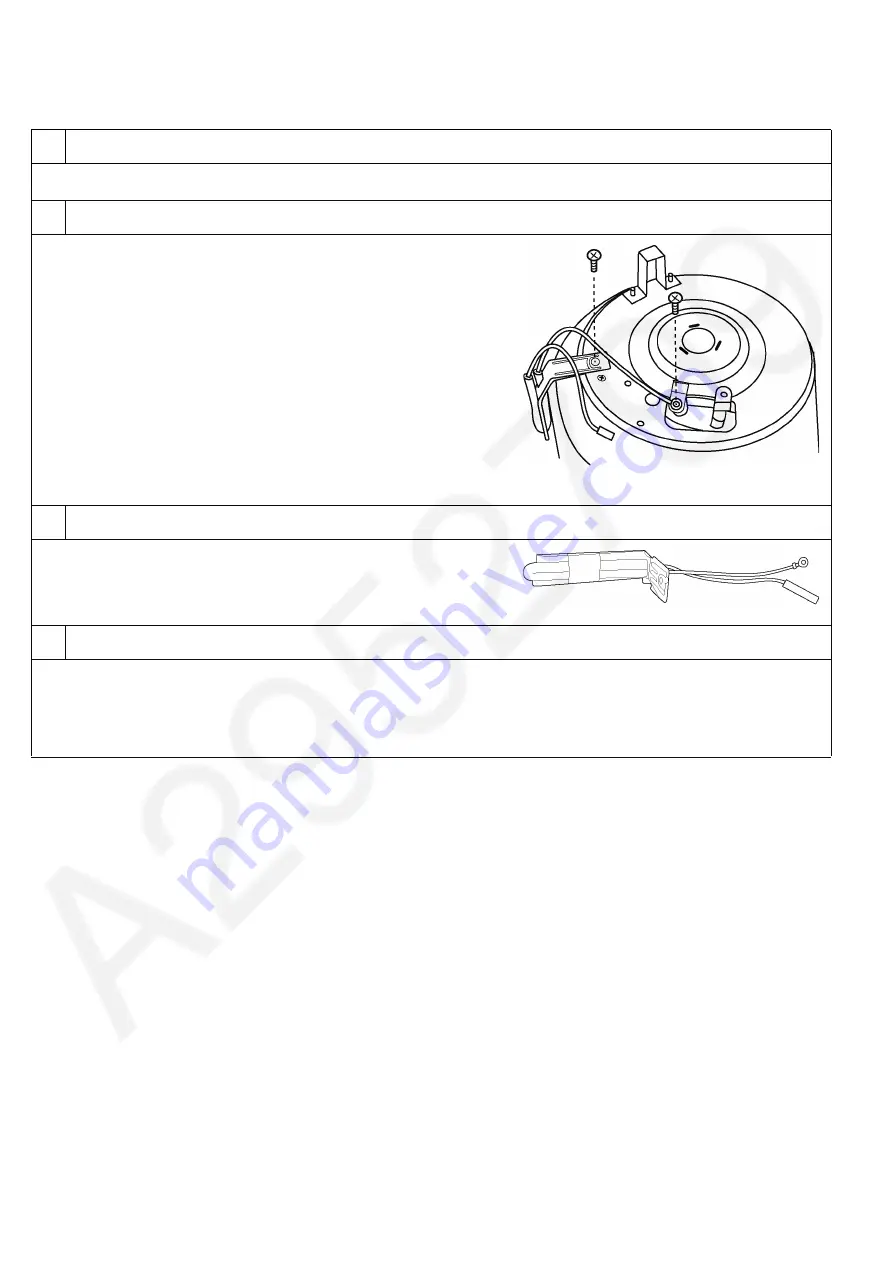
Remove the temperature fuse holder, and take out the thermal fuse
• Remove the fixing screws from the theral fuse holder, peel off the
aluminum foil tape, and remove the holder and the thermal fuse.
• Directly take out the thermal fuse.
4
Reassembly
• Conduct assembly after thermal fuse replacement as per the disassembly steps in a reversed way.
Note:
• Do not make temperature fuse deformed when assembling.
• Do not make temperature fuse tilting when assembling.
• Do not damage the lead, insulating sheet, etc. when mounting the thermal fuse on the holder.
Содержание SR-JP185WVA-US
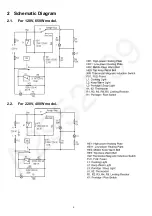
Страница 4: ...4 2 Schematic Diagram 2 1 For 120V 650W model 2 2 For 220V 400W model ...
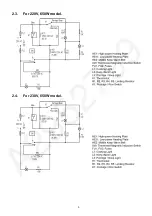
Страница 5: ...5 2 3 For 220V 650W model 2 4 For 230V 650W model ...
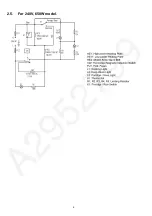
Страница 6: ...6 2 5 For 240V 650W model ...
Страница 15: ...15 6 Exploded View and Replacement Parts List 6 1 Exploded View ...
Страница 16: ...16 6 2 Packing View ...

