


RQTV0123
19
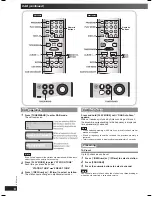
Sound adjustment
CLEAR
0-$"
CLEAR
0-$"
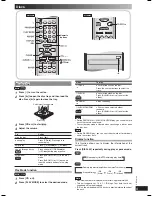
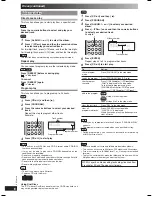
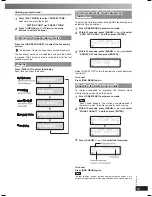
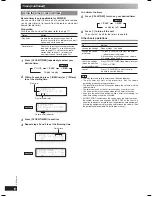
Selecting sound effects
Selecting sound effects
You can change the sound effect by selecting Preset EQ or
adjusting the bass or treble effect.
Preset EQ
Preset EQ
Press [PRESET EQ] repeatedly to select your desired
setting.
HEAVY
→
CLEAR
→
SOFT
→
VOCAL
→
EQ-OFF
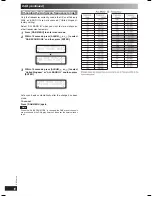
Setting
Effect
HEAVY
Adds punch to rock
CLEAR
Clarifi es higher frequencies
SOFT
For background music
VOCAL
Adds gloss to vocal
EQ-OFF
No effect
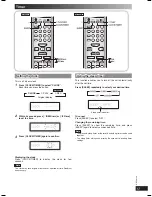
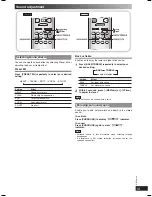
Bass or treble
Bass or treble
Enable you to enjoy the lower or higher pitch sound.
1
Press [BASS/TREBLE] repeatedly to select your
desired setting.
BASS
TREBLE
original display
Setting
Effect
BASS
For lower pitch sound
TREBLE
For higher pitch sound
2
Within 3 seconds, press [ /REW/
4
] or [ /FF/
¢
]
to adjust the level.
Note
The tone level can be varied within -4 to +4.
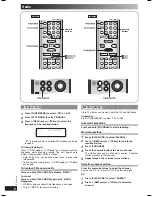
Enjoying surround sound
Enjoying surround sound
Enable you to add natural width and depth to the stereo
sound.
To activate
Press [SURROUND] to display “
” indicator.
To cancel
Press [SURROUND] again to clear “
”
indicator.
Note
• Surround sound is less discernible when listening through
headphones.
• If interference in FM stereo reception increases, cancel the
surround sound effect.
PM32-33DB_EB_En.indd 19
PM32-33DB_EB_En.indd 19
3/1/06 12:12:47 PM
3/1/06 12:12:47 PM


