background image

2

Do the procedures with the remote control. You can 
also use the buttons on the main unit if they are the 
same.

Your system and the illustrations can look differently.
These operating instructions are applicable to the following 
system.

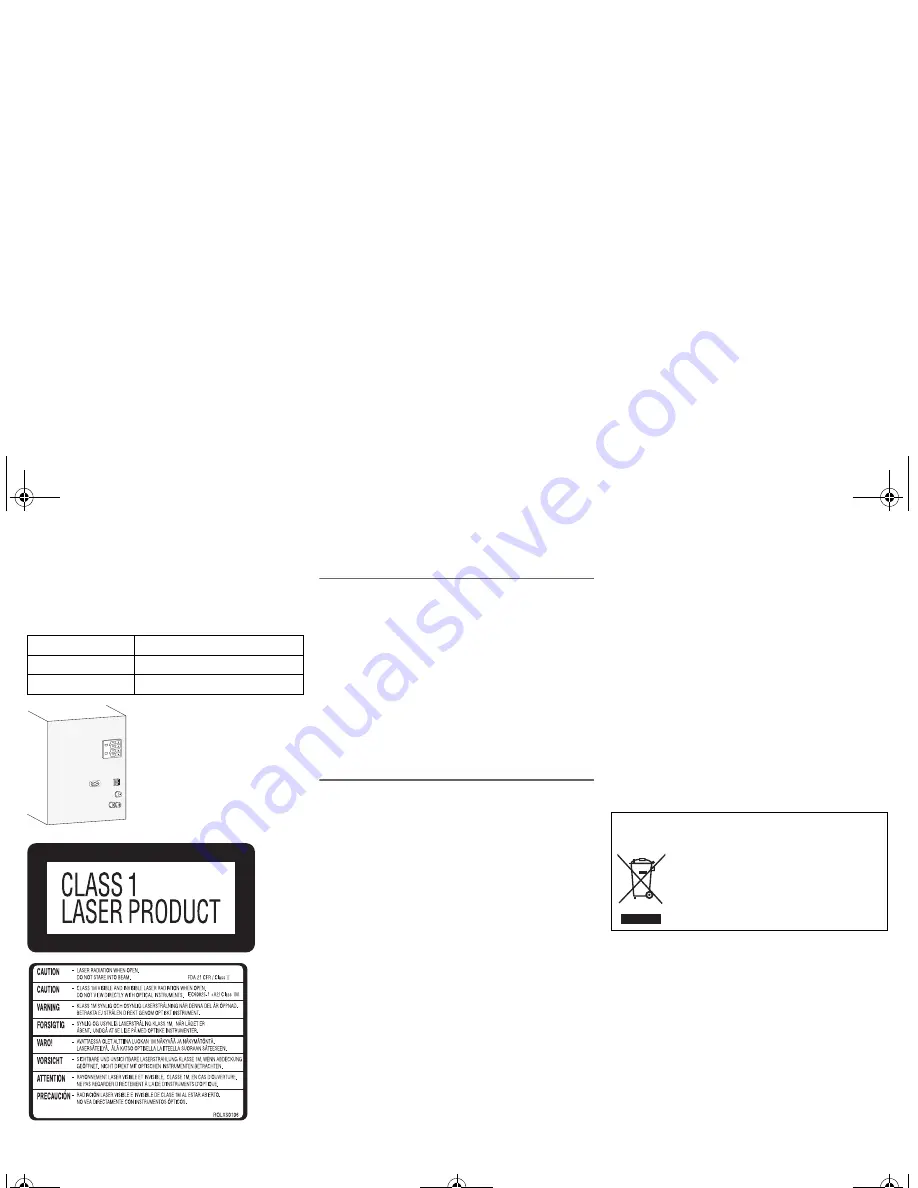
Back of product

Inside of product

Safety precautions

WARNING!

Unit

• To reduce the risk of fire, electric shock or product 

damage,
– Do not expose this unit to rain, moisture, dripping or 

splashing.

– Do not place objects filled with liquids, such as vases, 

on this unit.

– Use only the recommended accessories.
– Do not remove covers. 
– Do not repair this unit by yourself. Refer servicing to 

qualified service personnel.

– Do not let metal objects fall inside this unit.
– Do not handle the plug with wet hands.

CAUTION!

Unit

• To reduce the risk of fire, electric shock or product 

damage,
– Do not install or place this unit in a bookcase, built-in 

cabinet or in another confined space. Ensure this unit is 
well ventilated.

– Do not obstruct this unit’s ventilation openings with 

newspapers, tablecloths, curtains, and similar items.

– Do not place sources of naked flames, such as lighted 

candles, on this unit.

– Set this unit up on an even surface away from direct 

sunlight, high temperatures, high humidity, and 
excessive vibration.

– Do not use a DC power source.

• This unit is intended for use in moderate climates.
• Install this unit so that the AC mains lead can be 

unplugged from the socket outlet immediately if any 
problem occurs.

• This unit may receive radio interference caused by mobile 

telephones during use. If such interference occurs, 
please increase separation between this unit and the 
mobile telephone.

• This unit utilizes a laser. Use of controls or adjustments or 

performance of procedures other than those specified 
herein may result in hazardous radiation exposure.

Battery

• Do not break open or short-circuit the battery.
• Do not charge the alkaline or manganese battery.
• Do not use the battery if the cover has peeled off.
• Do not heat or expose to flame.
• Do not leave the battery(ies) in a car exposed to direct 

sunlight for a long period of time with door and windows 
closed.

• Remove the battery if you do not use the remote control 

for a long period of time. Keep in a cool, dark area.

• Danger of explosion if battery is incorrectly replaced. 

Replace only with the type recommended by the 
manufacturer.

• When disposing the batteries, please contact your local 

authorities or dealer and ask for the correct method of 
disposal.

- If you see this symbol -

System

SC-AKX54

Main unit

SA-AKX54

Speakers

SB-AKX54

Information on Disposal in other Countries outside 
the European Union

This symbol is only valid in the European 
Union.
If you wish to discard this product, please 
contact your local authorities or dealer and 
ask for the correct method of disposal.

AKX54GN_en.fm  Page 2  Wednesday, March 7, 2012  5:38 PM

Содержание SC-AKX54

Страница 1: ...s CD Stereo System Model No SC AKX54 Thank you for purchasing this product For optimum performance and safety please read these instructions carefully Please keep this manual for future reference GN En RQT9630 B L0112CH0 AKX54GN_en fm Page 1 Wednesday March 7 2012 5 38 PM ...

Страница 2: ... climates Install this unit so that the AC mains lead can be unplugged from the socket outlet immediately if any problem occurs This unit may receive radio interference caused by mobile telephones during use If such interference occurs please increase separation between this unit and the mobile telephone This unit utilizes a laser Use of controls or adjustments or performance of procedures other t...

Страница 3: ... the system Decrease the volume in these conditions to prevent damage When you play distorted sound When you adjust the sound quality Preparing the remote control Use alkaline or manganese battery Install the battery so that the poles and align with those in the remote control Point the remote control at the remote control sensor away from obstacles at a maximum range of 7 m directly in front of t...

Страница 4: ...ou have to set them again 1 Connect the speakers 2 Connect the AM loop antenna Stand the antenna up on its base until it clicks 3 Connect the FM indoor antenna Place the antenna where reception is best 4 Connect the AC mains lead Use the supplied AC mains lead with this system only Do not use an AC mains lead from other equipment 1 2 3 4 To household mains socket White Tape AKX54GN_en fm Page 4 We...

Страница 5: ...onal FM outdoor antenna The antenna should be installed by a competent technician A beat sound is heard Switch off the TV or move it away from the system Set to BP 1 or BP 2 when in AM tuner mode A low hum is heard during AM broadcasts Move the antenna away from other cables and cords USB The USB device or the contents in it cannot be read The format of the USB device or the contents in it is are ...

Страница 6: ...DIO MENU SLEEP PLAY REC AUTO OFF MEMORY T I T L E S E A R C H P L A Y L I S T ABC DEF GHI P QRS TUV W XYZ JKL MNO A B C D E G F H I M K J N L O Q P R S MANUAL EQ PRESET EQ MEMORY REC USB REC MUSIC PORT MEMORY SUPER WOOFER MIC MIN MAX MIC VOL Y A F T I V Z E D E c d b N F a W X U AKX54GN_en fm Page 5 Wednesday March 7 2012 5 38 PM ...

Страница 7: ...emory items again Remote control code When other Panasonic equipment responds to the remote control of this system change the remote control code for this system Preparation Press RADIO EXT IN main unit RADIO EXT IN to select AUX or MUSIC PORT To set the code to REMOTE 2 1 Press and hold RADIO EXT IN on the main unit and 2 on the remote control until REMOTE 2 is shown 2 Press and hold OK and 2 for...

Страница 8: ...he system if you do not use the system for 30 minutes Press and hold the button to use this function To cancel press and hold the button again M Set the program function N Adjust the volume of the system O Mute the sound of the system Press the button again to cancel MUTE is also canceled when you adjust the volume or when you switch off the system P Set the play menu item Set the radio menu item ...

Страница 9: ... can play CD R RW with CD DA or MP3 format content Some CD R RW cannot be played because of the condition of the recording MP3 files are defined as tracks and folders are defined as albums This system can access up to CD DA 99 tracks MP3 999 tracks 255 albums and 20 sessions Disc must conform to ISO9660 level 1 or 2 except for extended formats Recordings will not necessarily be played in the order...

Страница 10: ... to record Radio Tune in to the radio station Prepare the disc playback mode Make sure the disc is stopped External equipment Connect and play the equipment Z External equipment 2 Press 7 9 USB REC or 7 9 MEMORY REC to start recording The name of the folder that keeps the recording is shown Note Wait for a few seconds for the system to prepare the USB device before you start recording USB recordin...

Страница 11: ...search for previous or next match NOTFOUND is shown if there is no match 4 Press OK to confirm and play the track To cancel press TITLE SEARCH Note This function skip tracks that are created with basic recording Z Basic recording This function does not work with random or program playback The character is not case sensitive A same track title display will be shown for tracks with the same title Re...

Страница 12: ... be deleted is shown 6 Press OK SURE NO is shown 7 Press Y U to select YES or NO and then press OK Select YES to confirm the deletion WRITING is shown Note on USB Compatible USB devices which are defined as mass storage class USB devices that support bulk only transfer USB devices that support USB 2 0 full speed Note Folders are defined as album Files are defined as track Track must have the exten...

Страница 13: ...o select A PRESET and then press OK START is shown 3 Press OK to start presetting To cancel press 8 Manual presetting 1 Press 3 or 5 to tune in to the station 2 Press PROGRAM 3 Press the alphanumeric buttons to select a preset number Do steps 1 through 3 again to preset more stations The new station replaces any station that occupies the same preset number Selecting a preset station Press the alph...

Страница 14: ...m must be switched off for the timer to operate To check the settings Press CLOCK TIMER to select PLAY or REC Note The play timer starts at a low volume and increases gradually to the preset level The record timer starts 30 seconds before the set time with the volume muted The timer comes on at the set time every day if the timer is on If you switch off the system and switch on again while a timer...

Страница 15: ... 3 Play the external equipment Note If you want to connect equipment other than those described refer to the audio dealer Sound distortion can occur when you use an adapter BASS MID TREBLE 1 Press SOUND to select BASS MID or TREBLE 2 Press Y U to adjust the level 4 to 4 By main unit only 1 Press MANUAL EQ to select BASS MID or TREBLE 2 Press 2 3 or 5 6 to adjust the level SURROUND 1 Press SOUND to...

Страница 16: ...0 nm CD Audio output disc Number of channels 2 ch FL FR FL Front left channel FR Front right channel MPEG 1 Layer 3 Memory Memory size 2 GB Media file format support MP3 mp3 Memory recording Bit rate 128 kbps Memory recording speed 1x 3x max CD only Recording file format MP3 mp3 Capacity of total songs recorded 510 songs use 128 kbps approximately 1 song 4 mins USB port USB standard USB 2 0 full s...

Отзывы: