RQTX1146
RQTX1146
14
ENGLISH
RQTX1146
RQTX1146
External unit
(continued)
Input level
You can select the sound input level of the Bluetooth device.
Press [PLAY MODE] repeatedly to select “LEVEL 0”, “LEVEL +1”
or “LEVEL +2”.
Select “LEVEL 0” if the sound is distorted.
•
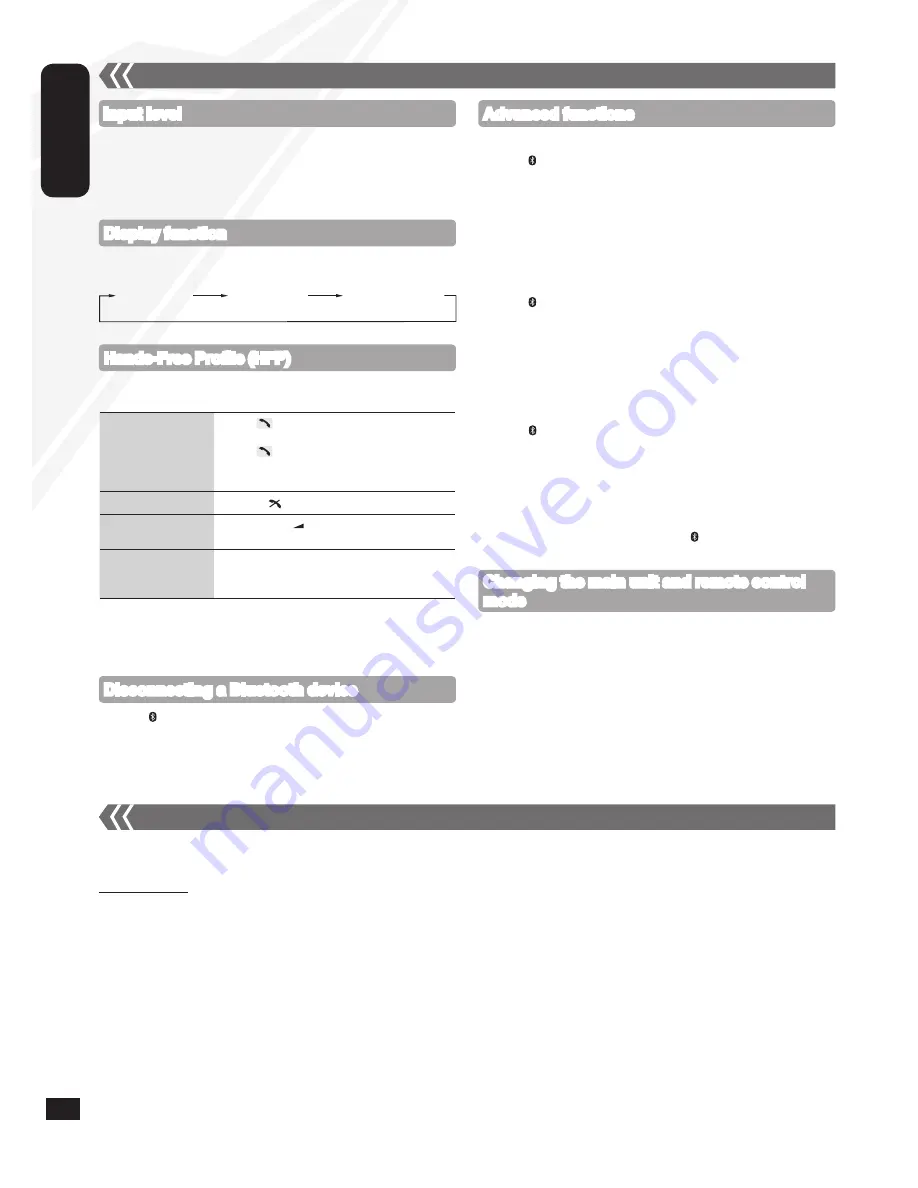
Display function
Press [DISPLAY, –DIMMER] repeatedly to view the information of
the current connected device.
BLUETOOTH
Connected
device name
Connected profiles
Hands-Free Profile (HFP)
This unit works as a Bluetooth hands-free for your mobile phones.
You can answer or cancel an incoming call with the remote control.
To answer a call
(“IN CALL” blinks)
Press
[
]
. “CALLING” starts blinking on the
display (Talk into the unit’s microphone).
Press
[
]
again to transfer the call to the
mobile phones (“TRANSFER” blinks. You may
now converse using the mobile phone).
To cancel a call
Press
[
g
, ]
.
To adjust volume
Press
[+, VOL
, –]
(Adjustable from
“TEL VOL 1” to “TEL VOL 10”).
To mute the
microphone
Press
[MUTE]
. Press again to cancel.
(During “MIC MUTE”, the caller is not able to
hear your voice).
This unit does not work with Headset Profile (HSP).
When the mobile phone is too close to the microphone of this unit,
noise may occur. Always keep the mobile phone away from the
microphone of this unit when making a call.
•
•
The remote control and main unit are factory-set to “REMOTE 1” mode.
If you find the remote control unintentionally also controls other
equipment, you can switch to operate in “REMOTE 2” mode.
To switch to “REMOTE 2” mode (by main unit only)
Press [FM/AM/AUX] to select ‘‘AUX’’.
Press and hold [FM/AM/AUX] and then press [2] until
“REMOTE 2” is displayed.
Press and hold [OK] and [2] for at least 2 seconds.
To return to “REMOTE 1” mode
Repeat the steps above but replace
[2]
with
[1]
.
(“REMOTE 1” will be displayed.)
Changing the main unit and remote control
mode
Advanced functions
14
When the following situations occur, reset the memory:
There is no response when buttons are pressed.
You want to clear and reset the memory contents.
To reset memory
Disconnect the AC power supply cord.
(Wait for at least 3 minutes before proceeding to step 2.)
While pressing and holding down [
8
, POWER] on the main unit, reconnect the AC power supply cord.
“--------” appears on the display.
Release [
8
, POWER].
All the settings are returned to the factory preset. You will need to reset the memory items.
•
•
Memory reset (Initialization)
Press [ MENU] to display “DISCONNECT?” and then press [OK].
A confirmation message is displayed.
Press [
e
,
r
] to select “YES” or “NO” and then press [OK].
The connection can also be stopped when you disable Bluetooth
transmission on the connected Bluetooth device.
•
Disconnecting a Bluetooth device
g
To register more devices
Press [ MENU].
Press [
e
,
r
] to select “NEW DEV” and then press [OK].
The unit enters pairing mode and “PAIRING” starts blinking on the
display.
While this unit is in pairing mode, access the Bluetooth menu of
the Bluetooth device and execute a Bluetooth search to find this
unit (SC-HC40).
If prompted for the passkey, enter “0000”.
g
To select communication quality
Press [ MENU].
Press [
e
,
r
] to select “LINK MODE” and then press [OK].
Press [
e
,
r
] to select the following modes and then press [OK].
“MODE 1”: Connection with emphasis on communication stability
“MODE 2”: Connection with high bit rate for good audio quality
(Communication might easily be disconnected in this
mode, select “MODE 1” if this occurs).
g
To select Auto Link mode
Press [ MENU].
Press [
e
,
r
] to select “AUTO LINK” and then press [OK].
Press [
e
,
r
] to select the following modes and then press [OK].
“ON”: Automatically linked even in other than Bluetooth selector
“OFF”: Linked only in Bluetooth selector
These functions are unavailable if a device is connected. Disconnect
the Bluetooth devices to display these functions.
When “LINKING” is displayed, pressing
[ MENU]
is invalid.
Auto Link works only if your device support A2DP.
•
•
•
•
•
•
•
•


