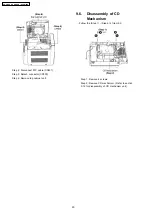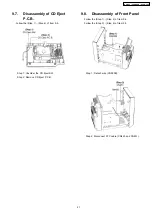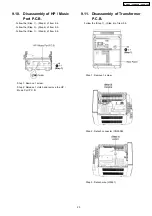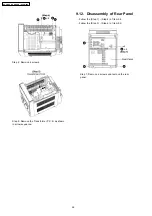
9.4. Disassembly of Side Panel L &
R
·
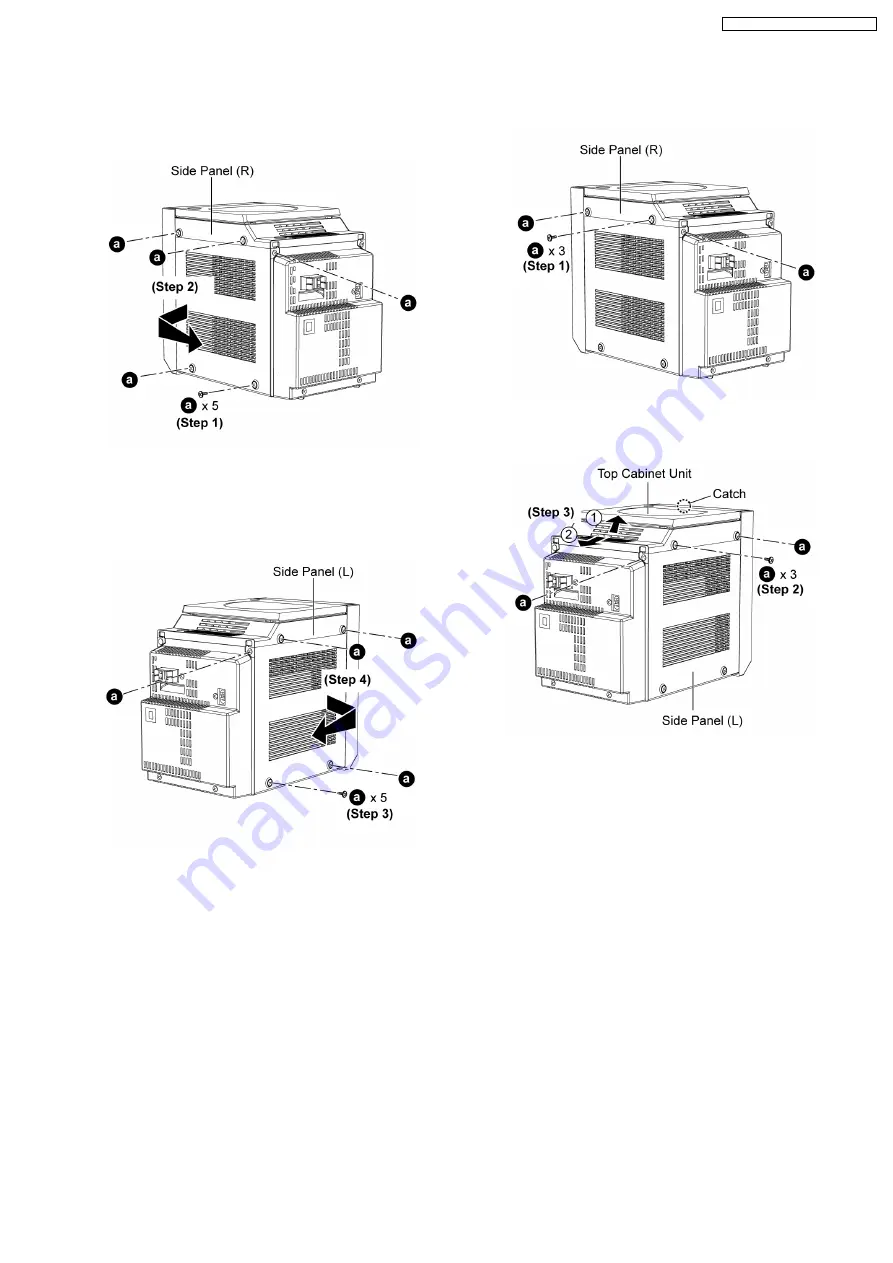
Disassembly of Side Panel (R)
Step 1: Remove 5 screws.
Step 2: Remove the side panel (R) as arrow shown.
·
Disassembly of Side Panel (L)
Step 3: Remove 5 screws.
Step 4: Remove the side panel (L) as arrow shown.
9.5. Disassembly of Top Cabinet
Unit
Step 1: Remove 3 screws.
Step 2: Remove 3 screws.
Step 3: Lift up the top cabinet unit, push backward
as arrow shown and flip top cabinet unit sideway.
(Be careful of the catch)
19
SA-PM4E / SA-PM4EB / SA-PM4EG
Содержание SA-PM4E
Страница 4: ...1 2 Caution for AC Cord 4 SA PM4E SA PM4EB SA PM4EG ...
Страница 12: ...7 3 Disc Information 12 SA PM4E SA PM4EB SA PM4EG ...
Страница 28: ... Replacement of CD Servo P C B 28 SA PM4E SA PM4EB SA PM4EG ...
Страница 30: ...10 2 Checking and Repairing of Transformer P C B 30 SA PM4E SA PM4EB SA PM4EG ...
Страница 32: ...10 4 Checking and Repairing of Panel and HP Music Port P C B 32 SA PM4E SA PM4EB SA PM4EG ...
Страница 38: ...SA PM4E SA PM4EB SA PM4EG 38 ...
Страница 42: ...SA PM4E SA PM4EB SA PM4EG 42 ...
Страница 44: ...44 SA PM4E SA PM4EB SA PM4EG ...
Страница 56: ...SA PM4E SA PM4EB SA PM4EG 56 ...
Страница 61: ...19 Exploded Views 19 1 Cabinet Parts Location Traverse Part Location SA PM4E SA PM4EB SA PM4EG 61 ...
Страница 62: ...19 2 Packaging SA PM4E SA PM4EB SA PM4EG 62 ...


