


Item
Description
Page
[PROJECTION METHOD]
Set [PROJECTION METHOD] depending on the installation mode.
After completing the initial setting, you can change the setting from the [PRO-
JECTOR SETUP] menu → [PROJECTION METHOD].
27, 72
[SCREEN FORMAT]
Set the screen format (aspect ratio) and display position of the image.
After completing the initial setting, you can change the settings of each item from
the [DISPLAY OPTION] menu → [SCREEN SETTING].
67
[SCREEN POSITION]
Set the display position of the image.
After completing the initial setting, you can change the settings of each item from
the [DISPLAY OPTION] menu → [SCREEN SETTING].
67
[STANDBY MODE]
Set the operation mode during standby. The default setting is [NORMAL], which
allows you to use the network function during standby. If you want to reduce the
power consumption during standby, it can be set to [ECO]. If you want to keep
the power consumption low during standby, and to perform operation of power-
on via wired LAN with the Wake on LAN function, set to [NETWORK]. After the
initial setting is completed, you can change the setting from the [PROJECTOR
SETUP] menu → [ECO MANAGEMENT] → [STANDBY MODE].
74
2) Press
qw
to switch the setting.
f
When all settings are completed, proceed to Step
3)
.
3) Press the <ENTER> button.
f
Confirm the setting value and complete the initial setting.
Making adjustments and selections
It is recommended that images are projected continuously for at least 30 minutes before the focus is adjusted.
5) 8)
3)
3)
1)
4)
4)
AUTO SETUP
6)
7)
1) Roughly adjust the focus of the image with the focus ring. (
x
page 41)
2) Change the settings of the [PROJECTOR SETUP] menu → [PROJECTION METHOD] depending on the
installation mode. (
x
page 27)
f
Refer to “Navigating through the menu” (
x
page 49) for the operation of the menu screen.
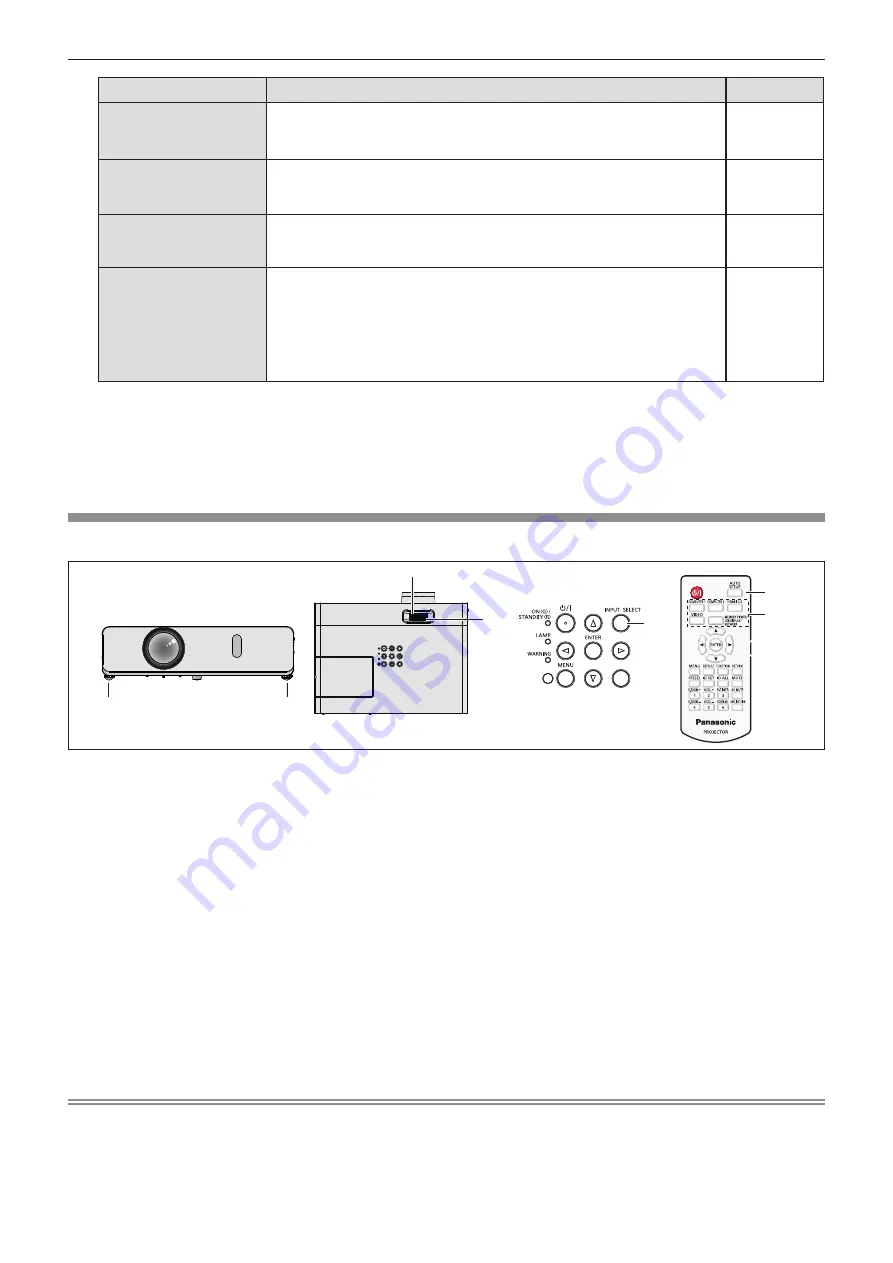
3) Press the <INPUT SELECT> button on the control panel or the input selection buttons (<COMPUTER
1>, <COMPUTER 2>, <HDMI 1/2>, <VIDEO>, <MEMORY VIEWER/USB DISPLAY/NETWORK>) on the
remote control to select the input signal.
4) Adjust the front, back and sideway tilt of the projector with the adjustable feet. (
x
page 42)
5) Adjust the size of the image to match the screen with the zoom ring.
6) If the input signal is an analog RGB signal, press the <AUTO SETUP> button.
7) Adjust the focus again with the focus ring.
8) Adjust the size of the image to match the screen with the zoom ring again.
Note
f
When the projector is switched on for the first time after purchase as well as when the [PROJECTOR SETUP] menu → [INITIALIZE ALL] is
executed, the initial setting screen is displayed after projection starts. Refer to “When the initial setting screen is displayed” (
x
page 37).
38 -
ENGLISH
Chapter 3 Basic Operations - Powering on/off
Содержание PT-VW360D
Страница 34: ...Chapter 3 Basic Operations This chapter describes basic operations to start with 34 ENGLISH...
Страница 86: ...Chapter 5 Operation of Function This chapter describes the operation methods of some functions 86 ENGLISH...
Страница 118: ...Chapter 7 Appendix This chapter describes specifications and after sales service for the projector 118 ENGLISH...


