12
Capturing projected images onto the
SD memory card
It is possible to capture images which are being projected from a source such
as a connected computer or VCR, and save these captured images onto the
SD memory card which has been inserted into the SD memory card slot of the
projector. Images can be captured in one of two ways: by using menu screen
operations (used principally for still images), or by using the FREEZE button on
the remote control unit (used principally for moving images). YP
B
P
R
signals and
video signals which include copy-protection signals cannot be captured.
Enabling the FREEZE button for making
capture recordings
#
#
#
#
#
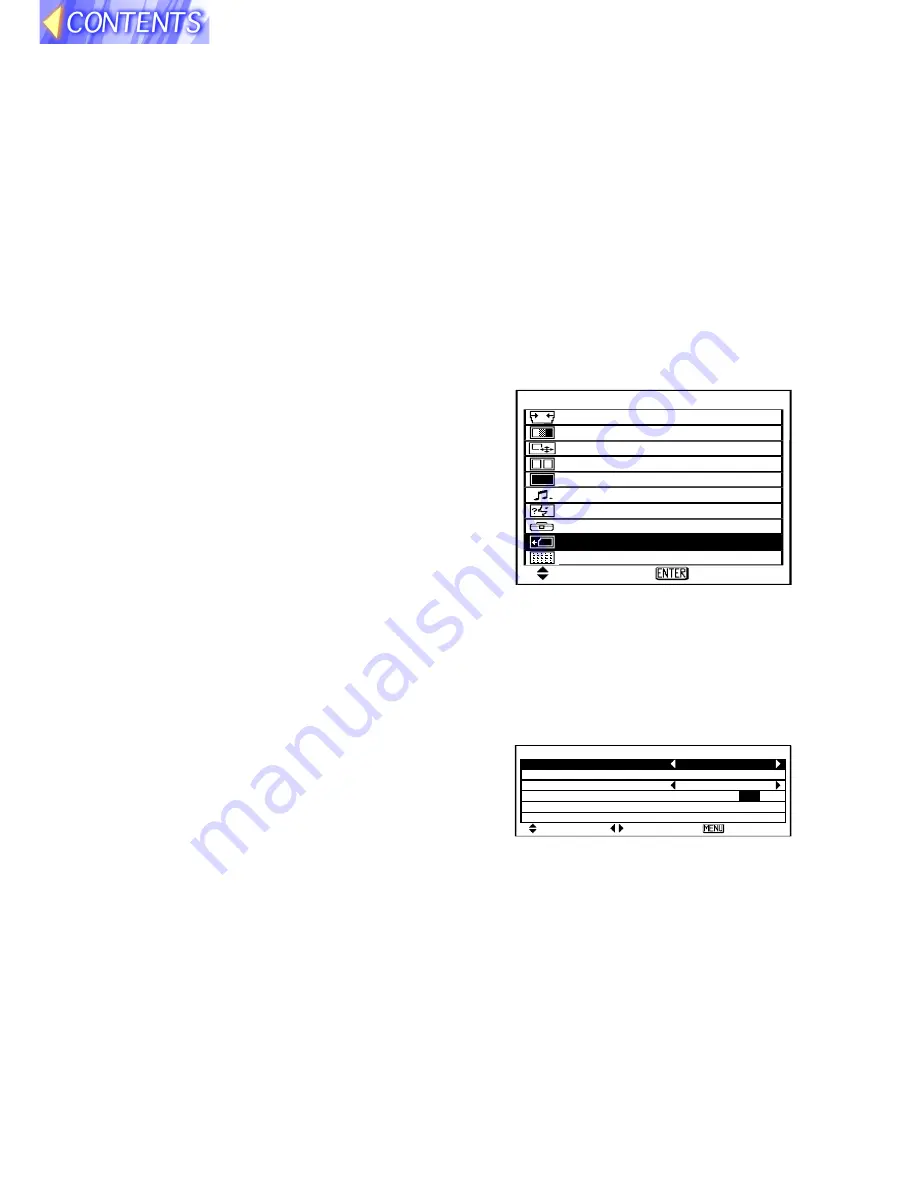
Press the MENU button.
The MAIN MENU screen will be dis-
played.
$
$
$
$
$
Press the
F
F
F
F
F
or
G
G
G
G
G
arrow button to
select "SD CARD".
%
%
%
%
%
Press the ENTER button.
The SD CARD screen will then be
displayed.
Note:
B
If "CARD" is selected using the input select (INPUT, RGB) button, the SD
CARD screen will be displayed when the MENU button is pressed, instead
of the MAIN MENU screen.
&
&
&
&
&
Press the
F
F
F
F
F
or
G
G
G
G
G
arrow button to
select "CAPTURE".
(
(
(
(
(
Press the
I
I
I
I
I
or
H
H
H
H
H
arrow button so
that "FREEZE" is set.
If set to "MENU", the capture function will
not operate even when the FREEZE
button is pressed.
Note:
B
If the capture setting is set to "FREEZE", only the vertical keystone
correction function will be inoperable. (The picture image on the screen
will appear to be distorted in the vertical direction, but the captured image
will not have this distortion.)
If the FREEZE button is not required for capturing images, or if you do not
want the image to appear distorted while projection is paused, change the
capture setting to "MENU".
M E N U
K E Y S T O N E
P I C T U R E
P O S I T I O N
I N D E X W I N D O W
S H U T T E R
A U D I O
L A N G U A G E
O P T I O N
S D C A R D
C A P T U R E
S E L C T E N T E R
S D C A R D
C A P T U R E F R E E Z E
A U T O P L A Y 6 0 S E C
A U T O L O O P O F F
O N
S E L C T A D J E S C


