[PICTURE] menu
ENGLISH
- 45
Settings
Note
You cannot adjust menu items that are displayed in grey
z
during split adjustment.
The [KEYSTONE] of [POSITION] becomes inactive
z
during split adjustment.
When a 3D signal is being input (including converting 2D
z
to 3D), the [SPLIT ADJUST] cannot be executed.
[ADVANCED MENU]
You can perform more detailed image adjustment
manually.
Press the <ENTER> button
The [ADVANCED MENU] menu is displayed.
z
■
[GAMMA ADJUSTMENT]
You can make detailed adjustments to the light intensity of
each input signal level by using the [ADVANCED] mode,
or adjust at 3 levels (high, mid, low) by using the [SIMPLE]
mode.
Note
You can only carry out the [GAMMA ADJUSTMENT]
z
through either the [ADVANCED] or [SIMPLE] mode. Both
settings cannot be used at the same time.
Adjusting the gamma (when [ADVANCED]
●
is selected for [ADJUSTMENT MODE])
Press the ◄► buttons to select
1)
[ADVANCED].
GAMMA ADJUSTMENT
ADJUSTMENT MODE
GAMMA HIGH
GAMMA MID
GAMMA LOW
POINT
Y ADJUST
R ADJUST
G ADJUST
B ADJUST
INITIALIZE
ADVANCED
5
PICTURE
POSITION
LANGUAGE
3D SETTINGS
LENS CONTROL
OPTION
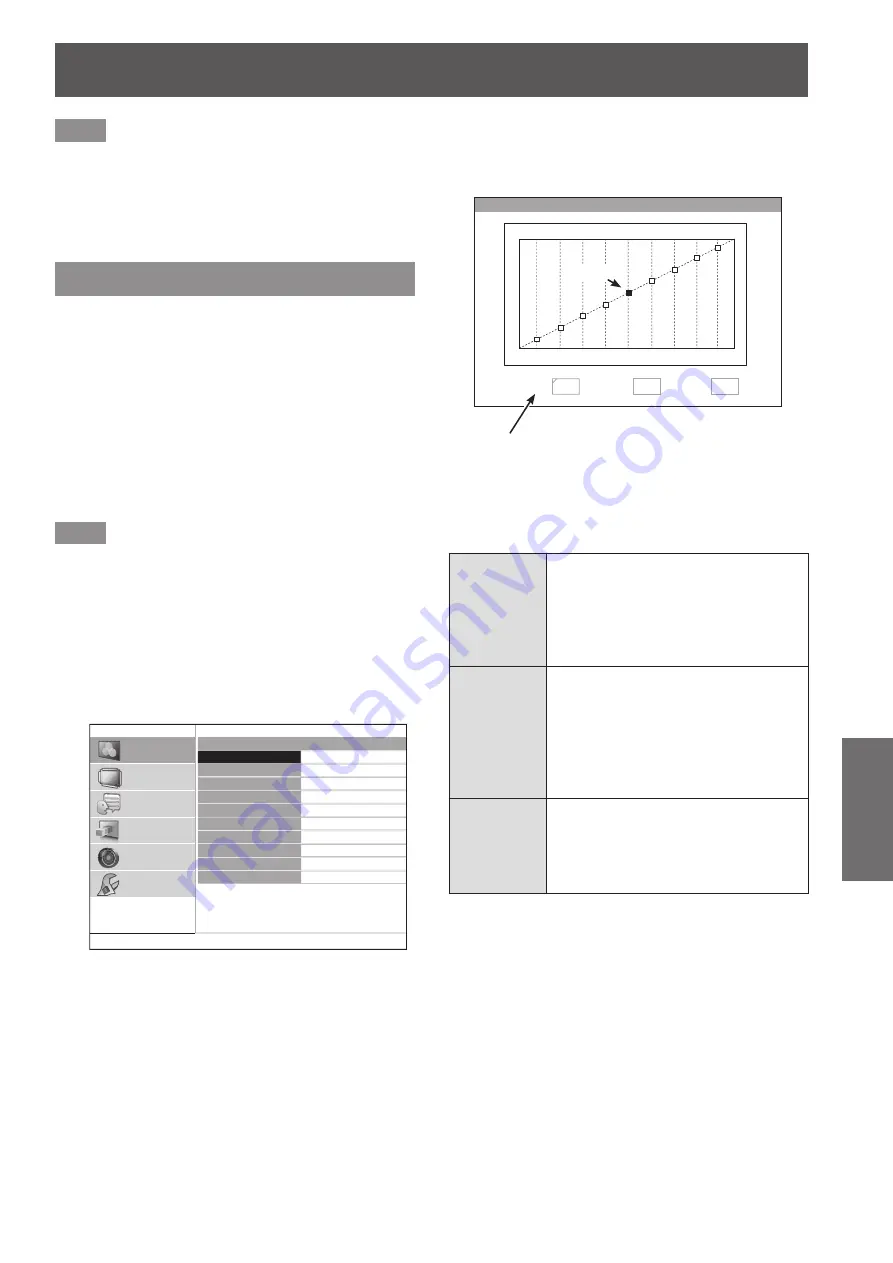
Press the ▲▼ buttons to select [Y ADJUST]
2)
and then press the <ENTER> button.
The [Y ADJUST] menu is displayed and a
z
maximum of 9 points are adjustable.
Y ADJUST
POINT
5
0%
50%
100%
INPUT
OUTPUT
INPUT
OUTPUT
50%
0
(A)
Displays information about the current selected point
(A)
.
Default setting:
POINT [5] INPUT [50 %] OUTPUT [0]
[POINT]
[1] to [9]
Display the present selected point
number.
Numbers 1 to 9 are displayed from
the left of the input signal level.
Your selected point is indicated in
yellow on the graph.
[INPUT]
[1 %] to
[99 %]
Display the input level of the present
selected point.
Setting range: from 1 to 99 % in
increments of 1 %.
Default settings: 10, 20,
30, 40, 50, 60,
70, 80, 90 %
[OUTPUT]
[-252] to
[+252]
Display the output level of the present
selected point.
Adjustable range depends on the
input level.
Default setting: 0


