9.4. Electrical Adjustment Procedures
9.4.1. Initial guideline
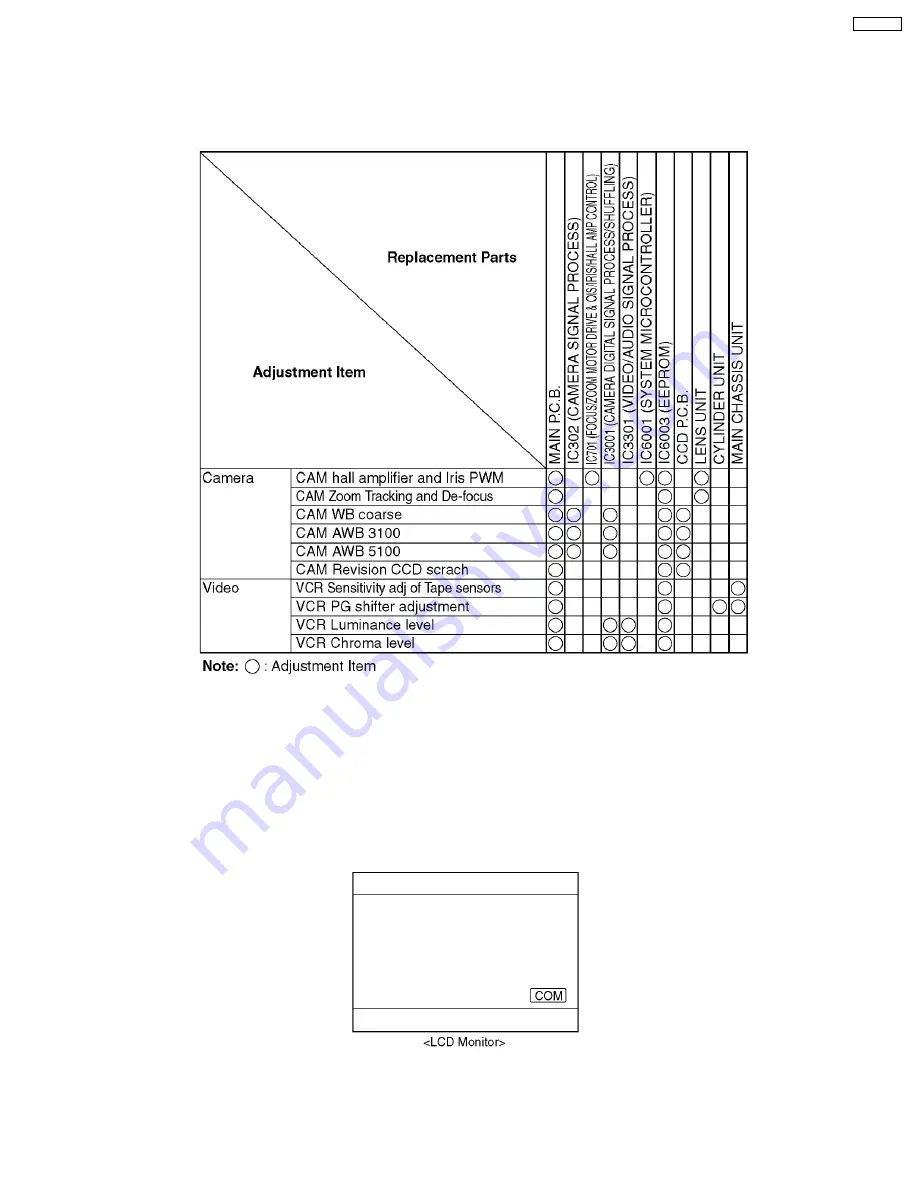
The table below shows which adjustments are necessary according to the unit parts and individual parts to be replaced.
Make sure to perform these adjustments shown below as necessary.
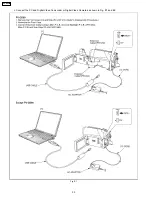
9.4.2. Set-up manual for Digital Video Camcorder or Digital Video Camera.
1. Installation of USB-SERIAL Driver
Execute the “Setup.exe” file in “Com Mass” folder by double clicking to install the USB-SERIAL driver.
2. Set-Up
a. Remove the tape from this unit.
b. To enter the PC connection (COM) mode, push the [PHOTO SHOT] button, [RECORDING START/STOP] button and
[MANUAL AF/MF] simultaneously for 3 seconds without connecting the USB Cable.
31
PV-GS90P
Содержание Palmcorder PV-GS90P
Страница 8: ...2 5 How to Recycle the Lithium Battery U S Only 8 PV GS90P ...
Страница 11: ...4 Specifications 11 PV GS90P ...
Страница 13: ...13 PV GS90P ...
Страница 17: ...7 Service Fixture Tools 7 1 Service Tools and Equipment 17 PV GS90P ...
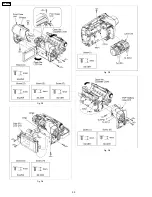
Страница 20: ...Fig D3 Fig D4 Fig D5 Fig D6 20 PV GS90P ...
Страница 21: ...Fig D7 Fig D8 Fig D9 Fig D10 21 PV GS90P ...
Страница 22: ...Fig D11 Fig D12 Fig D13 Fig D14 22 PV GS90P ...
Страница 23: ...Fig D15 Fig D16 Fig D17 Fig D18 23 PV GS90P ...
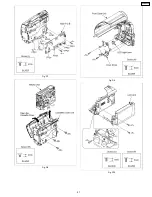
Страница 25: ...Fig M2 Fig M3 25 PV GS90P ...
Страница 26: ...Fig M4 26 PV GS90P ...
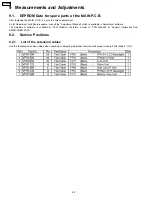
Страница 30: ...9 3 Location for Connectors of the Main P C B 30 PV GS90P ...
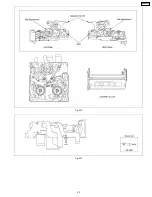
Страница 36: ...Fig M1 2 36 PV GS90P ...
Страница 38: ...38 PV GS90P ...
Страница 49: ...13 Parts and Exploded Views 13 1 Exploded Views 13 1 1 Frame Casing Section 49 PV GS90P ...
Страница 50: ...50 PV GS90P ...
Страница 51: ...13 1 2 LCD Section 51 PV GS90P ...
Страница 52: ...13 1 3 EVF Section 52 PV GS90P ...
Страница 53: ...13 1 4 Camera Lens Section 53 PV GS90P ...
Страница 54: ...13 1 5 VCR Mechanism Section 54 PV GS90P ...
Страница 55: ...13 1 6 Packing Parts Accessories Section 55 PV GS90P ...


