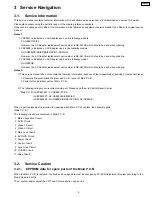
6.2. Service Menu
When abnormal detection contents are confirmed, do the following operation. Automatic diagnosis code will be displayed.
(Service Menu)
1. Preparation
(1) Remove the tape from this unit.
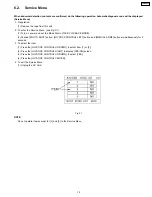
2. To enter the Service Menu. (see Fig. S1)
(1) Turn on power and set the Mode Dial to [TAPE PLAYBACK MODE].
(2) Pushed [PHOTO SHOT] button, [JOYSTICK CONTROL LEFT] button and [MANUAL AF/MF] button simmultaneously for 3
seconds.
3. To select the Item.
(1) Press the [JOYSTICK CONTROL UP/DOWN] to select item [1] or [3].
(2) Press the [JOYSTICK CONTROL RIGHT] to display [YES/NO] screen.
(3) Press the [JOYSTICK CONTROL UP/DOWN] to select [YES].
(4) Press the [JOYSTICK CONTROL CENTER].
4. To exit the Service Menu.
(1) Unplug the AC Cord.
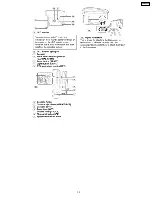
Fig. S1
NOTE:
Do not operate items except for [1] and [3] in the Service Menu.
15
PV-GS90P
Содержание Palmcorder PV-GS90P
Страница 8: ...2 5 How to Recycle the Lithium Battery U S Only 8 PV GS90P ...
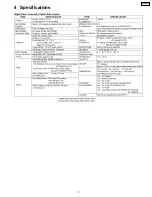
Страница 11: ...4 Specifications 11 PV GS90P ...
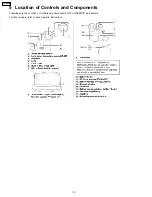
Страница 13: ...13 PV GS90P ...
Страница 17: ...7 Service Fixture Tools 7 1 Service Tools and Equipment 17 PV GS90P ...
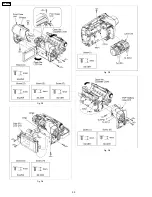
Страница 20: ...Fig D3 Fig D4 Fig D5 Fig D6 20 PV GS90P ...
Страница 21: ...Fig D7 Fig D8 Fig D9 Fig D10 21 PV GS90P ...
Страница 22: ...Fig D11 Fig D12 Fig D13 Fig D14 22 PV GS90P ...
Страница 23: ...Fig D15 Fig D16 Fig D17 Fig D18 23 PV GS90P ...
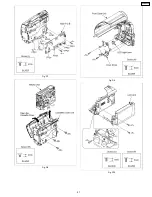
Страница 25: ...Fig M2 Fig M3 25 PV GS90P ...
Страница 26: ...Fig M4 26 PV GS90P ...
Страница 30: ...9 3 Location for Connectors of the Main P C B 30 PV GS90P ...
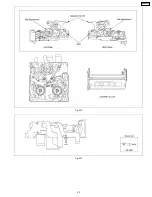
Страница 36: ...Fig M1 2 36 PV GS90P ...
Страница 38: ...38 PV GS90P ...
Страница 49: ...13 Parts and Exploded Views 13 1 Exploded Views 13 1 1 Frame Casing Section 49 PV GS90P ...
Страница 50: ...50 PV GS90P ...
Страница 51: ...13 1 2 LCD Section 51 PV GS90P ...
Страница 52: ...13 1 3 EVF Section 52 PV GS90P ...
Страница 53: ...13 1 4 Camera Lens Section 53 PV GS90P ...
Страница 54: ...13 1 5 VCR Mechanism Section 54 PV GS90P ...
Страница 55: ...13 1 6 Packing Parts Accessories Section 55 PV GS90P ...


