NN-CT867MBPQ NN-CT857WBPQ
24
Note: After breaking off the motor cover, make sure that
cut-off portions are properly trimmed off or bent inside so
that no sharp edges are exposed.
Note: To secure the motor cover use a 4 x 6 screw.
10.8. Quartz Heater
1. Remove the sensor cable from the DPC connector CN7.
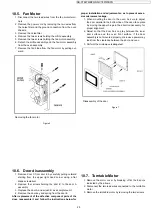
2. Remove the exhaust guide A by removing the two screws
shown in figure 10.
3. Disconnect the cables to the grill heater
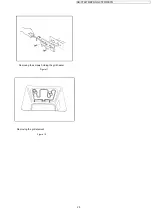
4. Remove the grill cover by removing the 5 screws in figure
11
5. Remove the two screws holding the grill heater
(Figure12).
6. Loosen the 2 screws holding the ceramic grill holders,
turn the holders to release the grill element.
7. Remove the heater bracket D by using a flat blade screw
driver to lever back the tabs.
8. The grill element can now be removed from inside the
oven.
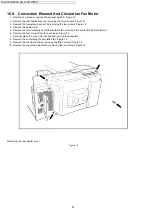
Removing the exhaust guide and grill cover
Figure 10
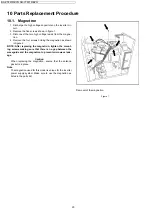
Removing the Turntable motor cover
Figure 8
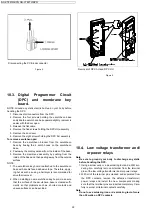
Two screws to remove the turntable motor
Figure 9
Содержание NN-CT857WBPQ
Страница 4: ...NN CT867MBPQ NN CT857WBPQ 4 4 Control Panel ...
Страница 5: ...NN CT867MBPQ NN CT857WBPQ 5 5 Operation And Digital Programmer Circuit Test Procedure ...
Страница 6: ...NN CT867MBPQ NN CT857WBPQ 6 ...
Страница 7: ...NN CT867MBPQ NN CT857WBPQ 7 ...
Страница 8: ...NN CT867MBPQ NN CT857WBPQ 8 6 Schematic Diagram ...
Страница 9: ...NN CT867MBPQ NN CT857WBPQ 9 7 Wiring Diagram Wiring Harness ...
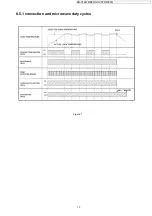
Страница 13: ...NN CT867MBPQ NN CT857WBPQ 13 8 5 1 convection and microwave duty cycles Figure 1 ...
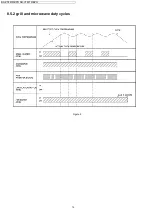
Страница 14: ...NN CT867MBPQ NN CT857WBPQ 14 8 5 2 grill and microwave duty cycles Figure 2 ...
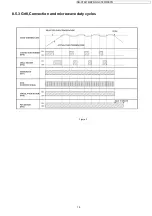
Страница 15: ...NN CT867MBPQ NN CT857WBPQ 15 Figure 3 8 5 3 Grill Convection and microwave duty cycles ...
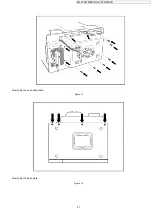
Страница 27: ...NN CT867MBPQ NN CT857WBPQ 27 Removing the oven back plate Figure 14 Removing the base plate Figure 15 ...
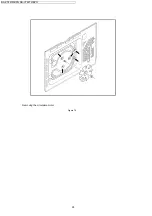
Страница 28: ...NN CT867MBPQ NN CT857WBPQ 28 Removing the circulation motor Figure 16 ...
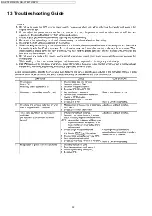
Страница 32: ...NN CT867MBPQ NN CT857WBPQ 32 13 Troubleshooting Guide ...

