71
3. Recording Modes
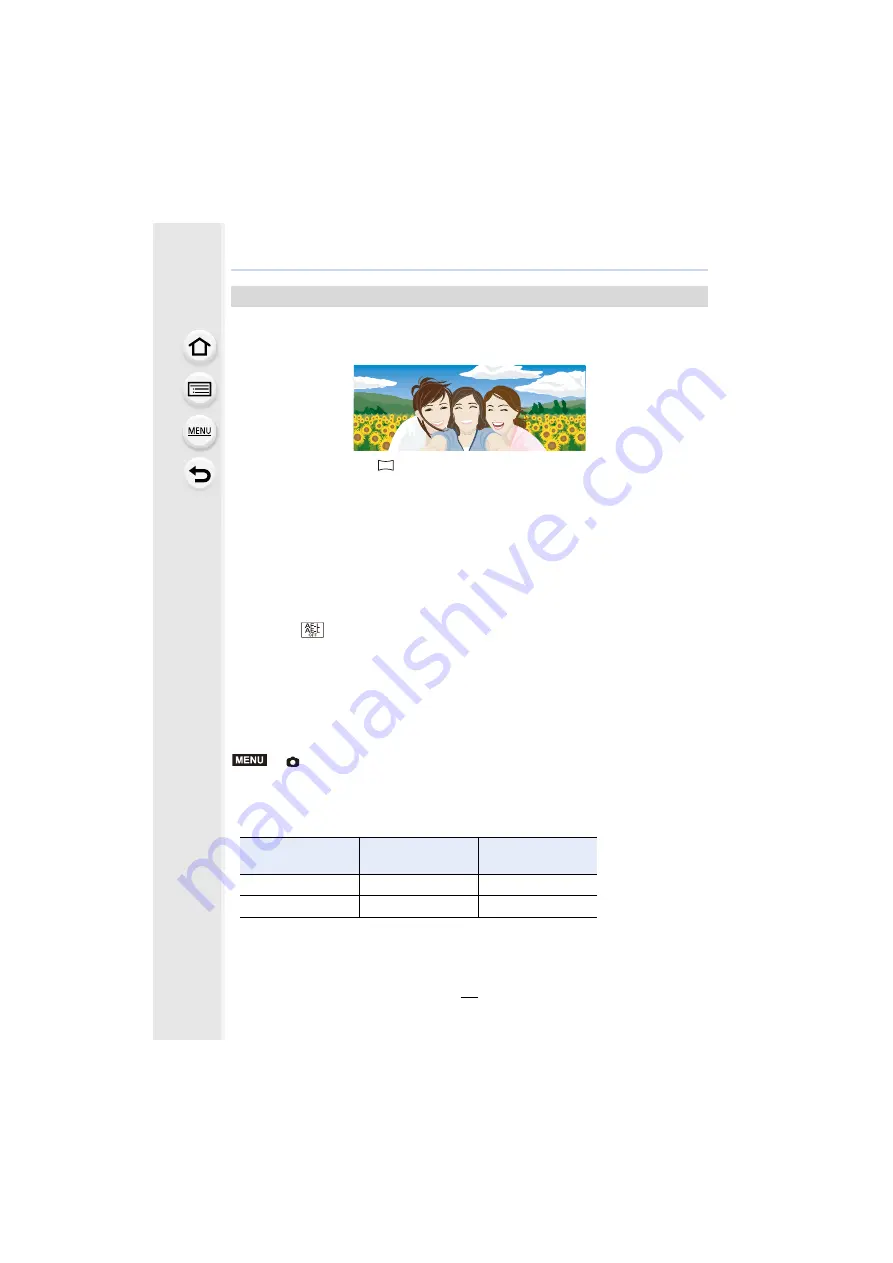
You can also take panorama pictures in Self Shot Mode.
By recording with Panorama Shot Mode, you can enjoy a variety of self-portraits, such as
those with your friends or those incorporating a wide background.
1
Set the mode dial to [
].
2
Rotate the monitor to enable Self Shot Mode.
• Instructions explaining how to take a picture will be displayed. If no instructions are
displayed, proceed to step
4
.
3
Read the recording instructions, and touch [Next] or [Start].
• The instructions continue to the next page. Follow the steps until the recording screen is
displayed.
4
Point the camera at the front, and strike a pose while look at the monitor.
• The AF area is displayed around the subject’s face by the Face/Eye Detection function.
5
Press the shutter button halfway (or fully) to lock the focus and exposure.
• After pressing the shutter button halfway (or fully), release your finger from it completely.
• Touch [
] to retry.
6
Point the camera to the position where you start recording, press the shutter
button fully, and pan the camera in the direction indicated on the screen in step
3
to take the picture.
7
Press the shutter button once again to end the picture recording.
• Recording can also be ended by keeping the camera still while recording.
• Recording can also be ended by moving the camera to the end of the guide.
∫
Changing the recording direction of panorama pictures
>
[Rec]
>
[Panorama Settings]
>
[Direction]
• The [Picture Size] setting is disabled in Self Shot Mode.
• The number of recording pixels in the horizontal and vertical directions of the panorama image
vary depending on the recording direction and the number of combined pictures.
The maximum number of pixels is shown below.
Taking panorama pictures in Self Shot Mode
Recording direction
Horizontal
Resolution
Vertical Resolution
Horizontal
4080 pixels
1920 pixels
Vertical
2560 pixels
3840 pixels
MENU


