9. Using Menu Functions
230
3
Press [MENU/SET] and set.
• Refer to “How to set each item” on
4
Press [MENU/SET].
• This operation returns you to the screen in step
2
. To set other items, repeat steps
2
through
4
.
5
Select [Begin Processing] with
3
/
4
, and then press [MENU/SET].
∫
How to set each item
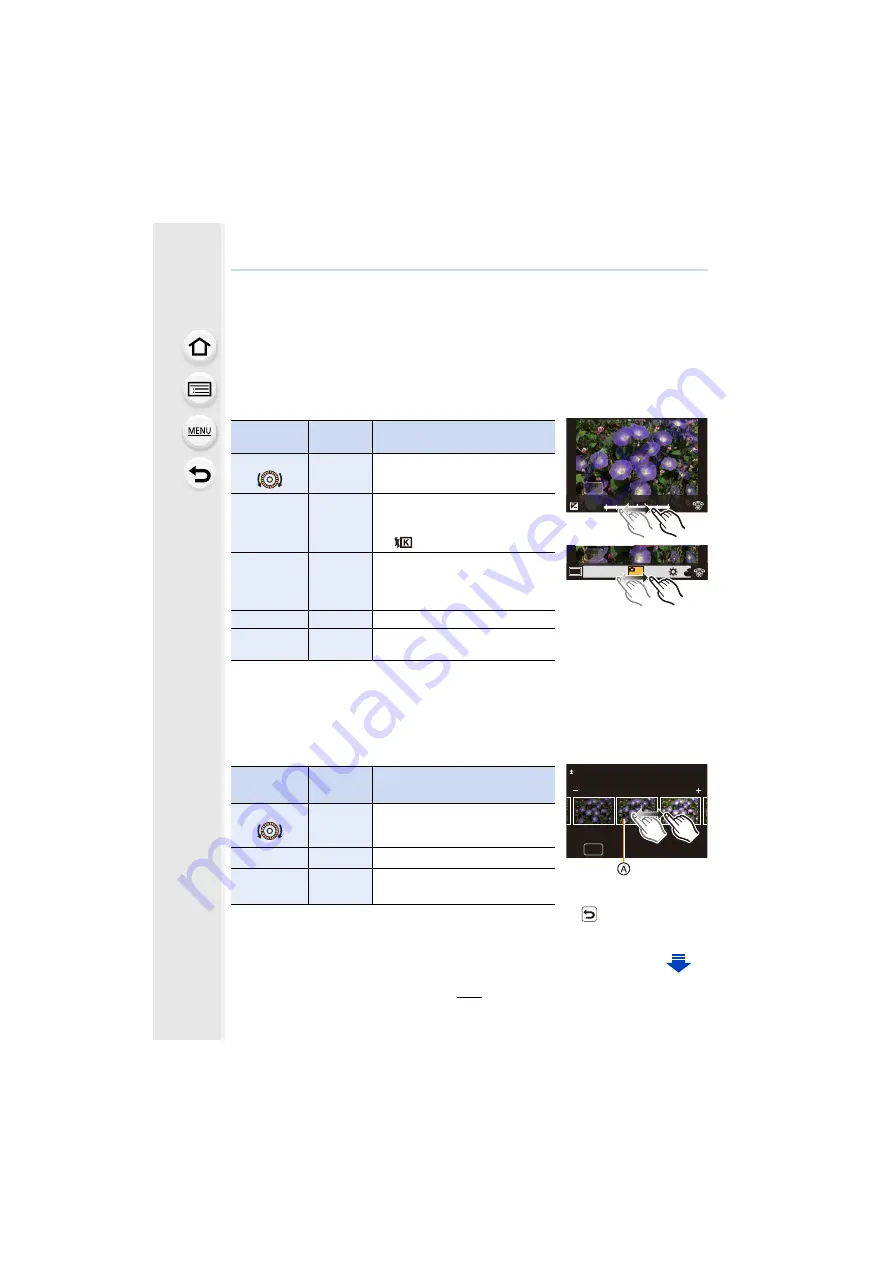
When you select an item, the setting screen will be displayed.
• When [Noise Reduction], [i.Resolution] or [Sharpness] is selected, the comparison screen
cannot be displayed.
• If you touch the picture twice, the picture will be enlarged. If you touch the picture twice when it
is enlarged, it will be reduced to the original size.
On the comparison screen, you can use the following operations to make adjustments:
A
Current setting
• If you touch the picture at the centre, it will be enlarged. If you touch [
], the picture will be
reduced to the original size.
Button
operation
Touch
operation
Description of operation
2
/
1
Dragging
Selects a setting.
3
[WB K
Set]
Displays the screen that lets you
set the colour temperature.
(only when [White Balance] is set
to [
])
4
[Adjust.]
Displays the screen that lets you
fine-adjust the White Balance.
(only when [White Balance] is set)
[DISP.]
[DISP.]
Displays the comparison screen.
[MENU/SET]
[Set]
Sets the adjusted level and returns
you to the item selection screen.
Button
operation
Touch
operation
Description of operation
2
/
1
Dragging
Selects a setting.
[DISP.]
[DISP.]
Returns you to the setting screen.
[MENU/SET]
[Set]
Sets the adjusted level and returns
you to the item selection screen.
WB
WB
WB
WB
WB
WB
WB
WB
WB
WB
WB
AWB
AWB
AWB
AWB
DISP.
+1
+1
-1
-1
0
0
DISP.
DISP.
0


