


3.3 Starting KX-TVA Maintenance Console
Installation Manual
87
5.
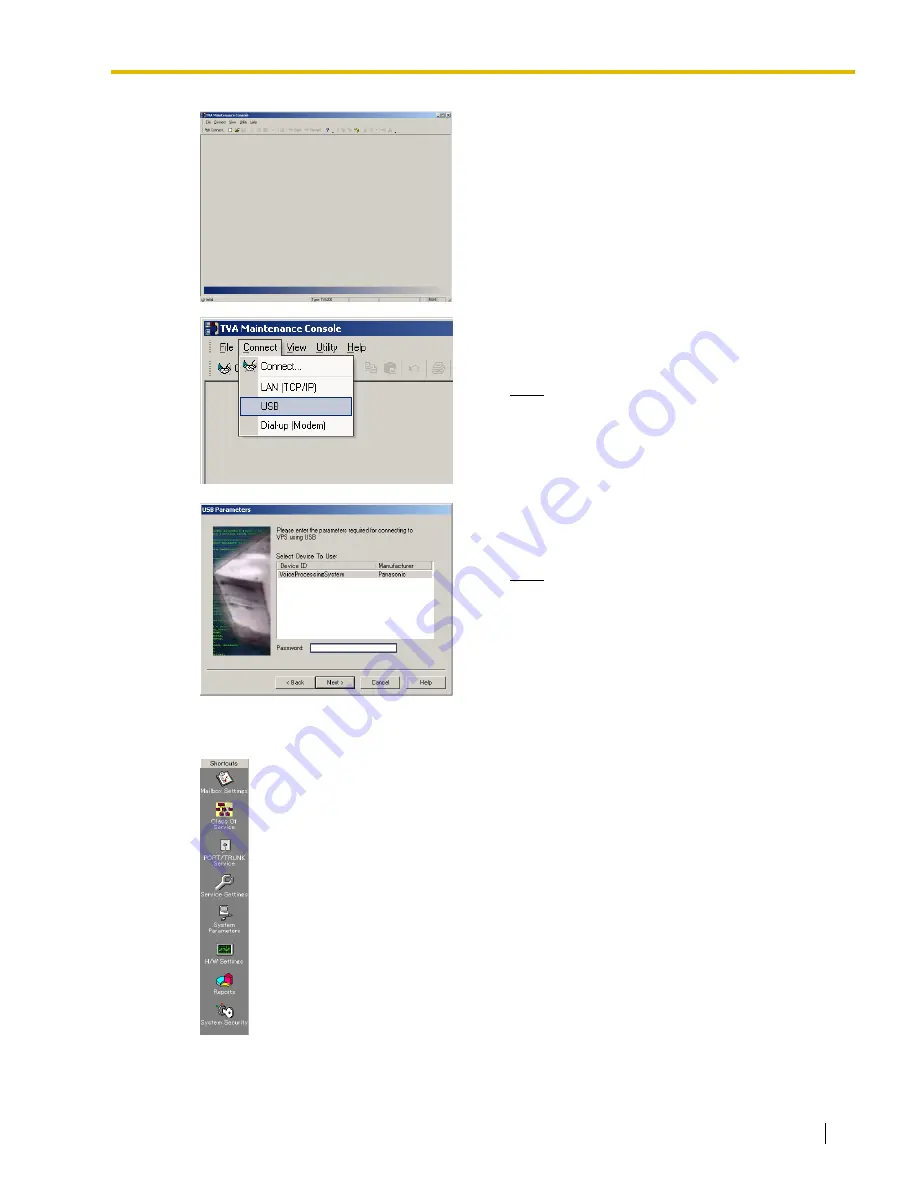
The main window is displayed.
6.
Click
Connect
→
USB
from the menu bar, or click
Connect
on the shortcut bar, select
USB
in the
Connection Mode
dialog box and click
Next
.
Note
•
To connect to the VPS via USB, the KX-
TVA USB driver must be installed on the
PC, as explained above in "Installing KX-
TVA Maintenance Console".
7.
Select the VPS as the desired USB device, enter the
administrator password (default: 1234), then click
Next
.
Note
8.
Click
Finish
when the message
Connected!
is
displayed.
9.
You may now begin programming the VPS. To
choose the area you would like to begin
programming, click the desired icon in the Shortcuts
menu.
Содержание KX-TVA200
Страница 12: ...12 Installation Manual ...
Страница 28: ...1 3 Specifications 28 Installation Manual ...
Страница 52: ...2 7 Installing Optional Cards KX TVA50 52 Installation Manual 3 Insert and tighten the screw as shown Screw ...
Страница 77: ...2 15 Wall Mounting Installation Manual 77 4 Mount the AC adaptor as shown ...
Страница 80: ...2 15 Wall Mounting 80 Installation Manual ...
Страница 180: ...6 1 Starting Up 180 Installation Manual ...
Страница 185: ...7 2 Backing Up the System Installation Manual 185 7 2 Backing Up the System Click Utility System Back up Make Backup ...
Страница 202: ...202 Installation Manual ...
Страница 203: ...Installation Manual 203 Index ...


