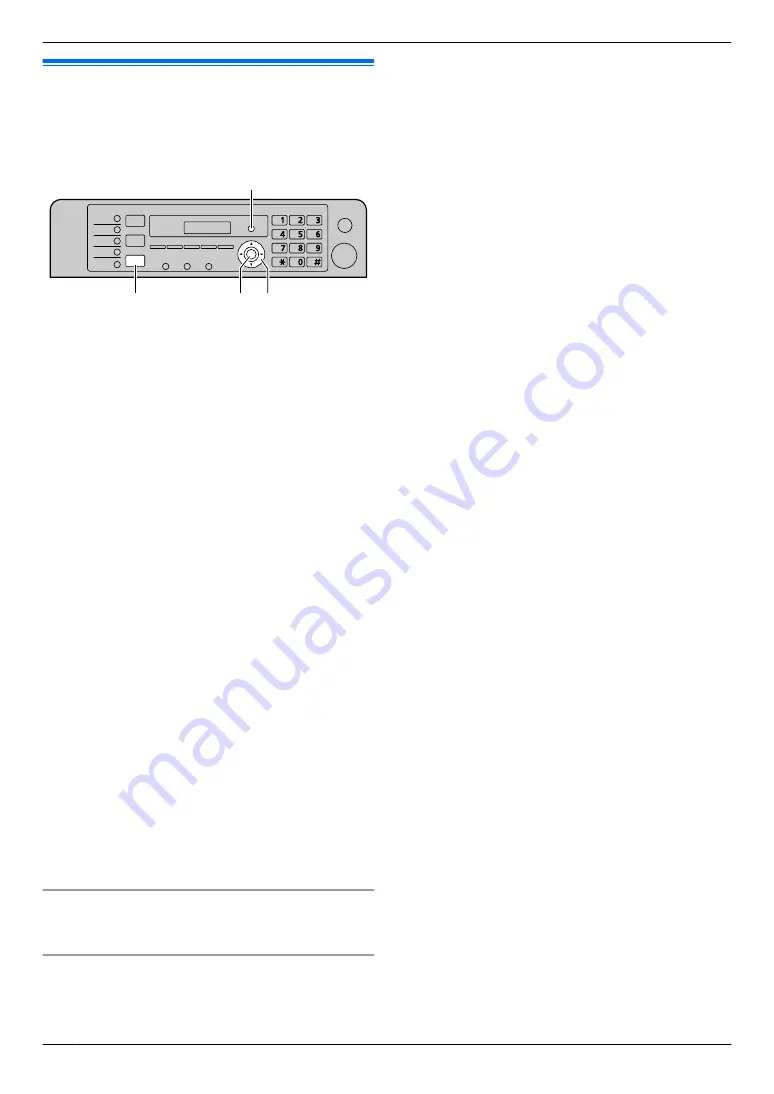
2.8 Date and time
We recommend you to set the date and time. The other
party will receive your unit’s date and time as the header
information.
MFNMEN
M
Set
N
M
Menu
N
M
Fax
N
* The pictured model is KX-MB2025/KX-MB2030.
1
M
Menu
N
A
MBNM
1
NM
0
NM
1
N
A
M
Set
N
2
Enter the current date/month/year by selecting 2
digits for each.
Example: 3 August, 2010
M
0
NM
3
N
M
0
NM
8
N
M
1
NM
0
N
3
Enter the current hour/minute by selecting 2 digits for
each.
Example: 10:15 PM (12 hour clock format)
1.
M
1
NM
0
N
M
1
NM
5
N
2.
Press
MGN
repeatedly to select
“
PM
”
.
Press
MGN
repeatedly to select
“
AM
”
or
“
PM
”
, or
24-hour time entry.
4
M
Set
N
5
Press
M
Menu
N
to exit.
Note:
R
To check the current date and time setting, press
M
Fax
N
to temporarily change the unit to the fax mode
(KX-MB2025/KX-MB2030 only).
R
Your unit’s date and time will be used as the header
information for the following:
– When sending as an attached file to an email
destination directly from this unit (Scan to email
address) (page 32) (KX-MB2000/KX-MB2010/
KX-MB2030 only).
– When sending faxes (page 42) (KX-MB2025/
KX-MB2030 only).
R
If the date and time is not set correctly, the other party
will receive an incorrect date and time as their
header. This may confuse the other party.
To correct a mistake
Press
MFN
or
MEN
to move the cursor to the incorrect
number, and make the correction.
If you have subscribed to a Caller ID service
(KX-MB2025/KX-MB2030 only)
The date and time will be automatically set according to
the received caller information.
R
To use this feature, make sure the time adjustment
is set to
“
AUTO
”
R
If the time has not previously been set, Caller ID will
not adjust the clock.
22
2. Preparation
Содержание KX-MB2000HX
Страница 121: ...121 Notes ...
Страница 122: ...122 Notes ...
Страница 123: ...123 Notes ...
Страница 124: ...PNQX2616ZA CM1209SY0 ...


