14
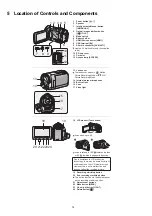
5 Location of Controls and Components
1
Power button [
]
2
Speaker
3
Intelligent auto/Manual button
[iA/MANUAL]
4
Optical image stabilizer button
[
/O.I.S.]
5
Mode switch
6
Battery holder
7
HDMI mini connector [HDMI]
8
USB terminal [
]
9
AV multi connector [AV MULTI]
Use the AV multi cable (only the supplied
cable).
10 SD card cover
11 Card slot
12 Access lamp [ACCESS]
13 Lens cover
The lens cover opens in
Motion
Picture Recording Mode or
Still
Picture Recording Mode.
14 Internal stereo microphones
15 Built-in flash
16 Lens
17 Video light
1 2 3 4
6
5
10
11
12
AV MULTI
7
8
9
13
14
16
15
17
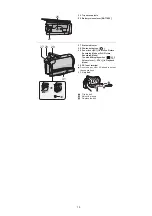
18 LCD monitor (Touch screen)
It can open up to 90
Q
.
It can rotate up to 180
Q
towards the lens
or 90
Q
towards the opposite direction.
19 Recording start/stop button
20 Sub recording start/stop button
This button functions in the same manner
as the recording start/stop button.
21 Adjust zoom buttons
22 Menu button [MENU]
23 Video light button [LIGHT]
24 Delete button [
]
18
19
24
23
22
0
2
1
2
Due to limitations in LCD production
technology, there may be some tiny bright
or dark spots on the LCD monitor screen.
However, this is not a malfunction and
does not affect the recorded picture.
Содержание HDC-TM55EB
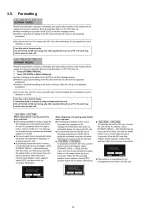
Страница 10: ...10 3 5 Formatting...
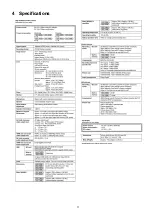
Страница 11: ...11 4 Specifications...
Страница 12: ...12...
Страница 13: ...13...
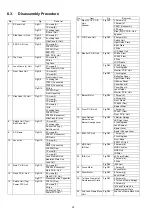
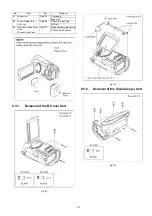
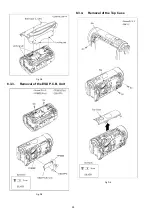
Страница 24: ...24 Fig D4 8 3 3 Removal of the ESD P C B Unit Fig D5 8 3 4 Removal of the Top Case Fig D6...
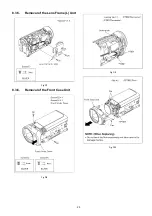
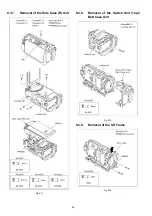
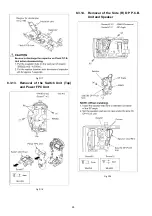
Страница 25: ...25 8 3 5 Removal of the Lens Frame L Unit Fig D7 8 3 6 Removal of the Front Case Unit Fig D8 Fig D9 Fig D10...
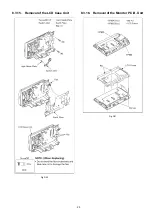
Страница 29: ...29 8 3 15 Removal of the LCD Case Unit Fig D20 8 3 16 Removal of the Monitor P C B Unit Fig D21...
Страница 30: ...30 Fig D22 Fig D23...
Страница 33: ...33 Fig D30 8 3 23 Removal of the Focus Motor Fig D31 8 3 24 Removal of the Zoom Motor Fig D32...
Страница 66: ...S7 3 LCD Section S 27 B7 B8 26 27 28 25 29 22 18 30 24 19...


