


Polling
75
Ad
va
n
ced
F
eat
u
res
In order to let other stations poll your machine, you must prepare your machine with a document stored in
memory. Be sure to set the polling password before storing the document into memory. After being polled,
the documents stored in the memory will be erased automatically. To retain the documents in memory so
that they can be polled repeatedly change Fax Parameter No. 27 (POLLED FILE SAVE) to "Valid".
NOTE
1. You can still send or receive documents even when set to be polled.
2. Only 1 polled file can be stored in memory. If you need to add document(s) into the same
polled file, see page 89.
3. If you have set the polling password in Fax Parameter No. 26, the password will appear on the
display.
You can still change the password temporarily by overwriting it with a new one.
Preparing to be Polled
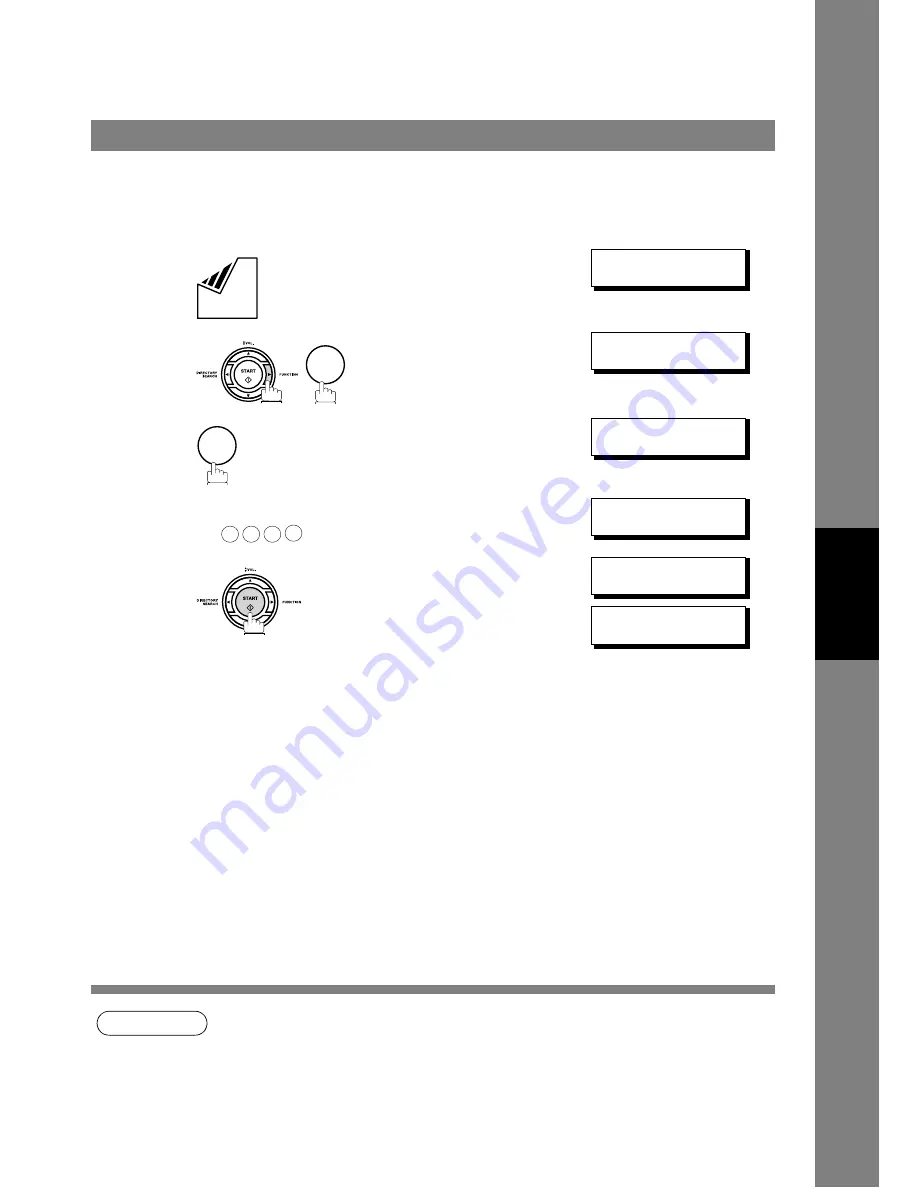
1
Set document(s) face down.
ENTER STATION(S)
THEN PRESS START 00%
2
POLLING
NO.=
❚
1:POLLING 2:POLLED
3
POLLED
PASSWORD=1234
4
Enter a 4-digit polling password. (See Note 3)
Ex:
POLLED
PASSWORD=4321
5
The document(s) will be stored into memory.
* STORE *
NO.015
PAGES=001
01%
* STORE * COMPLETED
TOTAL PAGES=005
24%
3
2
4
3
2
1


