background image

14

RQT

9

201

Enjoying in various situations

Enjoying in a car 

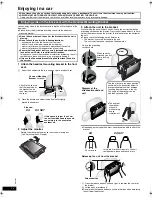
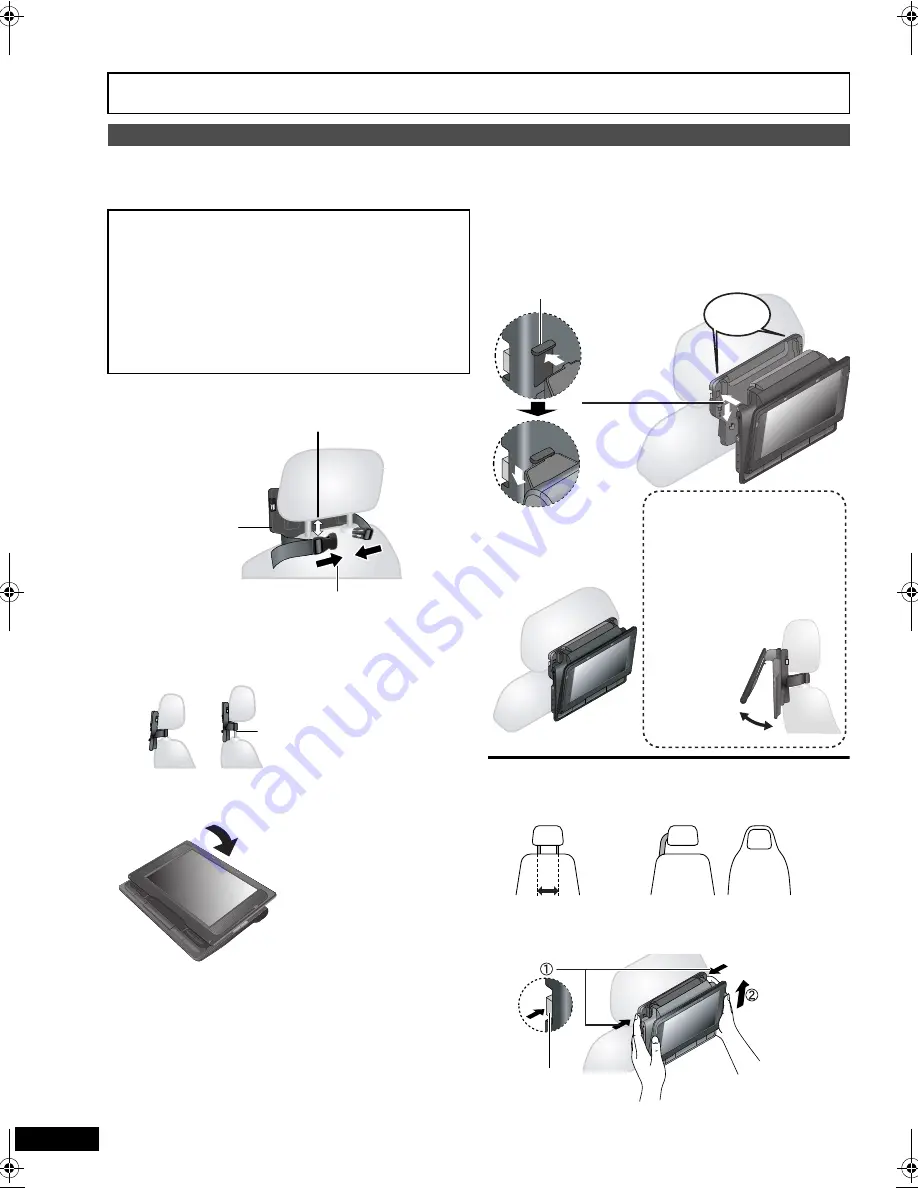
You can enjoy video in the back seat attaching the unit to the back of the 
front seat.

Please insert the disc before attaching the unit to the headrest 
mounting bracket.

1 Attach the headrest mounting bracket to the front 

seat.

2 Adjust the monitor.

3 Attach the unit to the bracket.

While holding the unit with both hands, line up the unit just below the 
protruding sections on the bracket. Press the unit down about 4 to 5 mm 
so that the protrusions on the bracket fit into the holes on the bottom of 
the unit.

Please check the following points before use.
– The bracket is securely fastened to the unit.
– The unit is not loose and cannot be lifted upwards.

Do not leave the unit on a surface that may become hot such as a dashboard. The unit is not heat-resistant so may malfunction.

DRIVER MUST NOT OPERATE OR VIEW THIS UNIT WHILE OPERATING THE VEHICLE.

Doing so will distract the driver and could cause a collision resulting in serious injury or property damage.

Enjoying video in the back seat with the Headrest Mounting Bracket

Do not attach or detach the unit or the bracket while the car is 
moving.

Do not attach the unit in the following locations:

– anywhere other than the back of the front seat
– where it can be viewed or operated by the driver
– where it interferes with the driver’s operation of the vehicle
– where it interferes with the operation of an airbag

Ensure that the bracket belt is securely fastened and check the 
lock on the unit. Refer to installation instructions.

In the event of an accident, sudden acceleration or braking, the unit 
could become loose and cause injury or property damage.

Only use the Panasonic bracket supplied to attach the unit to 
the car seat.

Rotate the monitor backwards so the screen is facing out. 
(

4, Adjusting the LCD angle)

Headrest Mounting 
Bracket 

(included)

2

Close the buckle and adjust the belt until it fits tightly 
around the headrest.

1

Adjust the headrest so there is an open space of about 3 cm.

Attach to the seat so 
that the label side of 
the bracket can be 
seen from the rear of 
the seat.

Side view

If this space is larger than 3 cm, 
the unit could become loose and 
cause injury in the event of an 
accident etc.

DO 

DO NOT

Depending on the type of headrest, you may not be able to attach the 
bracket.

1

Press the release buttons (left and right) in towards the center of 
the bracket.

2

Lift the unit up to release it.

Do not press the release buttons any time other than when detaching 
the unit from the bracket.

30˚

Line up the protruding 
sections here.

Use the monitor in the open position 
as shown in the illustration below to 
prevent abnormal audio or damage 
resulting from vibrations in the car.
The angle of the monitor can be 
adjusted up to about 30

o

.

Diagram of the


attached bracket and 
unit

The angle of 
the monitor 
may shift 
while driving 
due to 
vibration, etc.

When correctly 
attached, you will 
hear a locking 
sound.

click!

23 cm or less

In the event of an accident etc., the unit 
could become loose and cause injury.

DO 

DO NOT

Releasing the unit from the bracket

Release button

RQT9201-P.book  14 ページ  2008年2月6日 水曜日 午後4時38分

Содержание DVD-LS855PK

Страница 1: ...cting operating or adjusting this product please read the instructions completely Please keep this manual for future reference If you have any questions contact 1 800 211 PANA 7262 The warranty can be found on page 19 Unless otherwise indicated illustrations in these operating instructions are of DVD LS865 Region number The player plays DVD Video marked with labels containing the region number 1 o...

Страница 2: ...he bottom of units FCC Note This equipment has been tested and found to comply with the limits for a Class B digital device pursuant to Part 15 of the FCC Rules These limits are designed to provide reasonable protection against harmful interference in a residential installation This equipment generates uses and can radiate radio frequency energy and if not installed and used in accordance with the...

Страница 3: ...perty damage Do not rest the unit on your lap for a long time while using it The unit can become hot and cause burns Batteries 1 Battery pack Lithium ion battery pack Use the specified unit to recharge the battery pack Do not use the battery pack with equipment other than the specified unit Do not use the player outside if it is snowing or raining The battery pack is not waterproof Do not get dirt...

Страница 4: ...ightness level LCD Off j5 0 5 CGR H711 1 4 6 3 5 2 5 8 CGR H712 2 7 13 7 5 16 CGR H701 option 4 5 5 3 2 7 RELEASE DETACH ATTACH Clicks into place Check to make sure it is securely fastened Battery pack Bottom side of this unit RELEASE DETACH ATTACH RELEASE DETACH ATTACH 1 Press and hold 2 DC IN To household AC outlet AC adaptor included The unit is in the standby condition the Í indicator lights w...

Страница 5: ...it the disc must first be finalized on the device it was recorded on 5 Closing the session will also work Checking the remaining battery charge Disc Logo Indicated in these instructions by Remarks Discs that cannot be played Blu ray HD DVD discs recorded with AVCHD format DVD Audio Version 1 0 of DVD RW DVD ROM CD ROM CDV CD G SACD Photo CD DVD RAM that cannot be removed from their cartridges 2 6 ...

Страница 6: ...Pause Press 1 ON to restart play Stop The position is memorized when Press PLAY to resume play appears on the screen Press 1 ON to resume Resume play Opening the disc lid or pressing OFF while Press PLAY to resume play is displayed on the screen cancels the memorized position Turn unit off Press and hold until OFF is displayed Skip Press 9 DVD VR Can also skip to the markers Search Press and hold ...

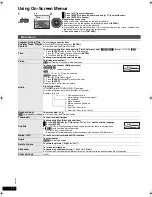
Страница 7: ... To exit the screen Press RETURN Displaying current playback condition Quick OSD Basics Press twice Details Press three times Repeat play During play press several times to select the content to be repeated LCD SIZE BRIGHT LCD ENTER DISPLAY Chapter Title Time e g DVD V Playback condition Current position Elapsed play time Current playback number DISPLAY Details Title Total Time Audio Subtitle Angl...

Страница 8: ...itch among Playlist Group and Content lists 3 Press 1 then 3 4 to select an item and press ENTER To exit the screen Press MENU Playlist Group Content All By Artist XXX to play XXX to select XXX to exit Content title No Playlist Playing items in order Playback Menu While the menu is displayed Press 3 4 to select All Audio Picture or Video and press ENTER To display exit the screen Press TOP MENU Pl...

Страница 9: ... compression rate between 32 kbps and 320 kbps This unit is not compatible with ID3 tags Format JPEG Disc DVD RAM DVD R RW CD R RW Extension JPG jpg JPEG jpeg Reference JPEG files taken on a digital camera that conform to DCF Design rule for Camera File system Standard Version 1 0 are displayed Files that have been altered edited or saved with computer picture editing software may not be displayed...

Страница 10: ...s 3 4 to select Vocal 2 Press ENTER then 3 4 to select the item 3 Press ENTER Read the disc s instructions for details Signal type data LPCM Î Digital DTS MP3 MPEG Signal type kHz Sampling frequency bit ch Number of channels Example 3 2 1ch 1 Low frequency effect not displayed if there is no signal 0 No surround 1 Mono surround 2 Stereo surround left right 1 Center 2 Front leftiFront right 3 Front...

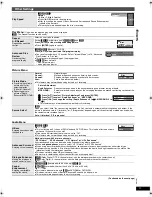
Страница 11: ...elect DivX When you select Auto the constructing method of the DivX contents is automatically distinguished and output If the picture is distorted select I Interlace or P Progressive depending on which constructing method was used when the contents were recorded to disc Auto I Interlace P Progressive H Bass Enjoying heavy bass with the speakers DVD V DVD VR On Off This is effective on 5 1 channel ...

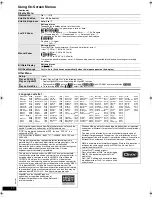
Страница 12: ...an 8285 Samoan 8377 Sanskrit 8365 Scots Gaelic 7168 Serbian 8382 Serbo Croatian 8372 Shona 8378 Sindhi 8368 Singhalese 8373 Slovak 8375 Slovenian 8376 Somali 8379 Spanish 6983 Sundanese 8385 Swahili 8387 Swedish 8386 Tagalog 8476 Tajik 8471 Tamil 8465 Tatar 8484 Telugu 8469 Thai 8472 Tibetan 6679 Tigrinya 8473 Tonga 8479 Turkish 8482 Turkmen 8475 Twi 8487 Ukrainian 8575 Urdu 8582 Uzbek 8590 Vietna...

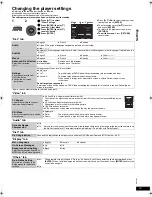
Страница 13: ... A message screen will be shown if a DVD Video exceeding the ratings level is inserted in the unit Follow the on screen instructions TV Aspect Choose the setting to suit your television and preference 4 3 Pan Scan Regular aspect television 4 3 The sides of the widescreen picture are cut off so it fills the screen unless prohibited by the disc 4 3 Letterbox Regular aspect television 4 3 Widescreen ...

Страница 14: ...ure that the bracket belt is securely fastened and check the lock on the unit Refer to installation instructions In the event of an accident sudden acceleration or braking the unit could become loose and cause injury or property damage Only use the Panasonic bracket supplied to attach the unit to the car seat Rotate the monitor backwards so the screen is facing out 4 Adjusting the LCD angle Headre...

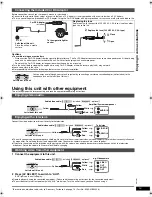
Страница 15: ...ced by magnetism Do not keep this unit and magnetized cards bank cards commuter passes etc close together If you raise the volume on the television while playing this unit the volume may abruptly become very loud when you switch to a television broadcast Return the volume to its normal level before changing 1 Connect the equipment to this unit 2 Press AV SELECT to switch to AUX AUX lights on the u...

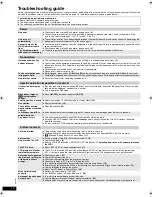
Страница 16: ...e displayed however this is normal This is normal on DivX video Menu doesn t appear VCD with playback control Press OFF twice and then press 1 ON Subtitle position is wrong Adjust the position Subtitle Position in Display Menu 12 No subtitles Display the subtitles 10 The subtitles overlap closed captions recorded on discs Clear the subtitles 10 In A B repeat point B is automatically set If you hav...

Страница 17: ...l to clear note the service numbers and consult your dealer Cannot display group xx content xx You are trying to play incompatible groups or content 9 Authorization Error You are trying to play the DivX VOD content that was purchased with a different registration code You cannot play the content on this unit 9 Rental Expired The DivX VOD content has zero remaining plays You cannot play it 9 The Í ...

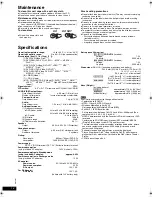
Страница 18: ...able audio picture and movie contents and groups 4000 audio picture and movie contents and 400 groups 7 Extremely long and slender pictures may not be displayed 8 Plays all versions of DivX video including DivX 6 with standard playback of DivX media files Certified to the DivX Home Theater Profile 9 CPRM doesn t cope with it DO DO NOT Operating temperature range i5 to i35 oC i41 to i95 oF Operatin...

Страница 19: ... or re install an installed unit if applicable travel to and from the servicer loss of or damage to media or images data or other recorded content The items listed are not exclusive but are for illustration only ALL EXPRESS AND IMPLIED WARRANTIES INCLUDING THE WARRANTY OF MERCHANTABILITY ARE LIMITED TO THE PERIOD OF THE LIMITED WARRANTY Some states do not allow the exclusion or limitation of incid...

Страница 20: ...t 7 11 Resume play 6 Rotate Picture 10 Setup 13 Sound Enhancement 11 Subtitle 10 Time Slip for play only 10 TOP MENU 6 7 8 WMA 8 9 Notice This product has a fluorescent lamp that contains mercury Disposal may be regulated in your community due to environmental considerations For disposal or recycling information please contact your local authorities or the Electronic Industries Alliance http www e...

Отзывы: