


26
TOP
WINDOW
ENTER
RETURN
(3)
(1)
(2)
(4)
(5)
B
A
C
Remain
2 :34
FR
15:32.54 24/9
PRG2 1:12.12 FR
PRG1 0:30.04 SP
L R
PLAY
REC
DVD-RAM
L R
BBC 1
NICAM
REC/OTR 30
DVD-RAM
(5)
TV
TV/AV
PROG / CHECK
TOP WINDOW
TV/TEXT
STOP
SV/V+
REC
TIME SLIP
AV LINK
SETUP
AUDIO
REC MODE CANCEL
INPUT
SELECT
MANUAL
SKIP
LAST
MARKER
DIRECT
TV REC
TIMER
REC
1
2
3
4
5
6
7
8
9
0
PAUSE
PLAY
STATUS
RETURN
VOL
OPEN/CLOSE
T
C
E
R
I
D
R
O
T
A
G
I
V
A
N
TO
P
M
EN
U
M
E
N
U
T
SI
L
Y
A
L
P
ENTER
TV
DVD
TV ASPECT
FRAME
SKIP
SLOW/SEARCH
Á
/
3
1
2
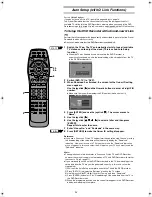
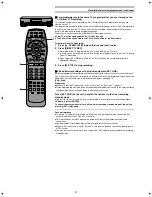
Recording television programmes (continued)
ª
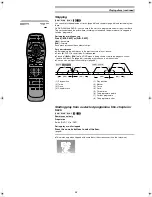
Recording modes
For example, with a 4.7 GB DVD-RAM
XP:
High quality pictures, approximately one hour recording.
SP:
Standard quality pictures than LP, approximately two hours recording.
LP:
Better quality pictures than EP, approximately four hours recording.
EP:
Lesser picture quality than LP, but capable of a maximum of six hours recording.
ª
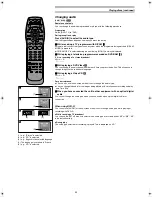
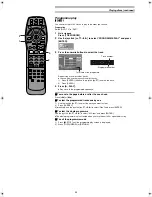
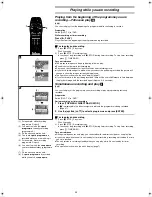
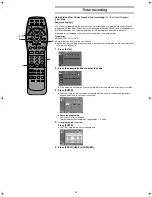
To check the remaining time and the current mode during recording
[A]
Press [STATUS] several times.
For your reference
≥
You can record up to 99 programmes on one disc.
≥
You cannot change the channel or recording mode during recording. You can change them
while recording is paused, but the material is recorded as a separate programme.
≥
An error message appears if you try to start recording when a disc is full; the remaining time will
be shown as “0:00”. To continue recording, erase unneeded programmes (DVD-RAM only
(page 48), Erasing programmes) or use another disc.
≥
There are limitations when recording to DVD-R (page 9).
≥
The message “Can not record on the disc.” is displayed when recording was not completed
correctly. Check the discs for dirt or scratches.
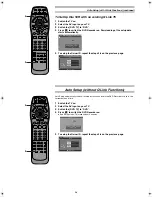
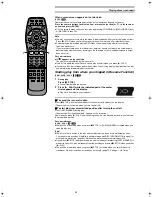
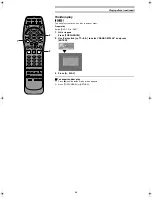
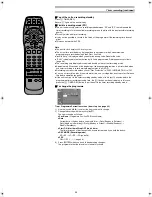
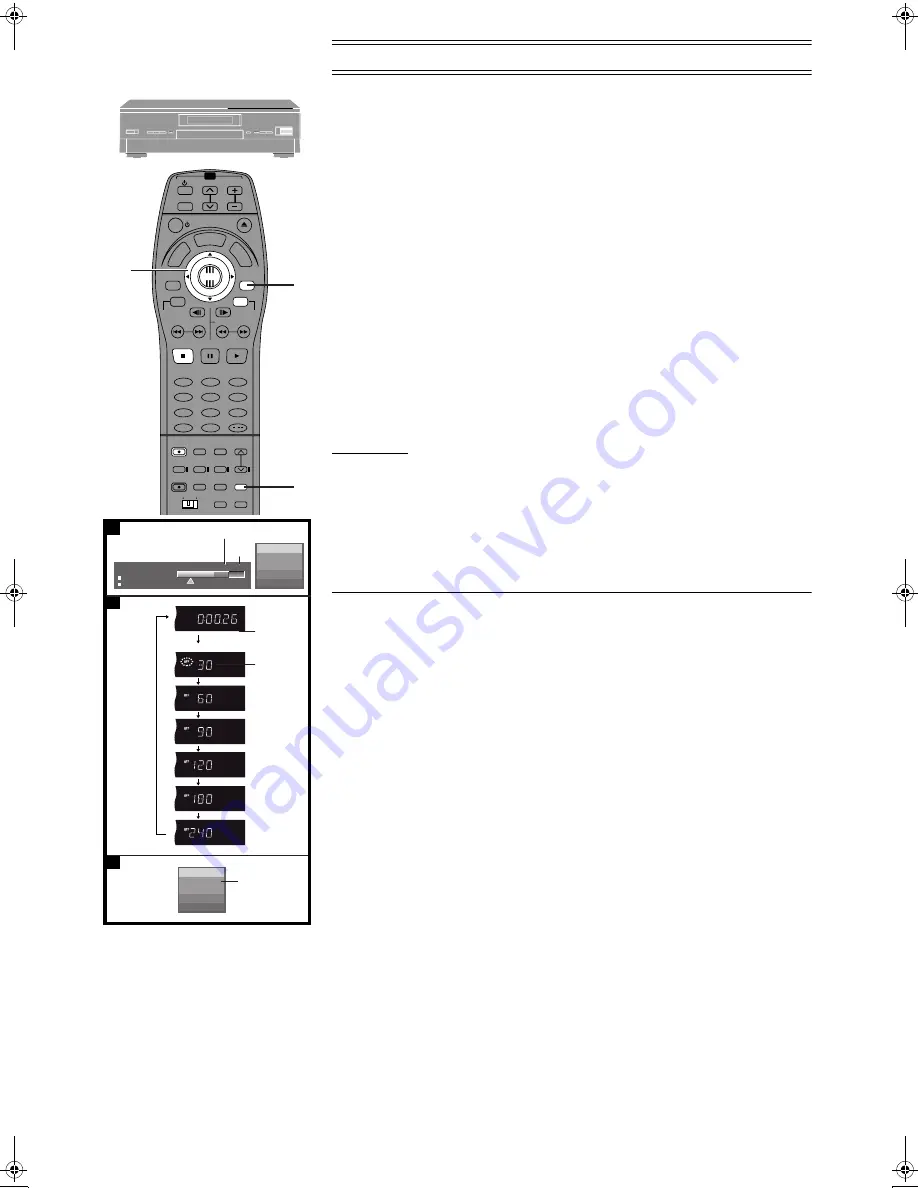
One Touch Recording-Specify a time to stop recording
[B]
[RAM] [DVD-R]
Main unit only
This is a simple way of making timer recordings when you are in a hurry or before you go to bed.
You can set the time up to 4 hours in advance.
While recording
Press [
¥
REC] on the main unit to select the recording time.
The time increases as illustrated each time you press the button.
The counter decreases in 1-minute units after you set a time. You can change the time again
with the same operation.
When the time you set is reached, recording stops and the unit switches to standby.
ª
To cancel
During recording, press [
¥
REC] until the counter appears.
≥
Recording continues.
ª
To show the time remaining until recording finishes
[C]
Press [STATUS] severel times.
For your reference
≥
This does not work during timer recordings.
≥
You cannot use the remote control to specify a time for recording to stop.
≥
Recording stops and the set time is cleared if you press [
∫
, STOP].
≥
The set time is cleared if you pause recording and cause another programme to be recorded.
ª
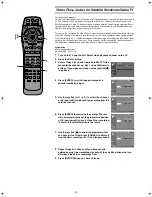
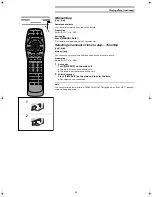
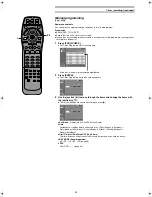
To Manually Adjust the Audio Recording Level
The unit adjusts the recording level automatically to prevent sound distortion due to excessive
peaks.
However, if you want to manually adjust the audio recording level, perform the operation steps
below before you start the actual recording. We recommended you to adjust the level so that it
peaks at approxi4 dB on the recording level indicator.
1
Before recording, press [AUDIO] in 5 seconds or more.
To adjust the left (L) and right (R) channels simultaneously:
2
Use the joystick [
2
2
2
2
,
1
1
1
1
] to adjust the audio recording level.
3
Press [RETURN] to exit the On Screen Display.
Note
≥
You cannot adjust the audio recording level when DV input recording.
(1) Available recording time
(2) Recording mode
(3) Counter (Timer not set)
(4) Each time you press the button:
(5) Shows recording will stop in 30 minutes
E‑Text1.fm 26 ページ 2001年9月6日 木曜日 午後4時13分


