


Playing back video
SQT0816
33
Playing titles on the HDD
Playing
back video
Resume play function
If the following screen appears, select the point to
start playback.
AVCHD tab
•
[USB_HDD]
When connecting registered
USB HDD, “USB HDD” tab and registration
number appears.
Select “USB HDD” tab.
§
§
“For recorded titles (
>
9)” only
1
Press [FUNCTION MENU].
2
Select “Contents on HDD”, then press
[OK].
e.g.,
3
To play recorded titles:
Select “Recorded Programmes”, then
press [OK].
The Video Menu screen appears (
>
right).
To play HD Video (AVCHD):
Select “Video ( AVCHD )”, then press
[OK].
The AVCHD tab appears on the Video Menu
screen (
>
right).
To play video files:
Select “Video ( MP4 / Xvid / MKV )”, then
press [OK].
The video list screen appears (
>
35).
4
Select the title, then press [OK].
Playback will start.
Contents on HDD
Recorded programmes can be played.
OK
RETURN
Video ( AVCHD )
Recorded Programmes
Video ( MP4 / Xvid / MKV )
Photo
Music
Playback
Last Stopped
Beginning
Where do you want to start playback from ?
OK
RETURN
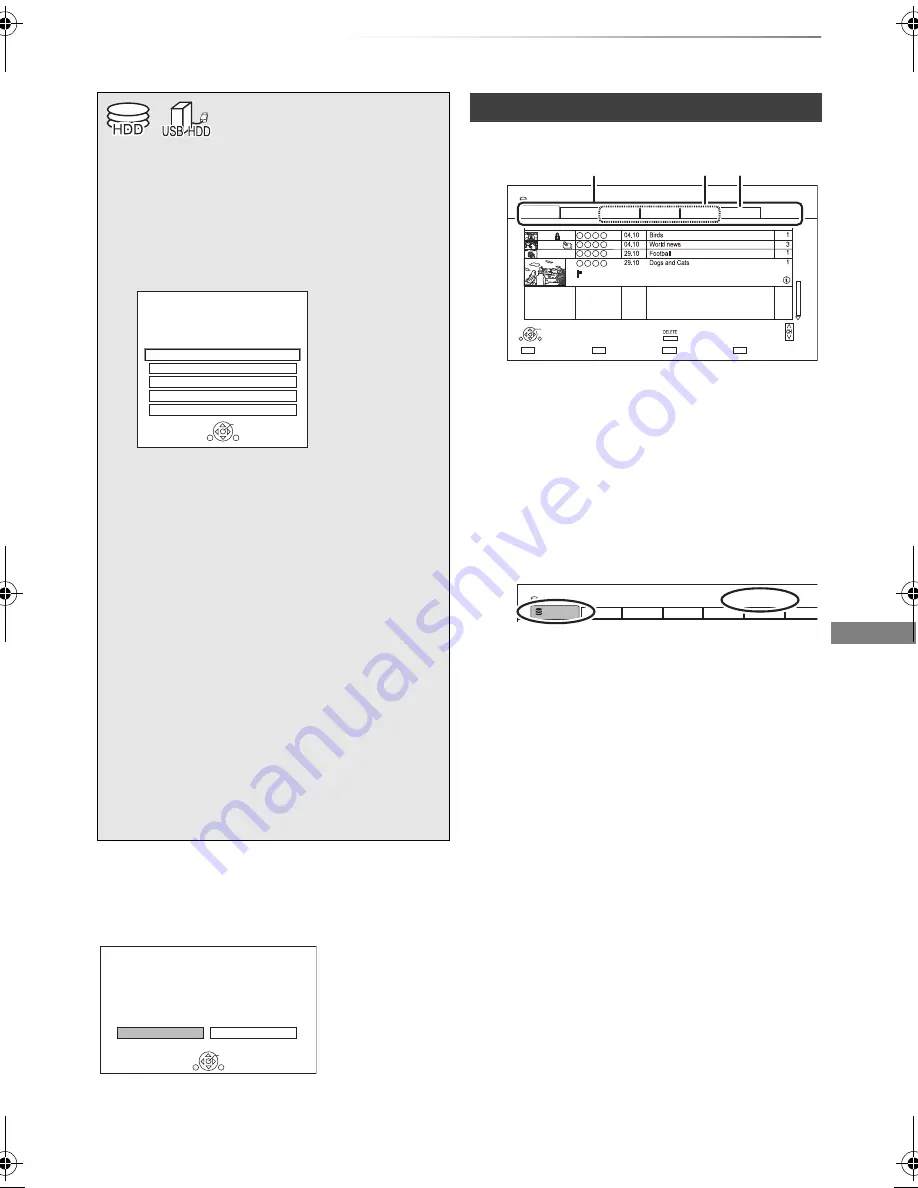
Video Menu screen
e.g.,
1
Tab (
>
34)
2
Programme type
3
AVCHD tab
e.g.,
Time Remaining 45:54 (DR)
HDD
Page
Select
Grouped Titles
Start Time
Prog.Type:
Rec time
Play
RETURN
Drama
Sport
AVCHD
Movie
Not Viewed
Video Menu
Channel
Date
Title Name
Titles
All
Delete
Page Up
Page Down
Movie
9:00 AM
0:01(DR)
003/003
Time Remaining 45:54 (DR)
Registration number 1
USB-HDD
Grouped Titles
Drama
Sport
AVCHD
Movie
Not Viewed
Video Menu
All
USB-HDD
DMRHWT250GL_eng.book 33 ページ 2015年2月4日 水曜日 午後4時34分


