Operating Instructions
46
Screen Assignment
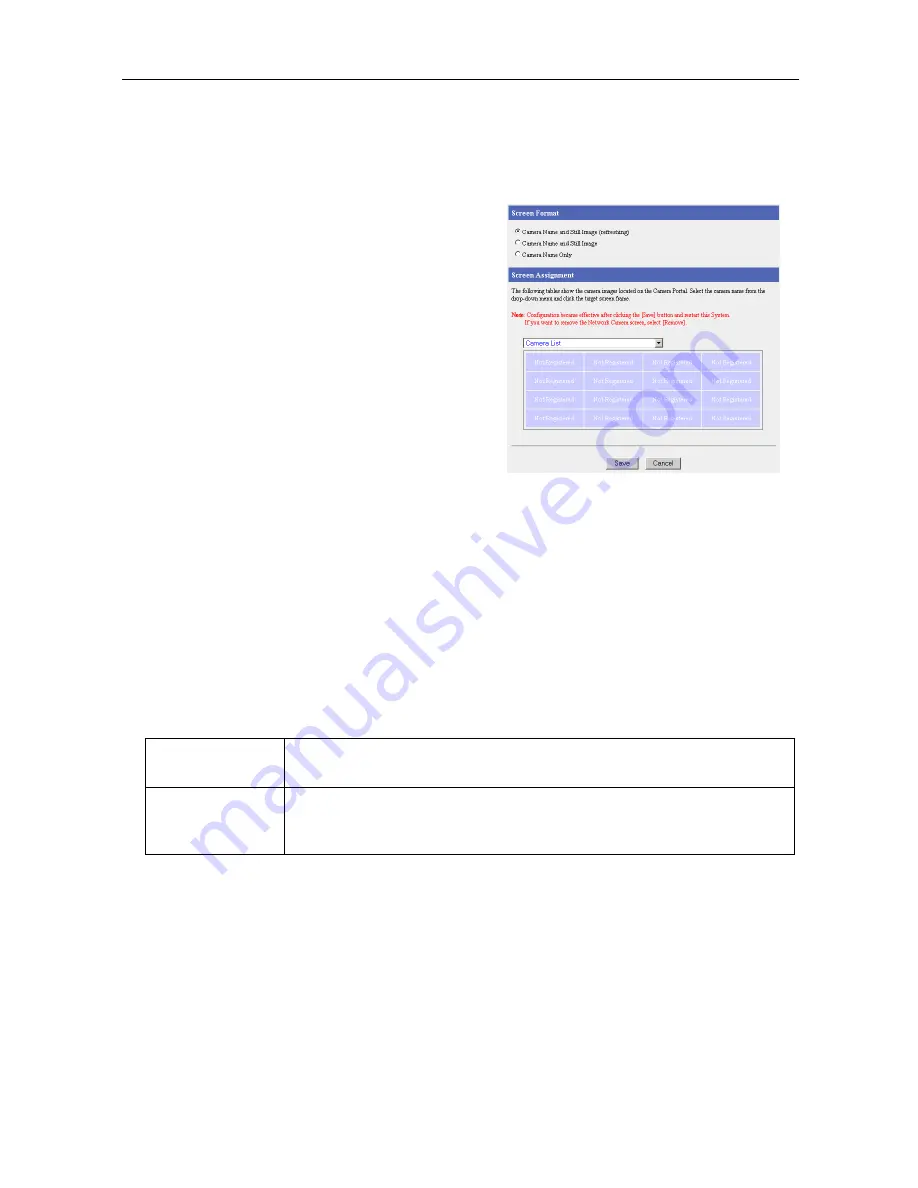
This function allows you to set the format of the camera portal page and set the screen assignment.
Data Entry Field
1.
Click [Screen Assignment].
2.
Select from Camera Name and Still Image
(refreshing), Camera Name and Still Image,
and Camera Name Only in Screen Format.
3.
Select a camera name from the Camera List
dropdown list, and click on the camera frame
where you want to display it on the Screen
Assignment.
•
The selected camera frame is displayed in
orange. When removing a camera from the
Camera Portal, select Remove the camera
from the Camera Portal from the Camera
List dropdown list, and click on the camera
frame you want to remove on the Screen
Assignment.
•
To cancel the current selection, click
[Cancel].
4.
When setup is complete, click [Save].
•
To return to the original settings, click
[Cancel].
5.
When [Restart] is displayed on the setup page,
click it.
•
The registered camera frame is displayed
in green.
Screen Format
Select from Camera Name and Still Image (refreshing), Camera Name and
Still Image, and Camera Name Only for the screen format.
Screen
Assignment
This page allows you to re-position the camera images on the camera portal
and register optional cameras. A maximum of 16 camera images can be
displayed on the camera portal.
Содержание BB-HGW700A - Network Camera Router
Страница 138: ...Operating Instructions 138 ...
Страница 139: ...Operating Instructions 139 Index ...
Страница 141: ...Operating Instructions 141 ...


