


*
Using the Web screen on a PC connected with
AW-XXXX
via IP network, IP videos from the camera can be output
and its various settings can be set.
1.
Connect
AW-XXXX
LAN port and the PC using a LAN cable. (
AW-XXXX
can automatically recognize
whether
it is a cross or straight cable.)
* LAN Cable: Category 5 or higher, Up to 100m (Category 5e or higher if connected via a PoE+ compatible hub)
2.
Set an IP address for the PC so that it belongs to the same segment as
AW-XXXX
.
- For the PC’s IP address, set a different address from
AW-XXXX
within the range of private addresses. For its
subnet
mask, set the same address as
AW-XXXX
.
Default network settings on
AW-XXXX
are (192.168.0.10) for IP address and (255.255.255.0) for subnet mask.
And
the range of private addresses is from (192.168.0.0) to (192.168.0.255).
So, set an IP address for the PC (e.g. 192.168.0.100) so that it does not coincide with the IP address of
AW-XXXX
.
If the PC is connected to another device in the same IP network, set an IP address which does not coincide with this
device.
* For the required PC environment, please see page 4 of Operating Instructions <Operations and Settings>.
3.
Display the Web screen on the PC.
4.
Start up the Web browser (Windows: Internet Explorer) on the PC.
5.
Input the IP address of
AW-XXXX
you want to control into the address box on the Web browser, and press [Enter]
key.
Example: IP address (192.168.0.10)
⇒
http://192.168.0.10/
(Web Screen for
AW-XXXX
)
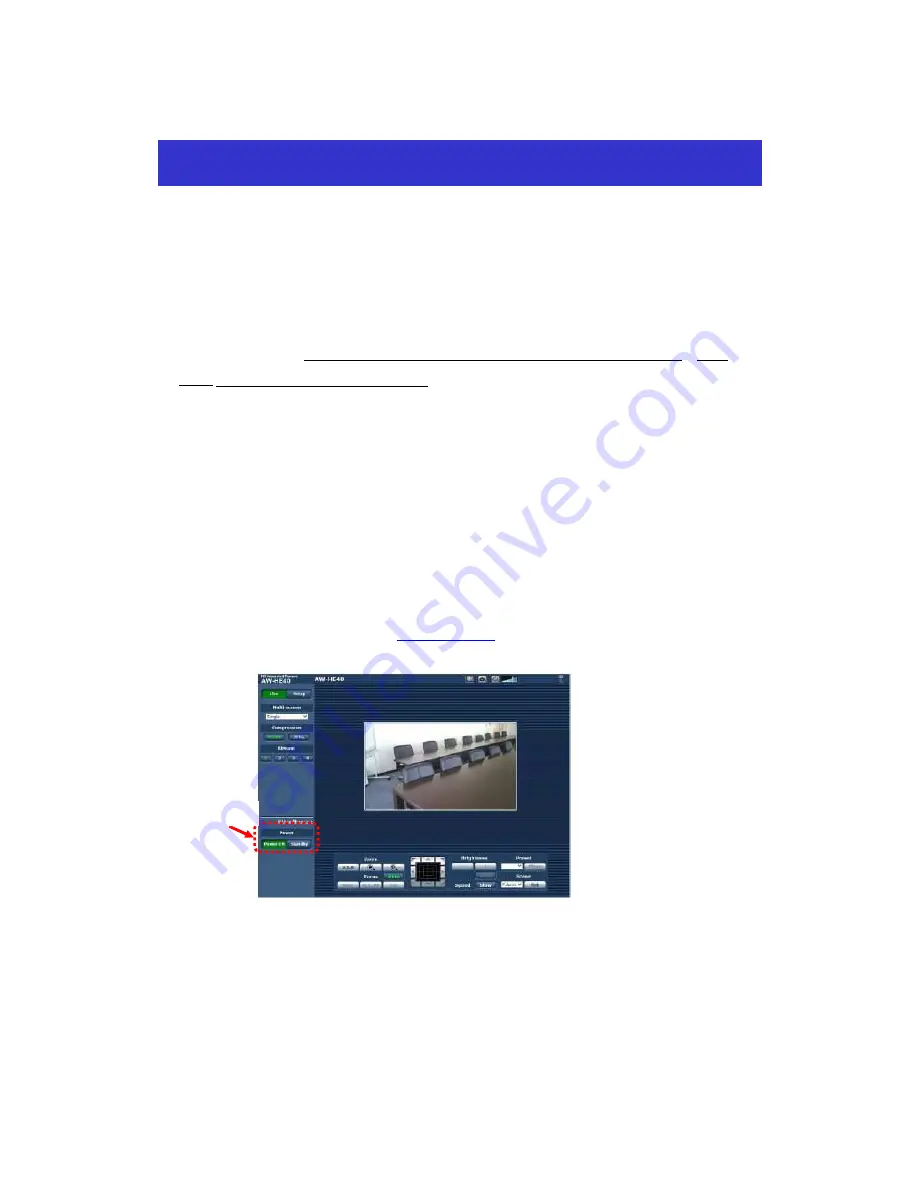
If
AW-XXXX
is in STANBY mode (power OFF: factory default), please use [Power ON] button to turn it ON.
As the initial screen, Live Screen [Live] is displayed. You can switch to Web Setup Screen [Setup] when necessary.
For the detailed operations, please see page 57 and after of
AW-XXXX
Operating Instructions <Operations
and Settings>.
Controlling
AW-XXXX
Camera via PC
Power Button
Содержание AW-RP50
Страница 13: ... Web Screen for AW XXXX ...


