47
Operating Instructions
Network settings
[When using Windows]
(continued)
4
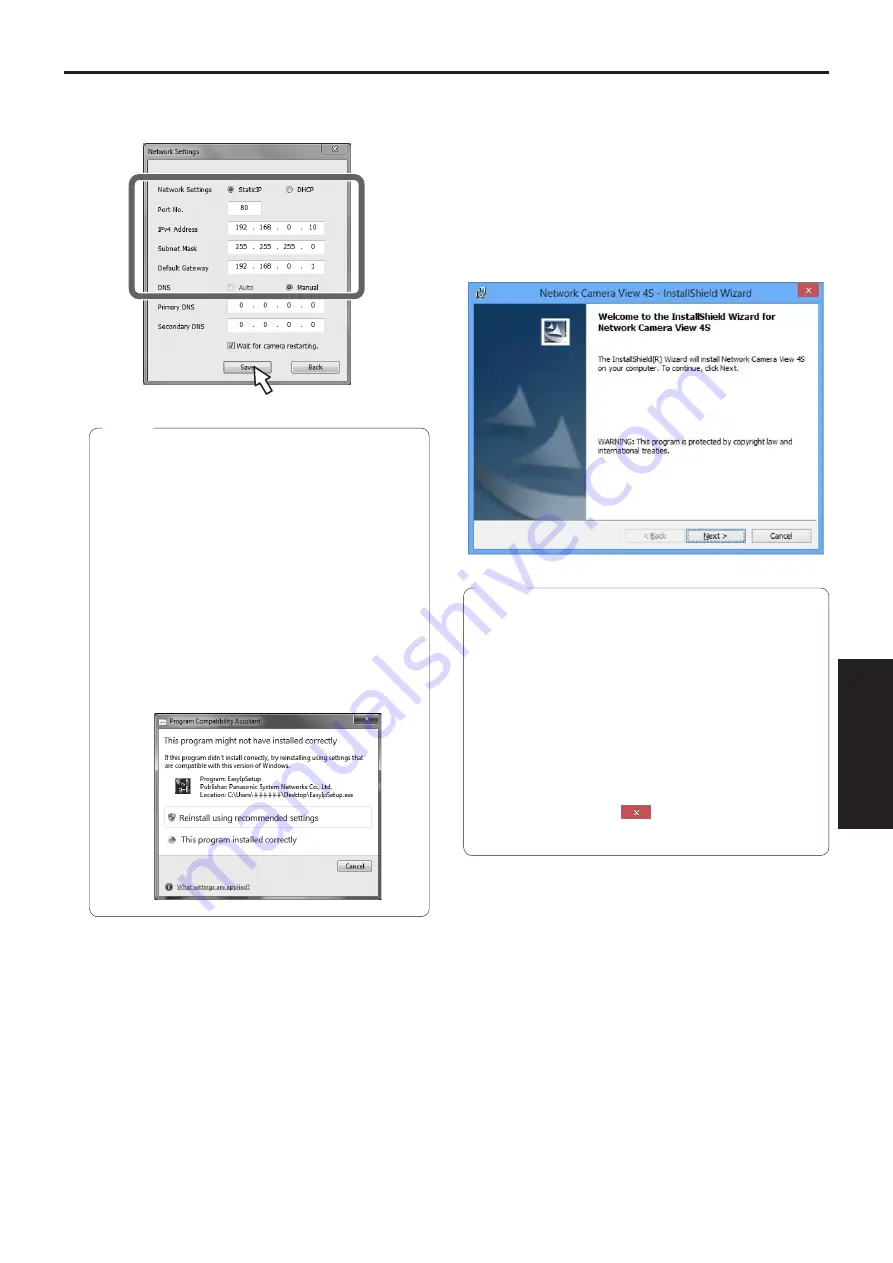
Input the network items, and click the [Save]
button.
●
When a DHCP server is being used, “DNS” of the
Easy IP Setup Software can be set to “Auto”.
●
After the [Save] button is clicked, it takes
about 1 minute for the settings in the unit to be
completed. If the AC adaptor or LAN cable is
disconnected before the settings are completed,
the settings will be canceled. In this case, repeat
the steps to establish the settings.
●
When a firewall (including software) has been
introduced, enable access to all the UDP ports.
●
When the Easy IP Setup Software is used for the
first time, the [Program Compatibility Assistant]
screen may appear after quitting the Easy IP Setup
Software.
Select [This program installed correctly] in the
[Program Compatibility Assistant] screen.
Notes
■
Installing the plug-in viewer
software
To view IP images from the unit on a web browser, the
“Network Camera View 4S” plug-in viewer software
(ActiveX
®
) must be installed in your personal computer.
●
When you display the Live screen [Live] on the personal
computer for the first time, the installation screen for the
plug-in viewer software (ActiveX) appears. Follow the
instructions on the screen to perform installation.
●
[Automatic installation of viewer software] is set to
[On] at the time of purchase, allowing you to install
directly from the unit. If a message appears in the
web browser’s information bar, see page 135 in the
<Operations and Settings>).
●
If the plug-in viewer software (ActiveX) installation
screen continues to appear when switching screens,
even after it is installed, restart the personal computer.
●
To uninstall the plug-in viewer software, select [Control
Panel] - [Programs] - [Uninstall a program] in Windows,
and remove “Network Camera View 4S”.
●
If installation of the plug-in viewer software fails, close
Internet Explorer with
while the above screen is
displayed and then click [Next].
Notes


