– 107 –
Chapter 4 Operation — Handling setting data
Handling setting data
Scene files
File structure of the setting data
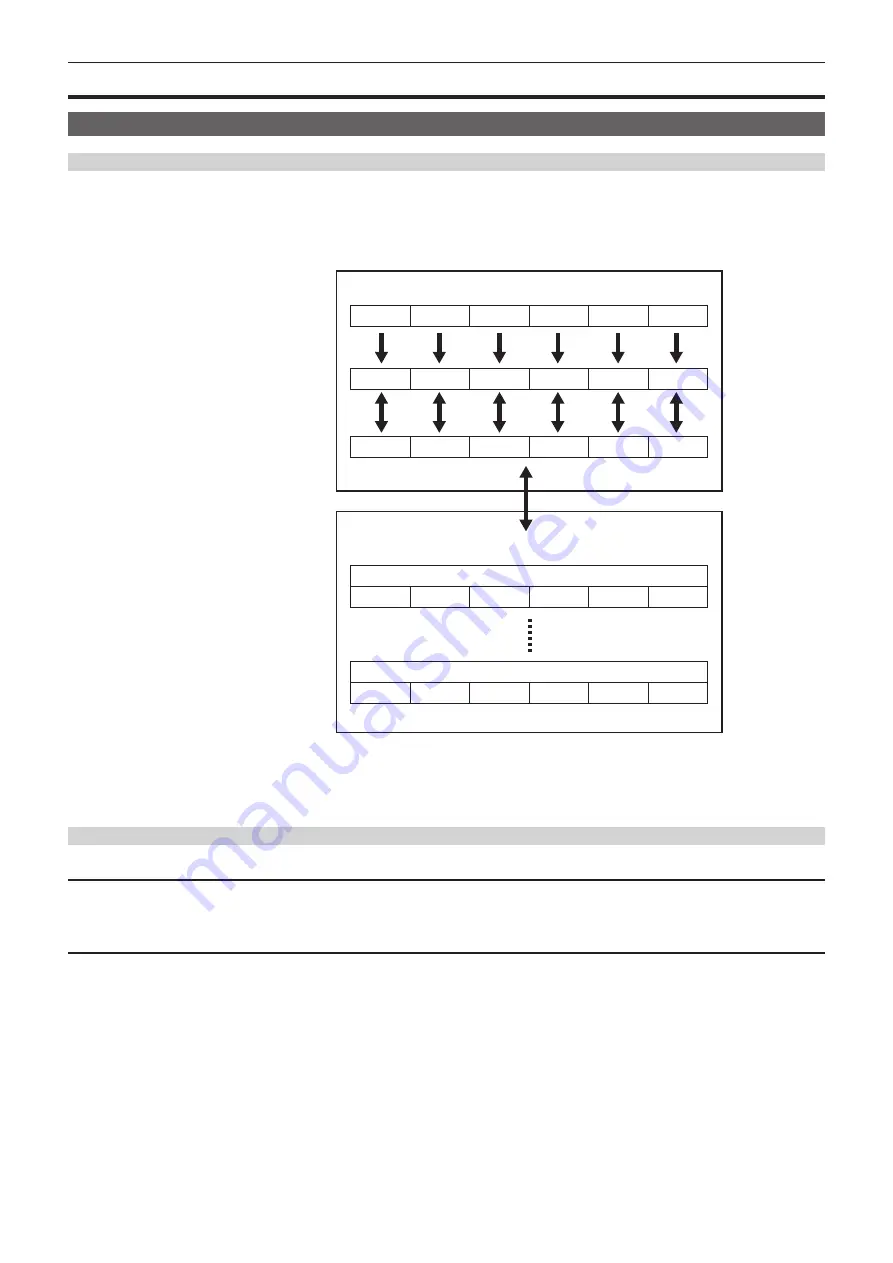
The scene files of [F1:] to [F6:] can be saved in the camera memory in accordance to the scene file number.
What can be saved as a scene file is the setting contents of the [SCENE FILE] menu.
In addition, the current setting values of the scene files of [F1:] to [F6:] can be saved as a file to the camera memory and the memory card, and that data
can be loaded and used in the camera.
Setting data file structure of the camera is as follows.
*1
*1
*1
*1
*1
*2
*2
*2
*2
*2
*1
*2
*3
(Factory settings)
The camera
(Current value)
(Value saved on the camera)
Memory card
Scene file 1
Scene file n
[F1:]
[F2:]
[F3:]
[F4:]
[F5:]
[F6:]
[F6:]
[F6:]
[F6:]
[F6:]
[F1:]
[F2:]
[F3:]
[F4:]
[F5:]
[F1:]
[F2:]
[F3:]
[F4:]
[F5:]
[F1:]
[F2:]
[F3:]
[F4:]
[F5:]
[F1:]
[F2:]
[F3:]
[F4:]
[F5:]
*1 The scene file can be initialized.
Select the [SCENE FILE] menu
→
[LOAD/SAVE/INITIALIZE]
→
[INITIALIZE].
*2 Current setting value of each scene file can be individually saved in the camera body. Also, the scene files saved in the camera memory can be loaded.
Select the [SCENE FILE] menu
→
[LOAD/SAVE/INITIALIZE]
→
[LOAD]/[SAVE].
*3 The scene file can be saved to the memory card in card slot 1. Also, the scene files saved in the memory card can be loaded.
Saving the scene file
Saving the scene file into the camera memory
Saves the current setting value of the camera into the camera memory.
1
Select the [SCENE FILE] menu
→
[LOAD/SAVE/INITIALIZE]
→
[SAVE].
Saving the scene file to the memory card
The scene file can be overwritten to a file on the memory card in card slot 1, or saved as a new file.
r
Saving the scene file as a new file to the memory card
Specify a file name to save the current setting values of the camera to the memory card in card slot 1 as a new file.
1
Select the [OTHERS] menu
→
[FILE]
→
[SCENE FILE(SD CARD)]
→
[SAVE AS].
The file name entry screen and the keyboard are displayed.
2
Enter the text to set with the keyboard.
3
Select [Enter].
A confirmation screen is displayed.
4
Select [SET].
The file is saved.
f
Содержание AG-CX350E
Страница 9: ...Before using the camera read this chapter Chapter 1 Overview ...
Страница 150: ...This chapter describes the screen displayed on the output video and LCD monitor Chapter 7 Output and Screen Display ...
Страница 166: ...This chapter describes how to use the camera by connecting to a network Chapter 9 Network Connection ...
Страница 181: ...Maintenance of the camera or frequently asked questions are described Chapter 10 Notes ...
Страница 191: ...This chapter describes the specifications of this product Chapter 11 Specification ...
Страница 192: ... 192 Chapter 11 Specification Dimensions Dimensions 180 mm 393 mm 311 mm 187 mm 173 mm ...
Страница 199: ...Web Site http www panasonic com Panasonic Corporation 2019 ...


