A-22
Water Heat Exchanger Unit
6. Installation considerations
(3) Installing refrigerant piping and charging with refrigerant
!
Caution
Always replace the refrigerant with nitrogen before brazing refrigerant piping.
Loose oxide scales can cause motorized valves to seize and clog strainers, which can result in operation
failure.
1. Be sure to heed the caution labels on the water heat exchanger unit.
2. Pipe routes should be designed to use the shortest possible length of piping and for the minimum possible
difference between high and low points. When bending pipes, be careful to avoid kinking or fl attening.
3. Table 1 shows the limitations on refrigerant pipe length between the water heat exchanger unit and the
outdoor unit, and on the difference in height between the high and low points. Also add the unit additional
charge amount in Table 2 according to the outdoor unit type.
Table 1 Allowable refrigerant piping length, amount of refrigerant additionally charged, and pipe specifi cations
Type
Allowable
pipe length
Allowable height difference
Amount of additional
refrigerant
Refrigerant piping (copper pipe C1220T,
external diameter × wall thickness in mm)
When outdoor
unit is higher
When outdoor
unit is lower
For the length of
refrigerant piping
Liquid side
(O-material)
Gas side
(1/2H, H-material)
Type
710
170m
(equivalent
length 200m)
50m
*35m
259g/m (366g/m)
Ø19.05×1.0
(Ø22.22×1.0)
Ø31.75×1.1
(Ø38.1×1.35)
Type
500
185g/m (259g/m)
Ø15.88×1.0
(Ø19.05×1.0)
Ø28.58×1.0
(Ø31.75×1.1)
Type
250
56g/m (128g/m)
Ø9.52×0.8
(Ø12.7×0.8)
Ø22.22×1.0
(Ø25.4×1.0)
* For cooling operation where the outdoor air temperature is 10°C or less, this value should be 30m.
• If the pipe length is 90m or more, use one size bigger one provided in parentheses.
Table 2 Unit additional charge amount
Outdoor unit type
45.0 kW
56.0 kW
71.0 kW
85.0 kW
Unit additional charge amount
–
0.5 kg
2.5 kg
10.0 kg
4. Do not allow dust, dirt, or moisture to become trapped inside the piping.
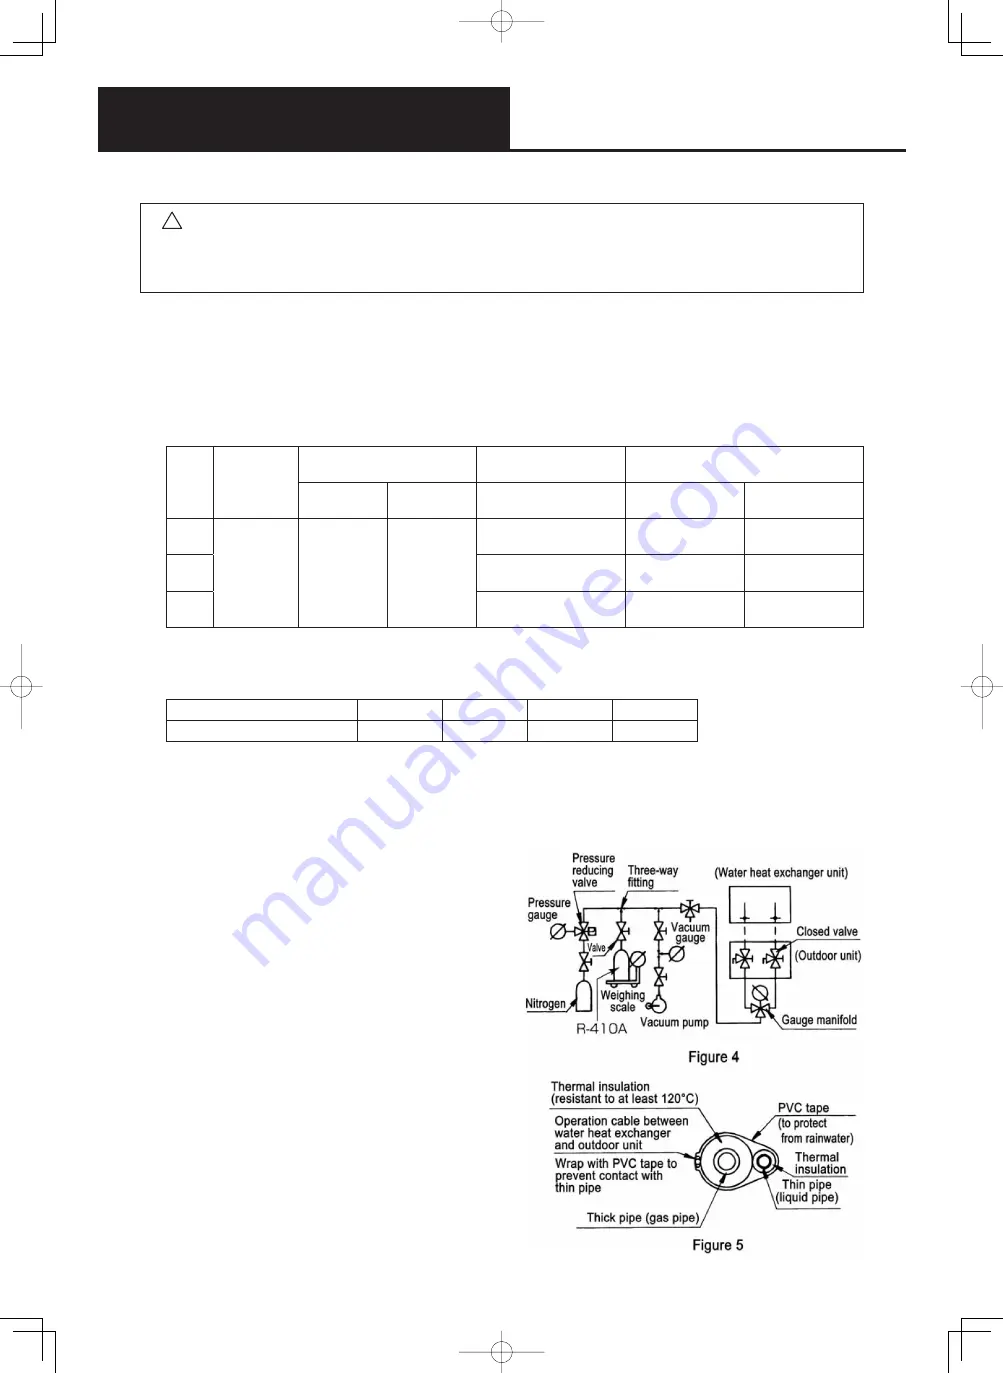
5. After connecting the piping, perform gas leakage testing by means of an air purge (Figure 4).
Leakage testing may be legally required in accordance with local regulations such as the High Pressure
Gas Safety Law (in Japan). After connecting the pipes, perform testing in accordance with the points below
(or those for the installation locale), to confi rm that there are no leaks from the joints.
Cautions
1) Gas pressure in the gas leakage test: F4.15
MPa
2) After the gas leakage test, evacuate the system
to 667 Pa (-755 mmHg, 5 Torr).
3) Do not open outdoor unit valves until the gas
leakage and vacuum tests are complete.
4) Do not allow the equipment to sit idle for long
after completing vacuum testing.
6. Apply thermal insulation to the piping.
Apply the thermal insulation after completing
the leak check on the pipe joints.
Apply thermal insulation to both the thick
pipes and thin pipes.
7. A gas heat pump air conditioning system must be
installed in accordance with the “High pressure gas
safety law”, the “Refrigeration safety regulations”,
the “Criteria for refrigeration installations” published
by the High Pressure Gas Safety Institute of Japan,
and all the necessary reporting procedures must be
carried out.
GHP Chiller TECHNICAL DATA.indb A-22
GHP Chiller TECHNICAL DATA.indb A-22
2012/04/06 13:42:06
2012/04/06 13:42:06


