background image

P+

P-

V-

V+

MENU

Organise Functions

19

P+

P-

V-

V+

MENU

Organise

ORGANISE

This feature enables TV programmes that may be on a wrong program
number to be moved to another number.
This feature is very useful when Automatic Search Tuning has been used
because programmes are stored in the order they are found, which is usually
not the desired order.
When organising, it is best to start from the lowest programme number first.

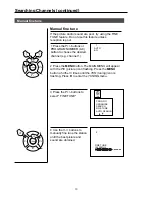
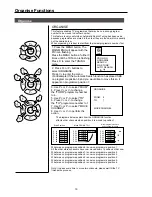
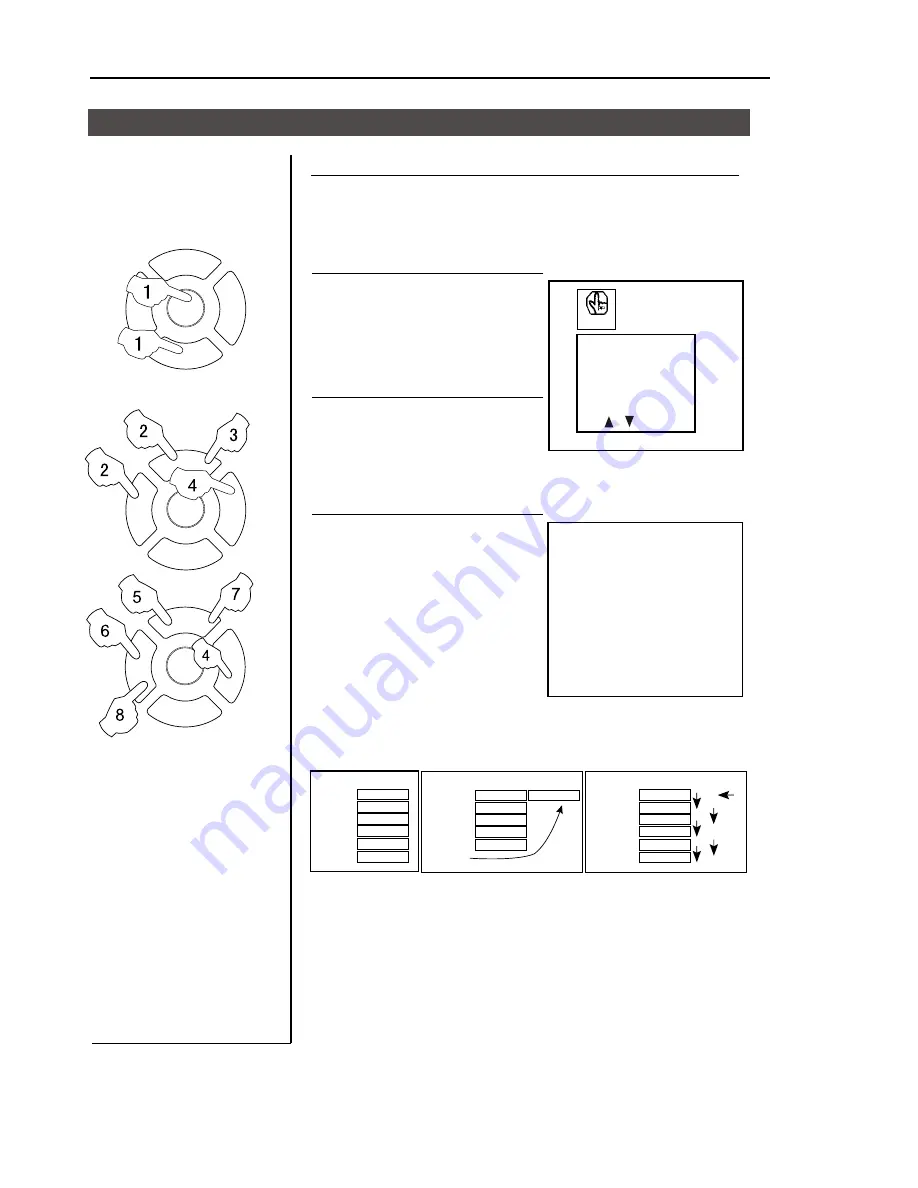
1. Press the MENU button. The
MAIN MENU will appear with the
PlC icon flashing.
Press the MENU button a further 3
times until the TUN icon is flashing.
Press P- to enter the TUNING
menu.

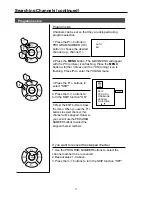
2. Press P+ or P- buttons to
select ORGANISE.
Press V+ to enter the menu.
(For Example) If the Automatic Search function has placed SBS
on programme position 6 and you would like to move this so it
appears on programme position 1.

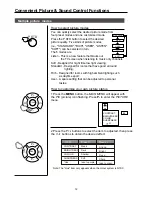
3. Use P+ or P- to select "FROM".
4. Press V+ or V- to change
the "FORM" programme number
to 6.
5. Use P+ or P- to select "TO".
6. Press V+ or V- to change
the "TO" programme number to 1.
7. Use P+ or P- to select "MOVE
CHANNEL".
8. Use V+ or V- to perform the
action.

ORGANISE

FROM
TO

MOVE CHANNEL

6
1

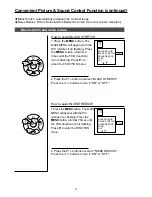
The diagrams below explain how the ORGANISE function
affects other channels when position 6 is moved to position 1.

Other programmes move

down to allow for space

Start Position

Move FROM 6. TO 1 

What was on programme position 6 is now on programme position 1.
All the other stored channels have now moved down 1 position so that now.
What was on programme position 1 is now on programme position 2.
What was on programme position 2 is now on programme position 3.
What was on programme position 3 is now on programme position 4.
What was on programme position 4 is now on programme position 5.
What was on programme position 5 is now on programme position 6.

Note: It needs some time to move two channels, please wait till the TV
finishes the process.

P  01
P  02
P  03
P  04
P  05
P  06

Contents
Contents
Contents
Contents
Contents
Contents

P  01
P  02
P  03
P  04
P  05
P  06

Contents
Contents
Contents
Contents
Contents

Contents

P  01
P  02
P  03
P  04
P  05
P  06

Contents
Contents
Contents
Contents
Contents
Contents

TUN

PROG NO
ORGANISE
SEARCH
FINE TUNE
AUTO SEARCH 

P+

P-

V-

V+

MENU

Содержание 5115DVD

Страница 1: ...7 AUSTRALIA TEL 02 9313 7111 FAX 02 9313 7555 www palsonic com au PALSONIC CUSTOMER SERVICE TELEPHONE AUSTRALIA 1300 657 888 5115DVD 51 cm TV DVD Combination Please read this manual carefully before u...

Страница 2: ...ram skip Convenient picture and sound control functions Multiple picture modes Black stretch and noise reduce Mute and Fade Time functions Clock setting and timer on off functions Sleep timer and prog...

Страница 3: ...e wires or injury may occur 4 This TV set can only use the supply voltage and frequency indicated on the back of the housing If you power supply does not comply with them please consult with service p...

Страница 4: ...suggested to use a 75 coaxial cable to eliminate interference or noise 3 The cable must not be tied together with supply cords 75 Antenna Connection 1 First read carefully the relevant instructions in...

Страница 5: ...DVD Play Pause the DVD Stop Power Switch Video L R Audio COAXIAL Video output terminal Antenna input socket Audio right channel output terminal Audio left channel output terminal Audio right channel...

Страница 6: ...E DVD FAST FORWARD DVD MENU DVD NEXT DVD PREVIOUS DVD REPEAT DVD PLAY ENTER DVD A B REPEAT DVD Cursor Move button DVD SLOW DVD ANGLE DVD SEARCH DVD AUDIO DVD TITLE DVD PROGRAM DVD CALL DVD SUBTITLE Zo...

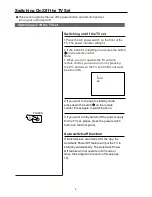
Страница 7: ...l light Auto switch off function This section explains the use of the power button and remote handset to turn your unit on and off POWER 2 If you want to change to standby mode press down the button o...

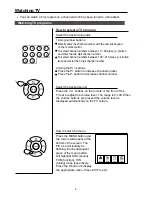
Страница 8: ...umber Press the P button to decrease channel number Select the desired sound Press the V buttons on the remote or the front of the TV set to adjust the volume level The range is 0 100 When the volume...

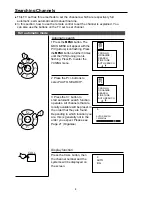
Страница 9: ...ously Auto scan function scans through all programs in memory including those with skip set to off see Program skip on page 13 Press the SWAP button to select the channel you were watching previously...

Страница 10: ...ther 3 times until the TUN tuning icon is flashing Press P to enter the TUNING menu 2 Press the P buttons to select AUTO SEARCH 3 Press the V button to start automatic search function operates All cha...

Страница 11: ...er 3 times until the TUN tuning icon is flashing Press P to enter the TUNING menu 3 Press the P buttons to select SEARCH 4 Press the V button to search downwards or the V button to search upwards To t...

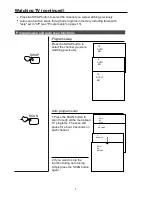
Страница 12: ...s or PROGRAM NUMBER 0 9 button to choose the desired channel e g channel 1 2 Press the MENU button The MAIN MENU will appear with the PlC picture icon flashing Press the MENU button a further 3 times...

Страница 13: ...NU button a further 3 times until the TUN tuning icon is flashing Press P to enter the TUNING menu 3 Press the P buttons to select SKIP 4 Press the V buttons to turn the SKIP function ON 5 Press the E...

Страница 14: ...d for rooms that have good all round lighting Rich Designed for rooms with high ambient lighting such as daytime sport User A spare setting that can be adjusted to personal tastes How to customise you...

Страница 15: ...function icon is flashing Press P to enter the FUNCTION menu 2 Press the P button to select BLACK STRETCH Press the V buttons to turn it ON or OFF How to select NOISE REDUCE 1 Press the MENU button T...

Страница 16: ...V will protect the tube by fading the picture in when the TV is switched on and fading the picture out when the TV is switched off 1 Press the MENU button The MAIN MENU will appear with the PlC pictur...

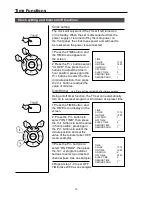
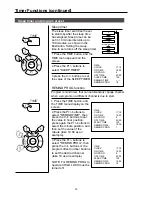
Страница 17: ...n the TV set can automatically turn on to a preset program or shut down at a preset time 1 Press the TIME button and the TIME menu display on the screen 2 Press the P buttons to select ON TIME then pr...

Страница 18: ...start 1 Press the TIME button and the TIME menu display on the screen 2 Press the P buttons to select REMIND TIME then press the V buttons to set the value in hour position press again the P buttons t...

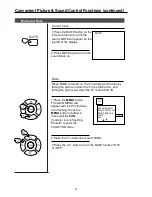
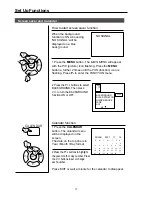
Страница 19: ...er the FUNCTION menu 2 Press the P buttons to select BACKGROUND Then press V to turn the BACKGROUND function ON or OFF Calendar function 1 Press the CALENDAR button The calendar menu will be displayed...

Страница 20: ...ome on 1 Press the MENU button The MAIN MENU will appear with the PlC picture icon flashing Press the MENU button a further 2 times until the FUN function icon is flashing Press P to enter the FUNCTIO...

Страница 21: ...mber to 1 7 Use P or P to select MOVE CHANNEL 8 Use V or V to perform the action ORGANISE FROM TO MOVE CHANNEL 6 1 The diagrams below explain how the ORGANISE function affects other channels when posi...

Страница 22: ...P button and move the indicator to CHANGE PW and press V button to enter the sub menu of change password 3 Press the PROGRAM NUMBER 0 9 button and input a four digits password INPUT PASSWORD LOCK SET...

Страница 23: ...When the TUNING LOCK is set ON if you want to enter the TUNING menu you will have to type the password 2 The PRESET PROG allows the TV to always be on the same channel when you turn it on 3 When AV L...

Страница 24: ...ntrol to select menu options and press PLAY ENTER to start You may also press the digit buttons to select a menu option directly Many DVDs will not allow this during start up 1 Press PAUSE STEP to pau...

Страница 25: ...his button continuously Each press must have a 3 second delay AUDIO TITLE PBC With some DVD discs pressing this key will display the title menu You can then use the digit buttons to select the item yo...

Страница 26: ...mat which can be decoded by the DVD player and output for viewing and enjoyment on the television screen When a disc containing standard JPEG picture files is inserted into the player a navigation men...

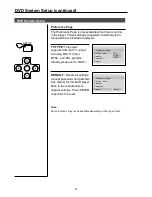
Страница 27: ...re even if using a widescreen TV This is because some film directors prefer to use ultra widescreen aspect ratios e g 2 35 1 This will normally be indicated on the DVD packaging DVD System Setup Gener...

Страница 28: ...t to a Dolby Digital DTS decoder through the coaxial connector on the back panel of the product TV Display LB Angle Mark On OSD Lang ENG Spdif Output Caption On Screen Saver Off General Setup Page On...

Страница 29: ...output including MULTI Auto NTSC and PAL systems Usually please set to MULTI TV Type Auto Parental Password Default PAL AUTO NTSC Preference Page PLAY ENTER SETUP DEFAULT Resets all settings except p...

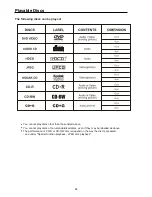
Страница 30: ...play discs other than those listed above You cannot play discs of non standardized discs even if they may be labelled as above The performance of CD R or CD RW disc is depend on the way the disc is p...

Страница 31: ...es double side 120 minutes 45 minutes 74 minutes 74 minutes 12cm 8cm 12cm 8cm Disc diameter 30cm 20cm 12cm 12cm Horizontal resolution More than 500 line No more than 430 line No more than 350 line No...

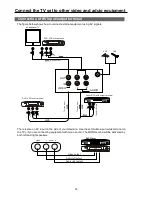
Страница 32: ...r other units Laser DVD with output terminal There is also an AV input on the side of your television Use the Left Audio input white terminal on the TV if you are connecting equipment with mono sound...

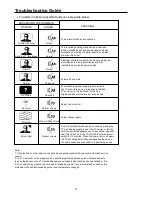
Страница 33: ...No colour Normal volume Adjust colour control Scramble Normal or Weak Volume Adjust channel again Colour Spot Normal volume Colour Purity fault which can be caused by moving the TV set placing magnets...

Страница 34: ...is manual are approximate AC 230V 50Hz BG 80W Picture tube Accessories Colour system Sound system Sound output power Power requirements Power consumption Dimension 2X2W 10 THD 51cm colour picture tube...

Страница 35: ...PALSONIC CORPORATION PTY LTD 1 JOYNTON AVENUE WATERLOO NSW 2017 AUSTRALIA TEL 02 9313 7111 FAX 02 9313 7555 www palsonic com au PALSONIC CUSTOMER SERVICE TELEPHONE AUSTRALIA 1300 657 888 01 0090504854...

Отзывы: