29
PALLMANN GmbH l Ein Unternehmen der Uzin Utz AG | Im Kreuz 6 | 97076 Würzburg | T49 931 27964-0 | T49 931 27964-50 I www.pallmann.net
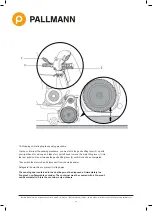
5. Loosen the retaining nut (1).
6. Connect the machine to the mains power
(see chapter 7.7 and chapter 7.8).
7. Allow the machine to run in position „I“.
8. By turning the adjusting nuts (2), you can move the tension roller to
influence the path of the
sanding belt. Adjust the position of the sanding belt until it runs in the
middle of the sanding drum.
9. Switch the machine off. Disconnect the machine from the mains
power.
10. Tighten the adjusting nuts (2). Tighten the retaining nut (1) securely.
11. Close the sanding drum cover.
8.5 Replacing the belt
Instructions for removing the belt:
1. Make sure that the motor switch is in the off position and
that the mains cable is
disconnected from the motor plug.
2. Unscrew the knurled nut from the belt guard and open the
belt guard.
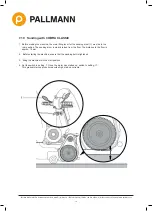
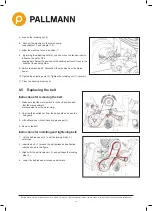
3. Lift belt tensioner (2) until locating pin snapsr (3) .
4. Remove the belt
Instructions for installing and tightening belt:
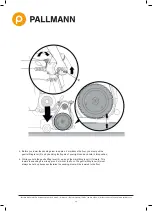
1. Lift the belt tensioner ( 2 ) until the locking stud ( 3 )
unlatches.
2. Insert the belt ( 1 ) around the belt pulleys and deflection
roller as shown in the figure.
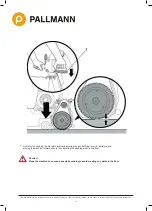
3. Slightly lift the belt tensioner ( 2 ) and pull back the locking
stud ( 3 ).
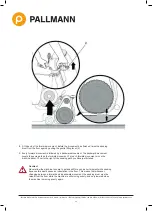
4. Lower the belt tensioner to take up belt slack..

