


User’s Manual
60
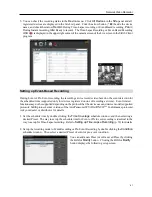
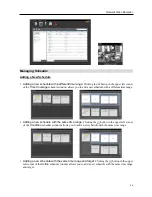
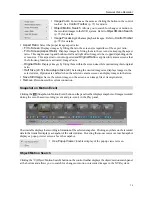
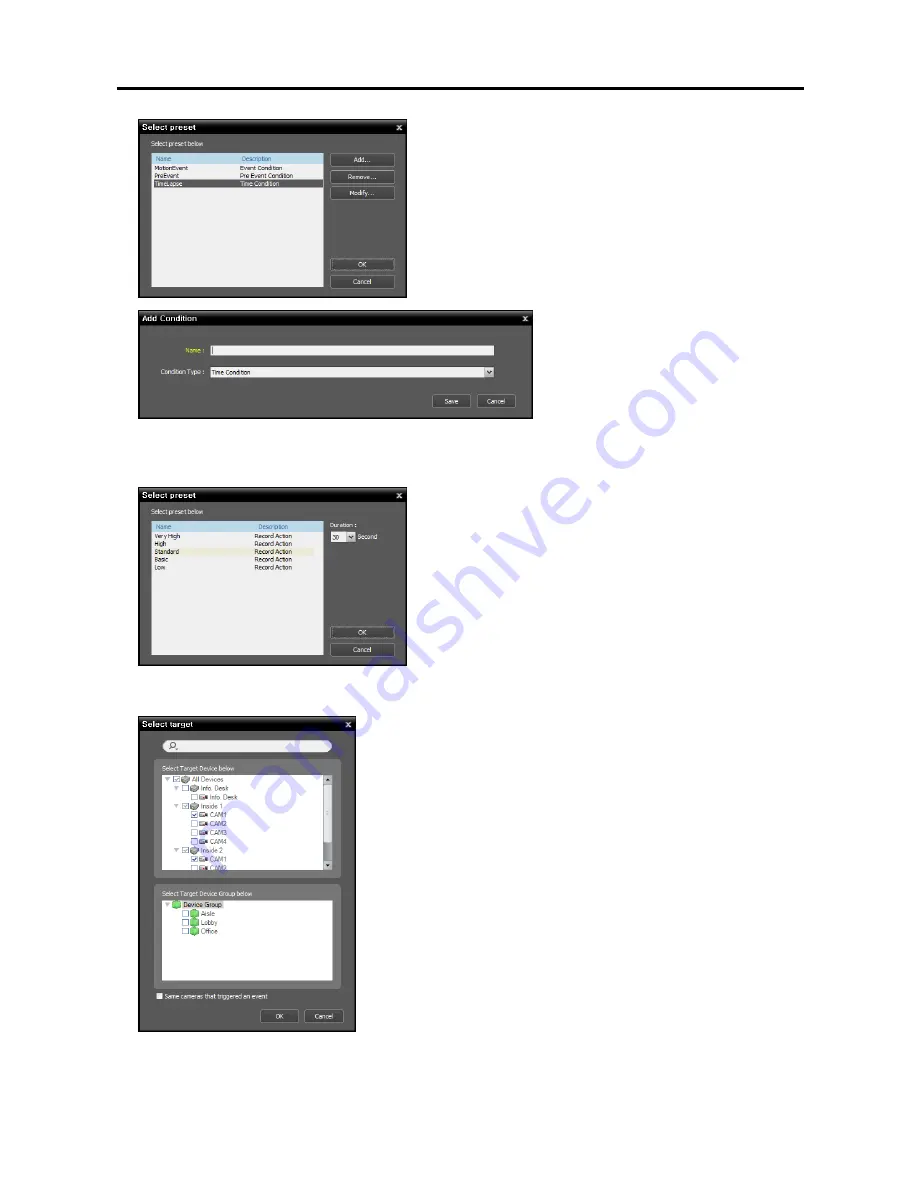
You can add a new Preset or edit a saved Preset by clicking
the
Add
or
Modify
button. Clicking the
Add
or
Modify
button displays the following setup screen.
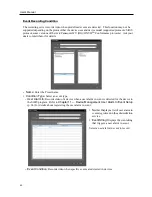
Enter the Preset name and select
Time
Condition
from the
Condition Type
list.
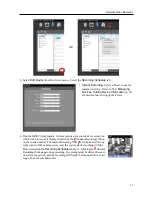
3.
Double click the
Action
schedule window and select the desired Preset (supported only for devices which
use the SiRiS protocol).
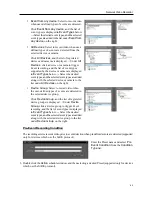
A stream to use for recording (network cameras only) or a
codec, resolution, frame rate and quality setting values
(network video transmitters only) are allocated to each
Preset. The stream or setting values allocated to each Preset
is different depending on the device. Refer to
11.2
Managing Devices, Editing Device Information
(p. 99)
for details.
Duration
: This is not supported for time-lapse recording.
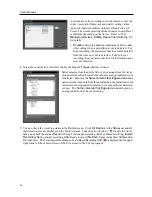
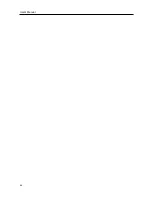
4.
Select the cameras to be recorded after double clicking the
Target
schedule window.
Select cameras from the device list to record video or select device
groups from the device group list. The
Same cameras that
triggered an event
option is not supported during Time-Lapse
recording.
Содержание PNVR16-RTM
Страница 1: ......
Страница 2: ......
Страница 8: ...User s Manual vi ...
Страница 16: ...User s Manual 8 ...
Страница 48: ...User s Manual 40 ...
Страница 64: ...User s Manual 56 ...
Страница 76: ...User s Manual 68 ...
Страница 88: ...User s Manual 80 ...
Страница 96: ...User s Manual 88 ...
Страница 134: ...User s Manual 126 ...
Страница 154: ...User s Manual 146 ...
Страница 156: ...User s Manual 148 ...
Страница 158: ......


