User’s Manual
22
You can assign IDs to each camera by highlighting the box under the
ID
heading and pressing the button. Change
the number by highlighting it and using the
Up
and
Down
arrow buttons to increase and decrease the number. The
PTZ ID number can be set from 0 to 256.
Highlight the
Setup…
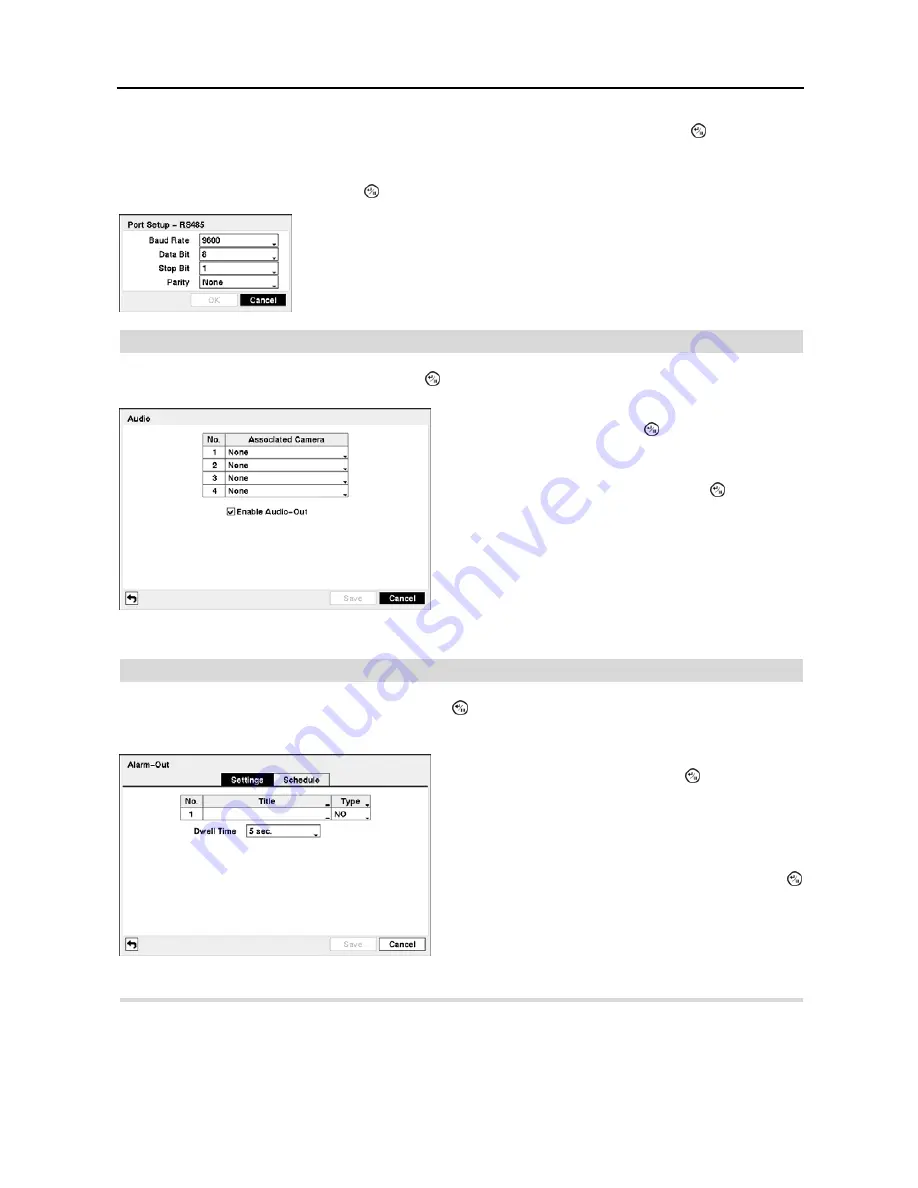
box and press the button. The Port Setup window appears.
Audio
Highlight
Audio
in the Devices menu and press the button. The
Audio
setup screen appears.
Alarm-Out
Highlight
Alarm-Out
in the Devices menu and press the button. The
Alarm-Out
screen allows you to change the
settings and establish a schedule for each alarm output from the DVR.
Highlight the
Schedule
tab, and the Alarm-Out
Schedule
setup screen displays.
Configure the port’s setting based on the PTZ camera manufacturer’s instructions.
Figure 27
─
Audio setup screen.
The DVR can record up to four audio inputs. Highlight the
box beside the input and press the button. A list of cameras
appears, and you can select which camera you want associated
with that audio input.
Highlight
Enable Audio-Out
and press the button. This
toggles between enabling and disabling audio out.
NOTE: The DVR will NOT record audio when the recording
speed is set to less than 1 ips.
Figure 28
─
Alarm-Out Settings setup screen.
The alarm output can be given its title by highlighting the box
under the
Title
heading and pressing the button. A virtual
keyboard appears allowing you to enter the title.
Highlighting the box under the
Type
heading allows to set
the alarm output for NO or NC (normally open or normally
closed).
Highlighting the box beside
Dwell Time
and pressing the
button allows you to set the dwell time of the alarm output.
Dwell times range from 5 seconds to 15 minutes.
Содержание PDRH-440
Страница 1: ......
Страница 2: ......
Страница 10: ...User s Manual 2 Figure 1 Typical DVR installation ...
Страница 14: ...User s Manual 6 ...
Страница 46: ...User s Manual 38 ...
Страница 68: ...User s Manual 60 Map of Screens ...


