


Digital Video Recorder
55
①
Monitoring Screen:
Displays monitoring video. Various display formats are provided for convenient user interface.
The camera groups for multi-screen formats are composed of cameras 1 to 32 in order. The user can select which
camera group is displayed by clicking any camera button in a group from camera buttons. Information including
camera title, recording mode, and recording status can be displayed on the image. Go to Setting Up the System and
Setting Up Cameras
in the SmartBase Setup section, and place a check in the Show OSD box to display the OSD
information.
②
Quit:
Click to quit the system.
③
Version:
Displays the software version of the POST system currently connected.
④
Screen Mode Buttons:
Click the desired screen mode. Move the cursor to that image and double click the left
mouse button to view a specific image in the single-screen mode. Click the left mouse button in the window to return
to the previous screen mode from the single-screen mode.
⑤
Utility Buttons:
See the
Utility Buttons
section below for details.
⑥
Camera Buttons:
Click the individual camera buttons to display the selected camera. Click the
or
button
to display the previous or next camera button panel.
⑦
Event Logging:
Displays event logs and callback messages of the remote system. Scroll up and down the list by
holding down the left mouse button on the list while moving the cursor up and down, or roll the mouse wheel on
the list. The display information of the event log and callback message is shown below:
Event Log
– ‘Date’
_
’Time’
(
User ID
)
[Camera No. of the BASE system] ‘Event type’ ‘Camera No. of the POST system’
:
‘Camera title’
Callback Message
– Date
_
Time
(Callback)
‘Event type’ ‘Camera No. of the POST system’
:
‘Camera title’
(
User ID
)
⑧
POS:
Click to display POS control buttons. The user can watch the text data coming from the POS remotely.
⑨
Alarm Control:
Click to display alarm control buttons. You can check the alarm status and control the alarm output
remotely. Pressed alarm button is active mode, and released button is inactive mode. The user can active or inactive
alarm output manually by clicking the button when it is released or pressed. If the user disables the alarm during
the Alarm setup on the SmartGuard, the alarm button will be disabled. Only the administrator can control the alarm
output from a remote site. Click the left or right arrow buttons to display the previous or next alarm button panel.
⑩
PTZ:
Click to display PTZ control buttons. Controlling PTZ from the SmartBase mode changes the PTZ setup of the
remote DVR. Only the administrator and authorized users for PTZ control can change PTZ setup from a remote site.
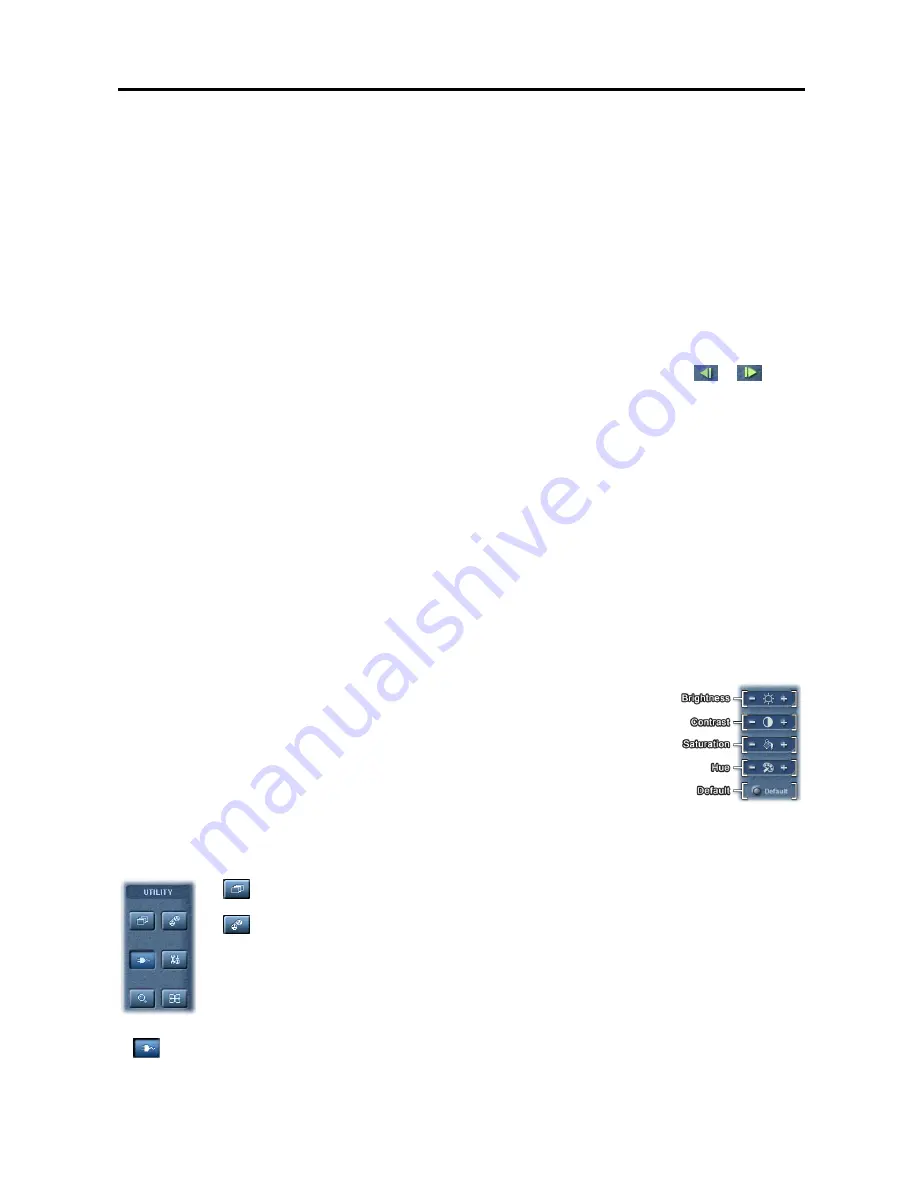
⑪
Image Adjustment:
You can adjust the brightness, contrast, hue and saturation of live
image by clicking the designated buttons. Click the
Default
button to reset them to the
default settings. Only the administrator can adjust the image. These adjustments should
not be used to correct improperly set cameras or monitors. Also, it is important that images
are properly adjusted. These adjustments cannot make up for improperly adjusted images
when the images are recorded.
⑫
System Status:
Displays date and time, the remaining hard disk space, operating mode
and the type of hard disk usage. Refer to the
System Status
section below for details.
Utility Buttons
(Auto Sequencing)
:
Click the button to sequence the cameras in order. Whenever you click
the button, it toggles between On and Off. The switching interval can be set during the system setup.
(Record)
:
Clicking the button starts recording and clicking the button again stops recording.
SmartBase returns to view only mode automatically when it is unable to record (for example, when
the hard disk is full).
NOTE:
The BASE system records only in accordance with the recording schedule, which can be
set during the system setup. Before you install the BASE program, you need to fully understand
the recording schedule. Note also that clicking this recording mode button only prepares the BASE
system for recording. In this state, the BASE system will follow the recording schedule
(Connect)
:
Click the button to connect to a remote site. Refer to the
Remote Monitoring
section (p. 2) for details.
Содержание H264
Страница 1: ......
Страница 2: ......
Страница 10: ...User s Manual 4 ...
Страница 40: ...User s Manual 34 ...
Страница 70: ...User s Manual 64 ...


