Installation
13
OWC Data Doubler
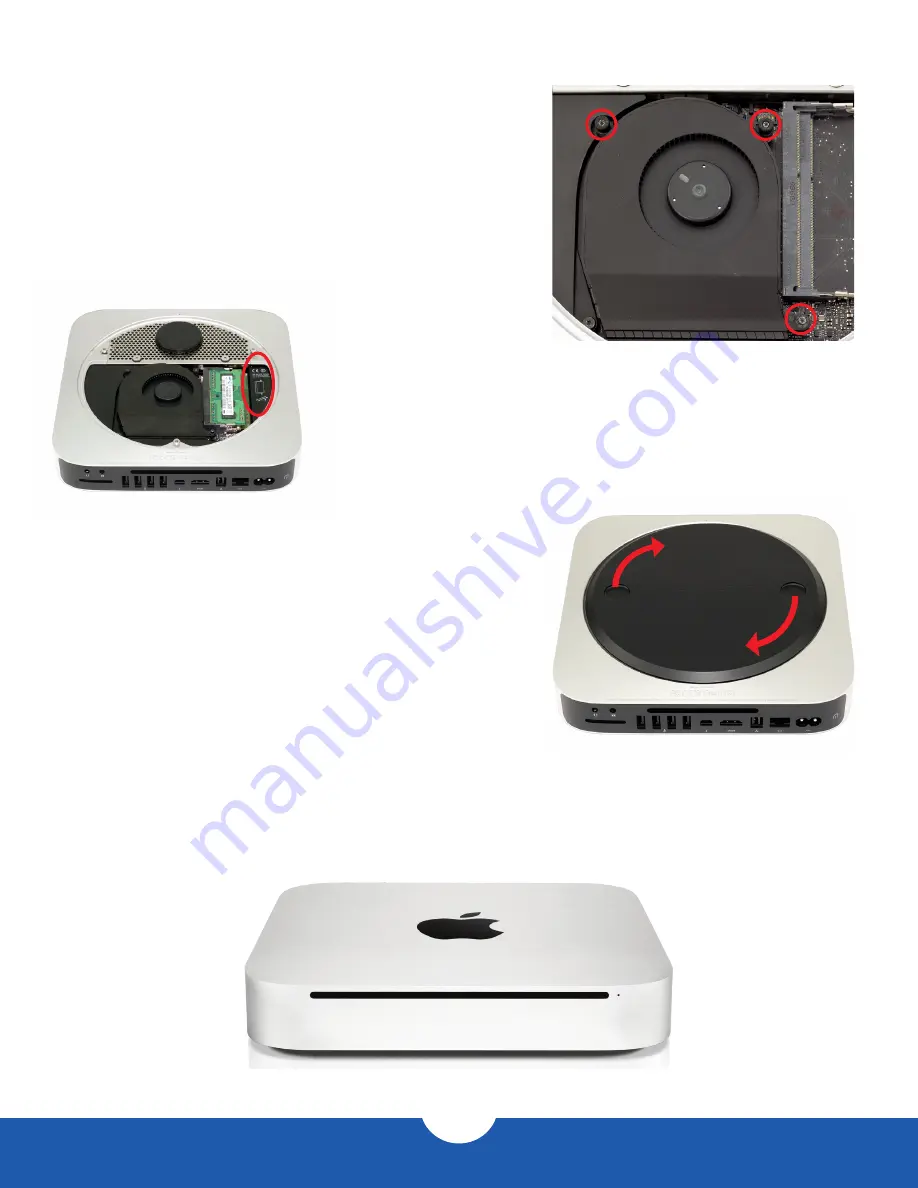
28. Install the two memory modules
accordingto the instructions circled
in the picture to the left.
29. Install the bottom cover and rotate it clockwise with your thumbs
until it locks into place, as shown in the picture to the right.
The assembly process is now complete. You can now enjoy the use of a
second hard drive or solid state drive in your Mac mini.
27. Line up the fan and install the three T6 screws circled in the
picture to the right. The two screws at the top are shorter; the
screw at the bottom right is a longer standoff screw.


