


Æ
A
Red LED
Indicator will starting to false
during keypad lock
To unlock keypads, press and hold the menu/
hold key again
Æ
A
Red LED
Indicator will turn off
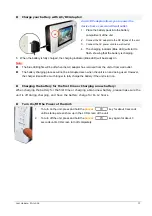
Power button
Press and hold this key to turn on or off the unit
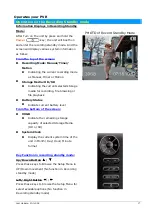
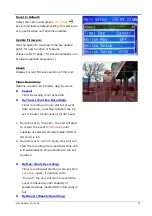
Setup Menu
After booth up the unit and enter the recording
standby mode; press
Menu/Hold
key once to enter setup menu, to exit the setup
menu, press
Exit/File List
key at
any time.
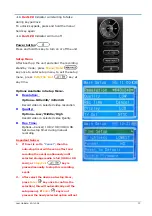
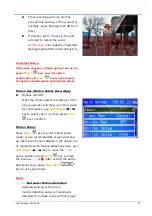
Options Available in Setup Menu:-
Resolution:
Options—640x240/ 320x240
Record video in selected video resolution
Quality:
Options—Low/ Middle/ High
Record video in selected video Quality
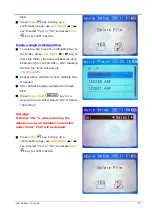
Rec. Time:
Options—Cancel/ 1 HR/2 HR/3 HR/4 HR
Set Auto-stop timer during manual
recording
Important Notice:
1.
If timer is set to “
Cancel
”, then the
auto-stop timer will have no effect and
recoding the event continuously until
selected storage media is full (HDD or SD
card), or
Stop/Exit
key is
pressed manually to stop this recording
event.
2.
After select the desire auto-stop timer,
press
Enter
key once to confirm the
selection (this will automatically exit the
setup menu). If
Enter
key is not
pressed, the newly selected option will not
Last Update: 20-Jul-06
19


