background image

6 of 20

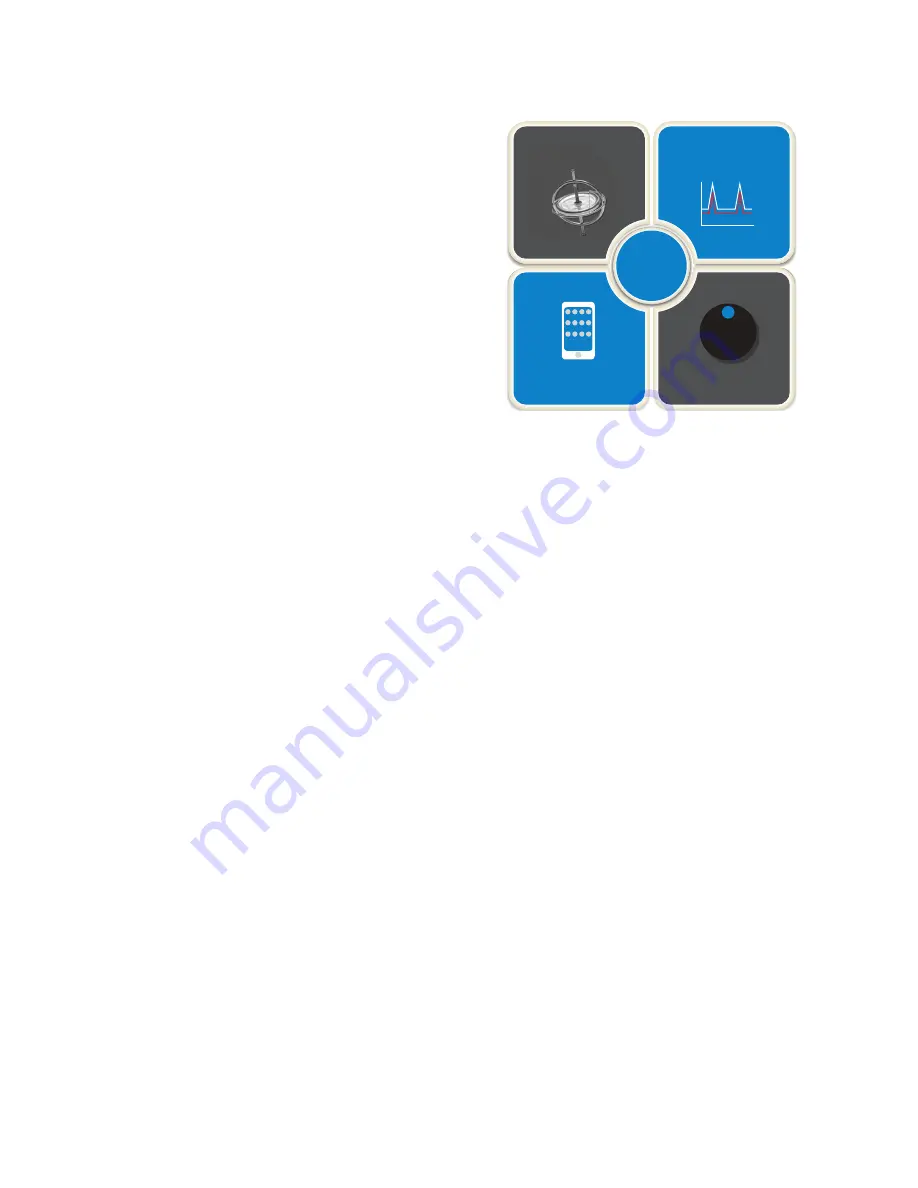
triggers

muscle control

g

rip chi

p


i-mo

 intelligent motion

gesture control

quick grips

app control

grip chips

proximity control

1.4  Prosthesis Overview: Control Options

i-digits™ can access automated grips using a range of control 
options depending on the type of i-digits™ device being used.

gesture control (only available on i-digits™ quantum):
By enabling 

i-mo™ technology

, gesture control allows an auto-

mated grip to be accessed through a smooth and natural motion 
of the prosthesis in 1 of 4 directions. 

To access gesture control:

•  Device must be in full open hand mode
•  Hold arm parallel to ground (elbow bent to 90°)
•  Maintain an open signal until finger twitches
•  Move the hand (within 1 second) in direction assigned to 

desired grip

•  i-digits™ quantum will adopt the grip

Note: gesture control can also be accessed using co-contraction. 
Depending on how your clinician has set up your prosthesis for 
you.

app control:
i-digits™ can access a grip at the touch of an icon on the 

my i-

limb™ 

app, enabling all automated grips to be available. These 

are called 

quick grips™

i-digits™ will exit automated grip when icon is tapped again, or by 
selecting another grip icon.

Speed boost (not available on i-digits™ access) is adjusted using 
a simple slider bar on the 

my i-limb™

 app. This increased speed 

can provide benefits of a more responsive action, more natural 
appearance of motion and increased grip force. 

muscle control:
Triggers are specific muscle signals that you can use to instruct 
i-digits™ to activate an automated grip. There are 4 potential trig-
gers: hold open, double impulse, triple impulse and co-contrac-
tion. 

proximity control (not available on i-digits™ access):
Grip chips are small Bluetooth chips which change the function 
of the i-limb quantum hand when the hand comes close to them. 
Grip chips are programmed (and can be reprogrammed using 
the myi-limb App.

To use grip chips, make sure the i-limb hand is not connected to 
the App. The i-limb must be fully open/digits stalled open. Each 
grip chips must be at least 24” apart.

Proximity is accessed by holding the i-limb hand fully opened 
near (15 cm/ 6”) to a grip chip. Wait until the grip is accessed, 
which may take up to 3 seconds. To exit a grip accessed via prox-
imity control, give a long open signal.

Double tapping a grip chip activates the grip. Quickly tap a grip 
chip twice, just like double-clicking a computer mouse. The LED 
on the grip chip flashes once when tapping is successful. NOTE: 
a 3 second pause between each double tap is required.

Содержание i-digits

Страница 1: ...i digits User Manual...

Страница 2: ...ary to ensure you have the latest copy of this document For further training information and videos demonstrating use of i digits devices in a variety of functional activities visit http training touc...

Страница 3: ...8 2 3 Battery Charging 9 3 0 Covers 11 3 1 Cover Options 11 3 2 General Precautions 11 4 0 Grip Review 12 4 1 Grip Options 12 5 0 Support Information 14 5 1 Storage and Maintenance 14 5 2 Troubleshoo...

Страница 4: ...o individuals with any 3 4 or 5 digit loss while patients or users with 1 or 2 digit loss are also indicated when the digits of loss are either the thumb or the main digits of opposition namely the in...

Страница 5: ...ics Customer Support team to resolve the matter as quickly as possible To best protect the hand when carrying objects the weight should be distributed evenly across the digits as close to the knuckles...

Страница 6: ...other grip icon Speed boost not available on i digits access is adjusted using a simple slider bar on the my i limb app This increased speed can provide benefits of a more responsive action more natur...

Страница 7: ...0 Control and Batteries Fig 3 Prosthesis overview Motorized Digit Knuckle Wristband and batteries This illustration above depicts an i digits for users with sound thumb and 4 i digits Palmer view Dor...

Страница 8: ...You may experience some minor redness on your residual hand but this should not last very long after you remove the device If the device is causing you discomfort or affecting you using your i digits...

Страница 9: ...low on charge If the battery is low on charge the LED will illuminate RED The LED will remain illuminated until the battery is adequately charged Only use supplied Touch Bionics charger to charge batt...

Страница 10: ...onics battery charger fig 7 supplied Place the batteries in the charger as illustrated Insert the charger lead from the mains charger into the charger base unit Insert the mains charger into the power...

Страница 11: ...lation Covers will be provided for i digits device Digit covers will be ready to fit and are designed to cover each digit Touch Bionics approved digit covers must be used with each digit of the devic...

Страница 12: ...ide grip Thumb Precision Pinch Opened middle ring and little finger remain fully opened and switch off Thumb automati cally moves to a partially closed position Index finger will move to provide grip...

Страница 13: ...er defined position The user can choose to keep certain digits active and switch oth ers off Grasp fingers adopt a pre flexed position All fingers function in squeeze mode for rapid grasp and release...

Страница 14: ...formation 5 1 Storage and Maintenance Always turn off your i digits device when not in use Aim to charge the battery each day after use Replace the batteries every 12 months Ensure your i digits is se...

Страница 15: ...d contact One digit does not operate Check if the digit operates correctly using the Hand Health Check in my i limb app Device stops halfway during an action Contact your Prosthetist Prosthesis opens...

Страница 16: ...ver Damaged covers must be replaced or repaired by a quali fied Touch Bionics technician or technical partner Only approved Touch Bionics accessories and tooling may be used with i digits Do not use a...

Страница 17: ...be returned to customer service Please forward to Touch Bionics as per the contact information on the back page of this manual It is recommended that the above information is also included in the user...

Страница 18: ...ronments listed below The user of i digits device should assure that it is not used in such environments Condition Level Maximum temperature 70 c Minimum temperature 40 c Hazardous Area Classification...

Страница 19: ...nts and or batteries that should not be disposed of in regular waste at the end of its usable life To prevent possible harm to the environ ment or human health from uncontrolled waste disposal users a...

Страница 20: ...751 03 Uppsala Sweden Tel 46 1818 2200 Fax 46 1818 2218 info ossur com ssur Iberia S L U Calle Cal ndula 93 Miniparc III Edificio E Despacho M18 28109 El Soto de la Moraleja Alcobendas Madrid Espa a T...

Отзывы: