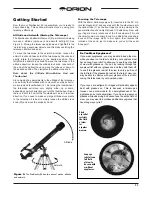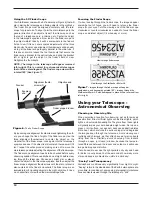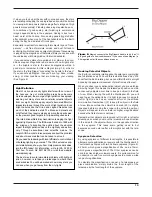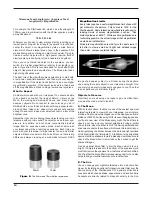
9
Details of the Tripod and Mount
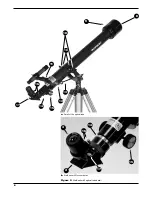
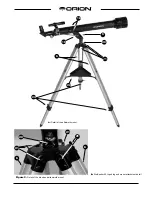
Figure 3a shows a close up of the telescope’s mount and tripod. Important features are pointed out for greater clarity and detail.
Figure 3b shows close-up detail of the tripod legs (6) attached to the yoke altazimuth mount (5).
Altitude lock knob:
This locks the telescope in the altitude (up/down) direc-
tion. Keep this knob tightened unless you are moving
the telescope a significant distance in the altitude
direction. For smaller altitude adjustments, use the alti-
tude micro-motion control rod and thumbwheel (13).
Azimuth lock knob:
This locks the telescope in the azimuth (left/right) direc-
tion. Keep this knob tightened unless you are adjusting
the telescope in the azimuth direction.
Tripod leg attachment screws:
These screws attach the tripod legs (6) to the yoke
altazimuth mount (5). Each screw has a wingnut and
two washers.
Accessory tray bracket:
This bracket holds the accessory tray (7).
Leg lock knobs:
These knobs lock the tripod legs into place. Loosen
them to lengthen or shorten the tripod legs. Tighten
them once you have the legs at the desired length. Be
certain that all three tripod legs are equally extended to
assure your telescope is level.
Items not shown. These items are included with
your telescope, but are not shown in Figure 1, 2, or 3.
10mm Kellner eyepiece:
This is a second, high-powered eyepiece, providing
70x magnification. For more details see the Using Your
Telescope section.
Dust cover:
Use this to cover the objective lens (8) when the tele-
scope is not in use. It will prevent dust from collecting
on the objective lens.
25
24
23
22
21
20
19
Содержание StarSeeker
Страница 2: ...2 ...
Страница 4: ...4 Figure 1 StarSeeker 60mm AZ Components 1 4 3 2 6 7 5 ...


