12
Using the 5X Finder Scope
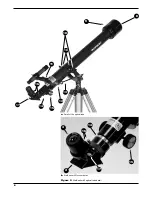
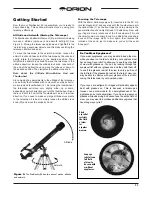
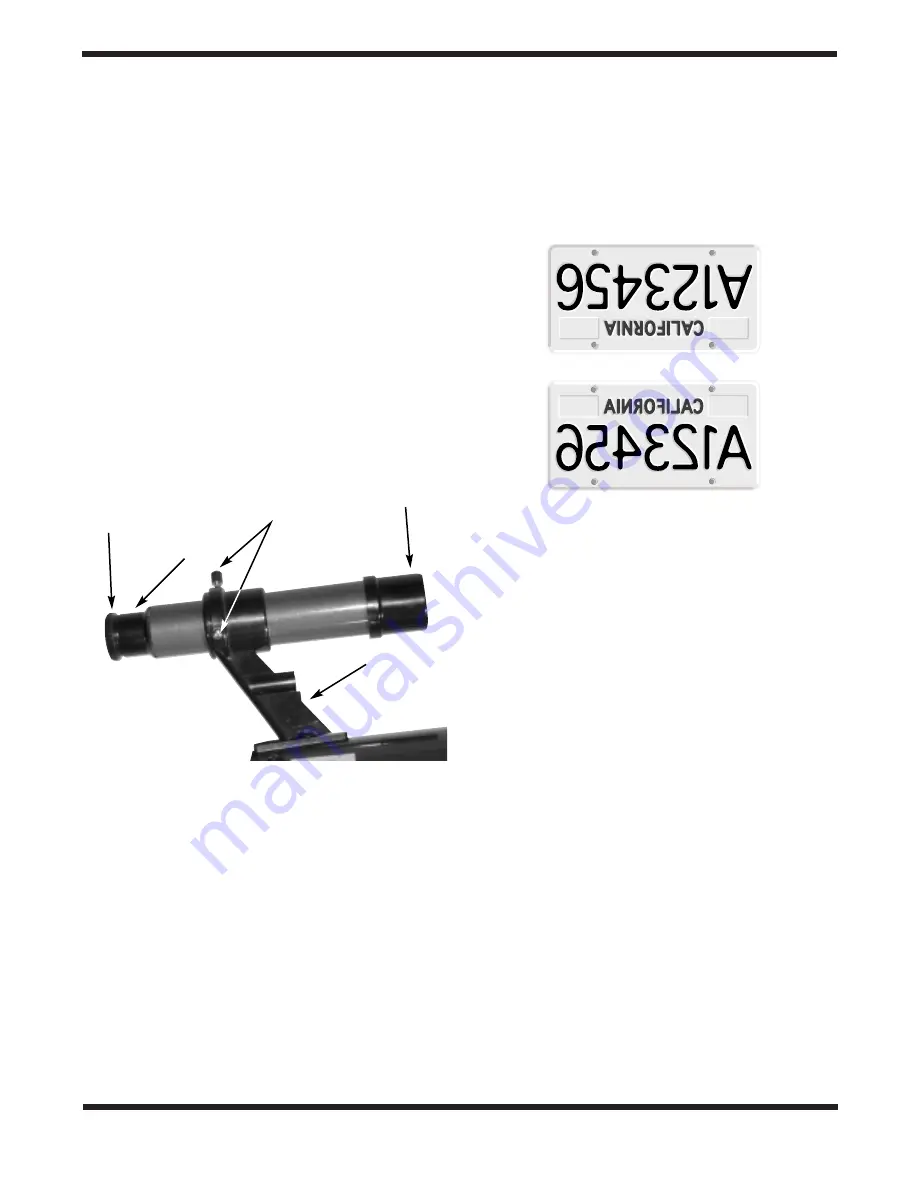
Your StarSeeker comes with a 5x finder scope (Figure 6) that will
aid in aiming the telescope and finding objects in the night sky.
The finder scope must be aligned accurately with the tele-
scope for proper use. To align it, aim the main telescope in the
general direction of an object at least 1/4-mile away, such as
the top of a telephone pole, a chimney, etc. Center the object
in the telescope’s eyepiece. Now, look in the finder scope. Is
the object visible? Ideally, it will be somewhere in the finder’s
field of view. If it is not, some coarse adjustments of the three
black nylon finder scope alignment thumbscrews will be need-
ed to get the finder scope roughly parallel to the main tube. If
this does not work, loosen the two thumbnuts that secure the
finder scope bracket to the optical tube and slide the bracket
left or right to get the object in the finder’s field of view.
Retighten the thumbnuts.
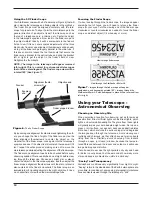
NOTE: The image in the telescope will appear reversed
left-to-right. This is normal for astronomical telescopes
that utilize a star diagonal. The finder scope view will be
rotated 180˚ (See Figure 7).
By loosening one alignment thumbscrew and tightening the oth-
ers, you change the line of sight of the finder scope. Use the
three alignment thumbscrews to center the object on the
crosshairs of the finder scope. Look again into the telescope’s
eyepiece and see if the object is still centered there as well. If it
isn’t, repeat the entire process, making sure not to move the
main telescope while adjusting the alignment of the finderscope.
The finder scope alignment needs to be checked before every
observing session. This can easily be done at night, before view-
ing through the telescope. Choose any bright star or planet,
center the object in the telescope eyepiece, and then adjust the
finder scope’s alignment thumbscrews until the star or planet is
also centered on the finder’s crosshairs. The finder scope is an
invaluable tool for locating objects in the night sky since it has a
much wider field of view than the main telescope tube.
Focusing the Finder Scope
If, when looking through the finder scope, the images appear
somewhat out of focus, you will need to refocus the finder
scope for your eyes. Turn the viewing end of the finder scope
clockwise or counter-clockwise as needed to focus the finder
scope on a distant object (1/4 mile away or more).
Using your Telescope -
Astronomical Observing
Choosing an Observing Site
When selecting a location for observing, get as far away as
possible from direct artificial light such as street lights, porch
lights, and automobile headlights. The glare from these lights
will greatly impair your dark-adapted night vision. Set up on a
grass or dirt surface, not asphalt, because asphalt radiates
more heat, which disturbs the surrounding air and degrades
the images seen through the telescope. Avoid viewing over
rooftops and chimneys, as they often have warm air currents
rising from them. Similarly, avoid observing from indoors
through an open (or closed) window, because the tempera-
ture difference between the indoor and outdoor air will cause
image blurring and distortion.
If at all possible, escape the light-polluted city sky and head
for darker country skies. You’ll be amazed at how many more
stars and deep-sky objects are visible in a dark sky!
“Seeing” and Transparency
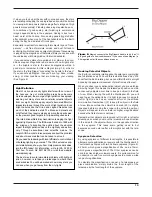
Atmospheric conditions vary significantly from night to night.
“Seeing” refers to the steadiness of the Earth’s atmosphere at a
given time. In conditions of poor seeing, atmospheric turbulence
causes objects viewed through the telescope to “boil.”
Figure 6.
The 5x Finder Scope
Objective end
Alignment thumb-
screws (3)
Focuser
Eyepiece
end
Finder scope bracket
View through the StarSeeker 60mm AZ
Figure 7.
Images through the finder scope will appear
upside-down and backwards (rotated 180°). Images through the
StarSeeker 60mm AZ with its diagonal in place will be reversed from
left to right.
View through finder scope
Содержание StarSeeker
Страница 2: ...2 ...
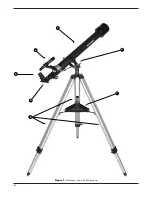
Страница 4: ...4 Figure 1 StarSeeker 60mm AZ Components 1 4 3 2 6 7 5 ...


