background image

20

21

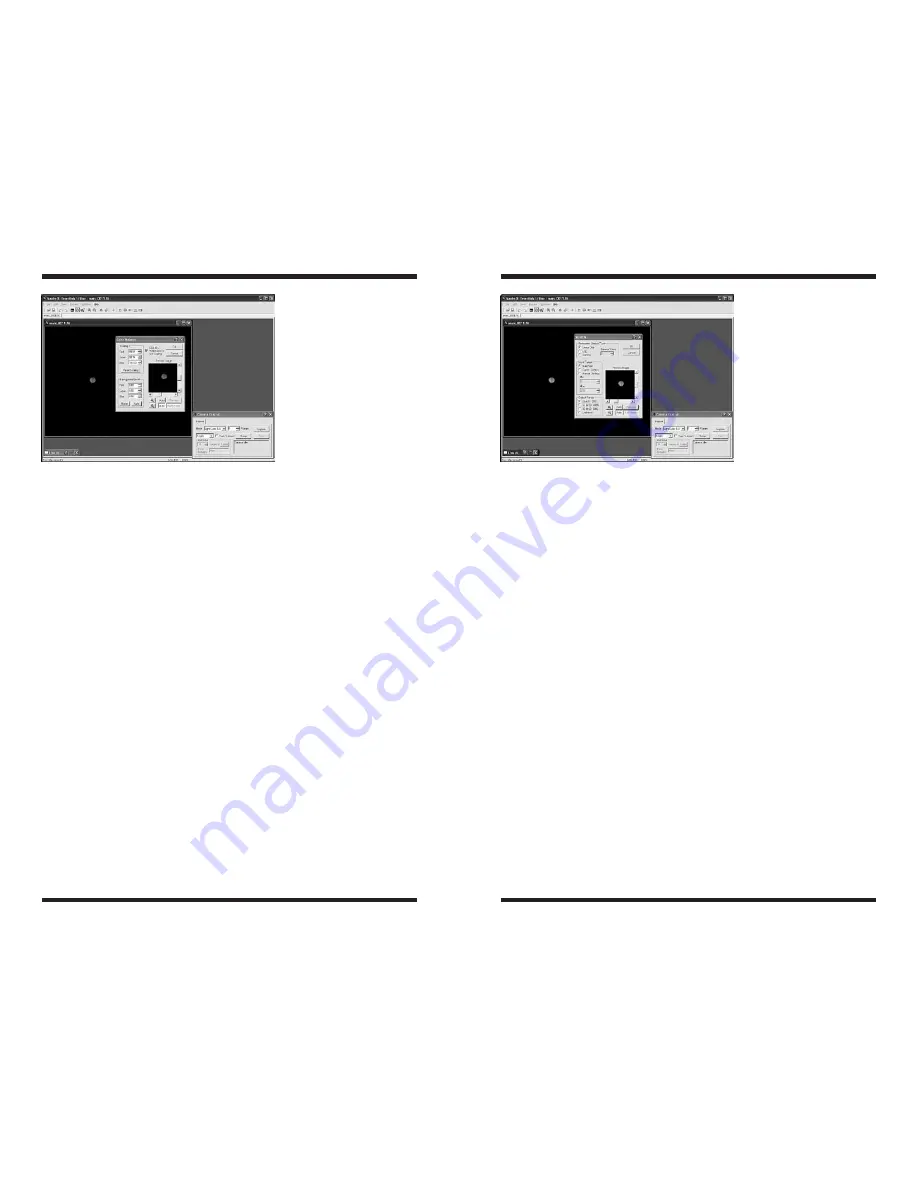
Color Balance 

The sensitivity of most CCD cameras as a function of wavelength (color) is dif-
ferent from the response of the human eye. The filters used for creating color 
composites  also  have  their  own  characteristics,  as  do  the  telescope  optics. 
Although “perfect” color rendition is an elusive if not impossible goal (all indi-
viduals see colors slightly differently), it is straightforward to get “good” color 
balance with simple weightings. This is where the 

Color Balance

 command (in 

the Process menu, Figure 13) comes in handy to touch up the resultant colors 

in your images. Use the 

Preview Image

 to see how altering these parameters 

will  affect  your  image  (or  click  the 

Full  Screen

  button  to  see  the  changes 

applied to your full image).
Color images from CCD cameras typically require a 

Background Level 

adjust-

ment.  This  is  accomplished  by  bringing  the 

Background  Level 

(or  bias)  in 

each color plane down to zero. Each of the 

Background Level 

values is sub-

tracted from every image pixel in its color plane. Any pixel values that become 
negative are forced to zero. The 

Auto 

button automatically determines the set-

tings necessary to equalize the image background in all three color planes. The 
Reset button resets the background level subtraction to zero on all planes.

Scaling 

adjustment (percent) allows you to compensate for transmittance dif-

ferences between the filters used to acquire the three color planes. Values of 
100% result in no change. The scaling percentages can be typed in or adjusted 
using the “spin” controls (small up and down click arrows to the right of the 
scaling  numbers).  The 

Preview  Image 

is  particularly  helpful  in  monitoring 

the results when using the spin controls. The 

Reset Scaling 

button resets to 

100% on all three planes. 
The 

Click On White Area to Set Scaling 

check box enables the operation 

of the mouse to set the scaling. Set the 

Background Level 

first (you can use 

Auto

), then click on a white object (e.g. a neutral-colored star) in the image (not 

the 

Preview Image

) with the mouse. The 

Scaling 

settings will automatically 

be adjusted to make the selected point appear white. If an area of the image 

is known to be white (or gray), this is an easier way to determine the scaling 
factors, and can be used to instantly color balance the image.

Stretch 

The 

Stretch 

command (located in the 

Process 

menu, Figure 14) modifies the 

brightness  and  contrast,  and  optionally  the  range  (maximum  and  minimum 

pixel  values)  of  an  image.  Unlike  the  screen  stretch  settings  in  the 

Screen 

Stretch Window

, which only affects the how an image appears on the display, 

the 

Stretch 

command  actually  changes  the  image  data  pixel  values  in  the 

memory  buffer.  In  reference  to  the  histogram,  the 

Screen  Stretch  Window 

changes how the histogram is displayed on the computer screen, the 

Stretch 

command alters the histogram itself.
There are three elements which must be set: the 

Permanent Stretch Type

the 

Input Range

, and the 

Output Range

. You can use the 

Preview Image

 to 

see how changing these parameters will affect the resultant image (or click the 

Full Screen

 button to see the changes applied to your actual image). You can 

also  open  the 

Screen  Stretch  Window

  to  see  how  changing  these  param-

eters change the histogram. 
For the 

Permanent Stretch Type

, the 

Linear Only

 mode is useful for adjust-

ing the range of pixels to match a particular file format. The 

Log 

mode is useful 

for compressing the dynamic range of the image, but can be rather harsh. The 

Gamma

 mode allows you to selectively emphasize bright or dim parts of the 

image by entering a suitable 

Gamma Value

. A 

Gamma

 of 1 has no effect - less 

than 1 will emphasize faint details, while a value greater than 1 will emphasize 
bright details. 
The 

Input Range

 can be set to 

Screen Stretch

, which in 

Linear Mode

 pro-

duces  an  output  matching  the  current  screen  appearance.  This  is  useful  in 
producing final images for output to 8-bit image formats which have limited 
range. Note that the minimum and maximum values are always taken from the 
screen stretch settings for the original image. These can be adjusted dynami-

Figure 13. 

The 

Color 

Balance 

command allows 

weighting of each color plane 
to improve the overall color 
appearance of an image.

Figure 14. 

The 

Stretch


command modifies the data 
contained within the image in 
order to improve contrast and 
brightness.

Содержание 52018 StarShoot Solar System

Страница 1: ... instruction Manual Providing Exceptional Consumer Optical Products Since 1975 Customer Support 800 676 1343 E mail support telescope com Corporate Offices 831 763 7000 89 Hangar Way Watsonville CA 95076 2008 2010 Orion Telescopes Binoculars IN 349 Rev C 06 10 ...

Страница 2: ...Parfocal ring CD ROM System Requirements refer to Figure 1 Telescope The SSSSI III can be used with virtually any telescope that is compatible with 1 25 format eyepieces The camera simply is inserted into a focuser in the same way as a standard eyepiece Figure 2 If you use a star diagonal you should remove it In order to reach focus the telescope must have approxi mately 0 2 6mm of inward focus tr...

Страница 3: ...d software and a camera driver must be installed onto your computer Turn on your computer and allow the Windows operating system to load as normal Insert the included CD ROM into your computer s CD ROM drive and the Launcher will appear Figure 3 This allows you to install the MaxIm DL Essentials software and the Orion StarShoot Solar System Imager camera driver Software Installation 1 Insert the C...

Страница 4: ...ay click on the top bar of the window and drag it to the desired location on the computer screen Upon subse quent start ups the camera will automatically operate at full resolution 5 To connect the camera to the telescope simply replace the telescope s 1 25 eyepiece with the camera Make sure the securing thumbscrew on the focuser drawtube is tightened after the camera is inserted 6 You will now ne...

Страница 5: ...er function The default has the flicker function disabled and there should be no reason to use this function with normal usage of the camera If the image in the Live Video Window begins to flicker on and off the flicker function has been mistakenly enabled click the Cancel Flicker button to cancel this function To return the camera controls to their default settings click the Default button The ot...

Страница 6: ...e instantly with small up down and left right movements of the mouse To do this hold down the Shift key then left click and drag the mouse on the image You ll find this feature to be a great convenience when fine adjusting the screen stretch to get an image to look its best The problem with stretching is determining exactly how to stretch the image for best effect Often there are several different...

Страница 7: ...to the camera s field of view and typically does not require stacking of multiple exposures as planetary images do Imaging the Moon Imaging the Moon is much like imaging terrestrial objects during the day Since the exposure is very short it is not critical that the telescope be precisely polar aligned Best focusing will be achieved by first focusing on a bright star near the Moon When the moon is ...

Страница 8: ... Overlay All Images button All of the selected images will stack on top of each other to form one resultant image Click OK You have now composed your first planetary image Use Save under the File menu to save your image at this time To make it look its best you will want to adjust the Screen Stretch Window to Planet You may also want to do some image processing see the section entitled Image Proce...

Страница 9: ...irst be captured and averaged Dark frames are taken with no external light entering the camera The image produced is a map of the actual noise in the frame being produced by the camera When a dark frame is subtracted from a regular light image the noise in the resultant image is reduced You will find however that the short exposures that can be taken with the SSSSI III will not contain much camera...

Страница 10: ... now ready for stacking You can save each image after the dark frame has been subtracted using Save from the File menu or you can just save the final combined image once the individual images have been stacked Image Processing After you have captured and combined individual images with or without dark frame subtraction into a single resultant image you may want to perform some additional image pro...

Страница 11: ...be adjusted to make the selected point appear white If an area of the image is known to be white or gray this is an easier way to determine the scaling factors and can be used to instantly color balance the image Stretch The Stretch command located in the Process menu Figure 14 modifies the brightness and contrast and optionally the range maximum and minimum pixel values of an image Unlike the scr...

Страница 12: ...files from the Batch Process list by selecting them with the mouse and clicking the Remove button 4 Select the location for the saved files using the Path button or click Write Output to Source Folder to cause the files to be saved back into the folder from which they were loaded This option cannot be used when an image has never been saved for example one freshly acquired from the camera In the e...

Страница 13: ... eral images in succession because the number will bounce around with the seeing Note If the MaxPixel reaches 255 in 1 frame capture mode the image is satu rated and all three focus numbers will be inaccurate Either pick a fainter star or adjust the camera s Exposure settings using the Setup button FWHM or Full Width Half Maximum is the width of the star half way down the sides This provides a hig...

Страница 14: ...purchasing a 10 USB extension cable if you need more cord length available through Orion check the catalog or www OrionTelescopes com Specifications Sensor MT9M001 Color CMOS progressive scan Sensor size 1 2 Number of pixels 1 3 million 1280x1024 pixel layout Video frame rate Up to 15 frames second at full resolution A D conversion 8 bit IR filter Yes Connection High Speed USB 2 0 Gain brightness ...

Страница 15: ... Repair 89 Hangar Way Watsonville CA 95076 If the product is not registered proof of purchase such as a copy of the original invoice is required This warranty does not apply if in Orion s judgment the instrument has been abused mishandled or modified nor does it apply to normal wear and tear This warranty gives you specific legal rights and you may also have other rights which vary from state to s...

Отзывы: