3
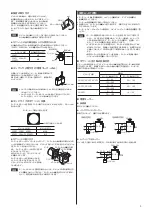
Attaching Load
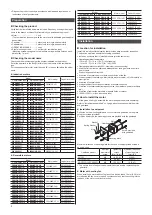
To shaft of the gearhead has been machined to an outer diameter tolerance of
h7 and is provided with a key slot for connecting the transmission parts.
When connecting the transmission
parts, ensure that the shaft and parts
have a clearance fit, and always fix the
parallel key to the output shaft with a
screw to prevent the parts from rattling or
spinning.
Screw
Parallel key
Gearhead output shaft
Note
Do not use excessive force, or hammer the transmission parts onto
the gearmotor shaft as damage may occur.
z
z
When using the output axis tip screw hole of a gearhead
Use a screw hole provided at the tip of the output shaft as an auxiliary means for
preventing the transfer mechanism from disengaging.
(
2GV
,
3GV
type have no output shaft
tip screw hole.)
Screw
Spacer
Transmission
parts
Fixed screw
Gearhead model
Output shaft tip
screw hole
4GV
M5
5GV
,
5GVH
,
5GVR
M6
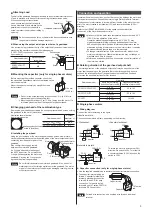
Mounting the capacitor (only for single-phase motors)
Before mounting the provided capacitor, check that
the capacitor's capacitance matches that stated on the
motor's name plate.
Mount the capacitor securely by using M4 screws
(not provided).
Ø4.3 mm
(0.169 in.)
Note
z
•
Do not let the screw fastening torque exceed 1 N·m (8.8 lb-in) to
prevent damage to the mounting foot.
z
•
Mount capacitor at least 10 cm (3.94 in.) away from the motor. If it
is located closer, the life of the capacitor will be shortened.
Changing gearhead of the combination type
Remove the gearhead by unscrewing the hexagonal socket-head screws holding
the gearhead to the motor (2 locations).
Hexagonal socket-head
screw (2 locations)
Illustration shows the view
from motor case side.
Gearhead model
Nominal
diameter of
screw
2GV
,
3GV
,
4GV
M2.6
5GV
,
5GVH
,
5GVR
M3
z
z
Installing the gearhead
Using the pilot sections of the motor and gearhead as guides, slowly rotate it
clockwise/counterclockwise to prevent the pinion of the motor output shaft from
contacting the side panel or gear of the
gearhead.
Also confirm that no gaps remain
between the motor and gearhead.
An O-ring is attached to the flange of
the 90 W type motor. Do not pinch the
O-ring when assembling the motor and
gearhead. Pinching the O-ring causes
a grease leak from the gearhead.
Output shaft of motor
Gearhead
Mating surface
Flange
Motor
Pilot section
Note
Do not forcibly assemble the motor and gearhead. Also, do not let
metal objects or other foreign matters enter the gearhead. The pinion
or gear of the motor output shaft may be damaged, resulting in noise
or shorter service life.
Connection and operation
Insulate all the wire connections, such as the connection between the motor and
the capacitor connection. Ground the motor using a Protective Earth Terminal.
The direction of motor rotation is as viewed from the side of the motor’s output
shaft. The motor rotates in a clockwise (CW) and counterclockwise (CCW)
direction.
Refer to the OPERATING MANUAL for the speed controller about the
connection of the motor and speed controller.
Note
z
•
Make sure that the motor case temperature does not exceed 90 °C
(194 °F) during operation of the motor.
Operation exceeding case temperature 90 °C (194 °F) may
significantly deteriorate the coils and ball bearings of the motor
and shorten the motor's life span. Motor case temperature can be
measured by fixing a thermometer on the motor surface. It can also
be measured using thermo tape or a thermocouple.
z
•
To change rotation direction of the induction motor, wait until the
motor completely stops. Otherwise its direction may not change or
may take much time to change.
z
•
Motors use a capacitor and keep it connected even after rotation of
the motor has started.
Rotating direction of the gearhead output shaft
The rotating direction of the gearhead output shaft may be opposite that of the
motor shaft, depending on the gear ratio. Before performing wiring, be sure
to check the rotating direction of the gearhead output shaft to be used and
determine the desired direction of motor rotation.
Gearhead model
Gear ratio
Same as the rotating
direction of motor shaft
Opposite the rotating
direction of motor shaft
2GV
,
3GV
,
4GV
5 to 25
30 to 120
150 to 360
5GV
,
5GVH
5 to 18
25 to 100
120 to 300
5GVR
5 to 15
18 to 60
75 to 180
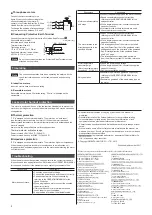
Single-phase motors
z
z
Wiring diagram
Connect the motor according to the figure.
Induction motors
The connection method will vary, depending on the direction.
Capacitor
Black
Red
L
N
White
Motor
PE
CW
<Clockwise>
White
Red
L
N
Black
Motor
PE
Capacitor
<Counterclockwise>
CCW
Reversible motors
CCW
Motor
CW
Black
White
CW
CCW
L
N
Red
PE
Capacitor
To rotate the motor in a clockwise (CW)
direction, flip switch to CW. To rotate it in
a counterclockwise (CCW) direction, flip
switch to CCW.
z
z
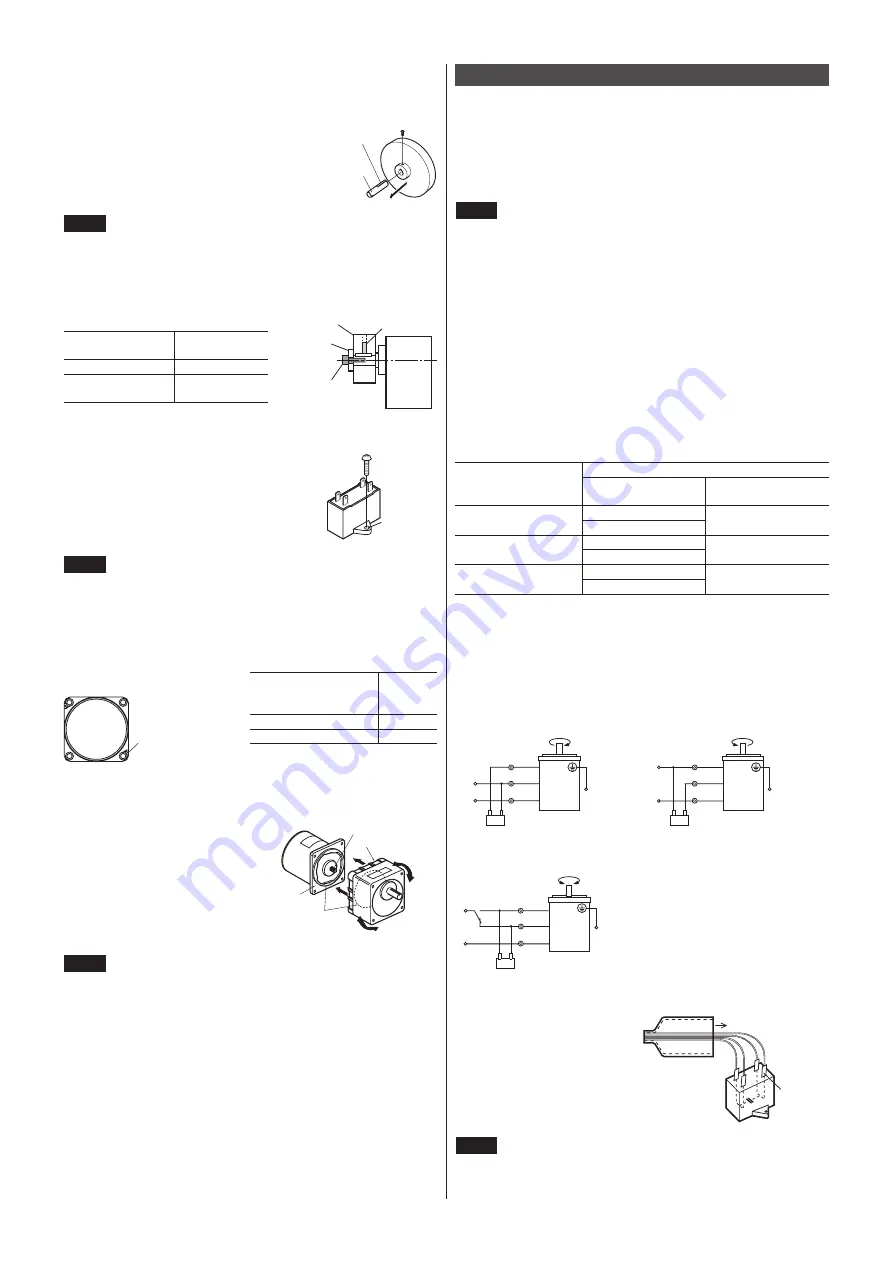
Capacitor connection (only for single-phase motors)
z
•
Use the supplied capacitor cap to insulate the capacitor terminal connection.
z
•
The capacitor internal wiring as
follows: Capacitor terminals are
internally electrically connection
in twos; A-B and C-D for easy
connection. For easy to install
terminals use 187 series FASTON
terminals (TE Connectivity).
187 series
tab
Capacitor
Capacitor cap
A
B
C
D
Note
For lead wire connection, use one lead wire for each individual
terminal.

