


EN
2
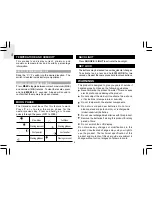
GETTING STARTED
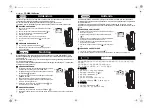
BATTERIES
This unit operates with 2 x CR2032 batteries.
Insert batteries before first use, matching the polarity as
shown in the battery compartment.
shows the batteries are low.
It is recommended that you use alkaline batteries
with this product for longer performance. However, in
colder climates, if the unit is exposed to cold
temperatures i.e. 10
°
F (-12
°
C) to -40
°
F (-40
°
C), it is
recommended that you use lithium batteries.
CHANGE SETTINGS
1.
Press and hold
MODE
for 2 seconds to enter setting
mode.
2.
Press
+
or
-
to change settings.
3.
Press
MODE
to confirm.
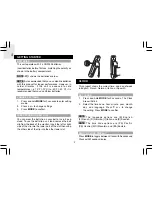
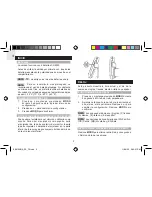
TABLE STAND OR BELT CLIP
You can wear the belt clip on your belt or use it as a
stand. To use the belt clip as a stand, remove the belt
clip from the back of the monitor. Insert the left or right
side of the clip into the lower part of the slot then snap
the other side of the clip into the other lower slot.
NOTE
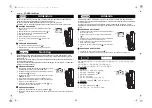
CLOCK
This product shows the current time, and day-of-week
in English, French, German, Italian, or Spanish.
SET CLOCK
1.
Press and hold
MODE
for 2 seconds. The Clock
Area will blink.
2.
Select the time zone, hour, minute, year, month,
day, and language. Press
+
or
-
to change
the setting. Press
MODE
to confirm.
The language options are (E) English,
(F) French, (D) German, (I) Italian, and (S) Spanish.
The time zone options are (PA) Pacific,
(CE) Central, (MO) Mountain, and (EA) Eastern.
SWITCH CLOCK DISPLAY
Press
MODE
to toggle between Clock with Seconds and
Clock with Weekday display.
NOTE
NOTE
NOTE